How to Create Anime Action Sequences
Build multi-scene anime action from a single character
A great action sequence is a series of moments that build on each other. A wide shot establishing the threat, a mid-shot of your character reacting, a close-up of impact, and a pull-back revealing the aftermath. That rhythm is what makes action feel alive.
With AutoWeeb, you can build that rhythm yourself, without any animation experience. Here's how.
Step 1: Choose Your Character
Every sequence starts with a protagonist. Head to the Characters section and either pick from our library of Shared Characters or upload a photo to generate your own. Either way, save the result as a Character Sheet. This locks in your character's look across every image you generate, so the same fighter appears consistently from the opening shot to the final frame.
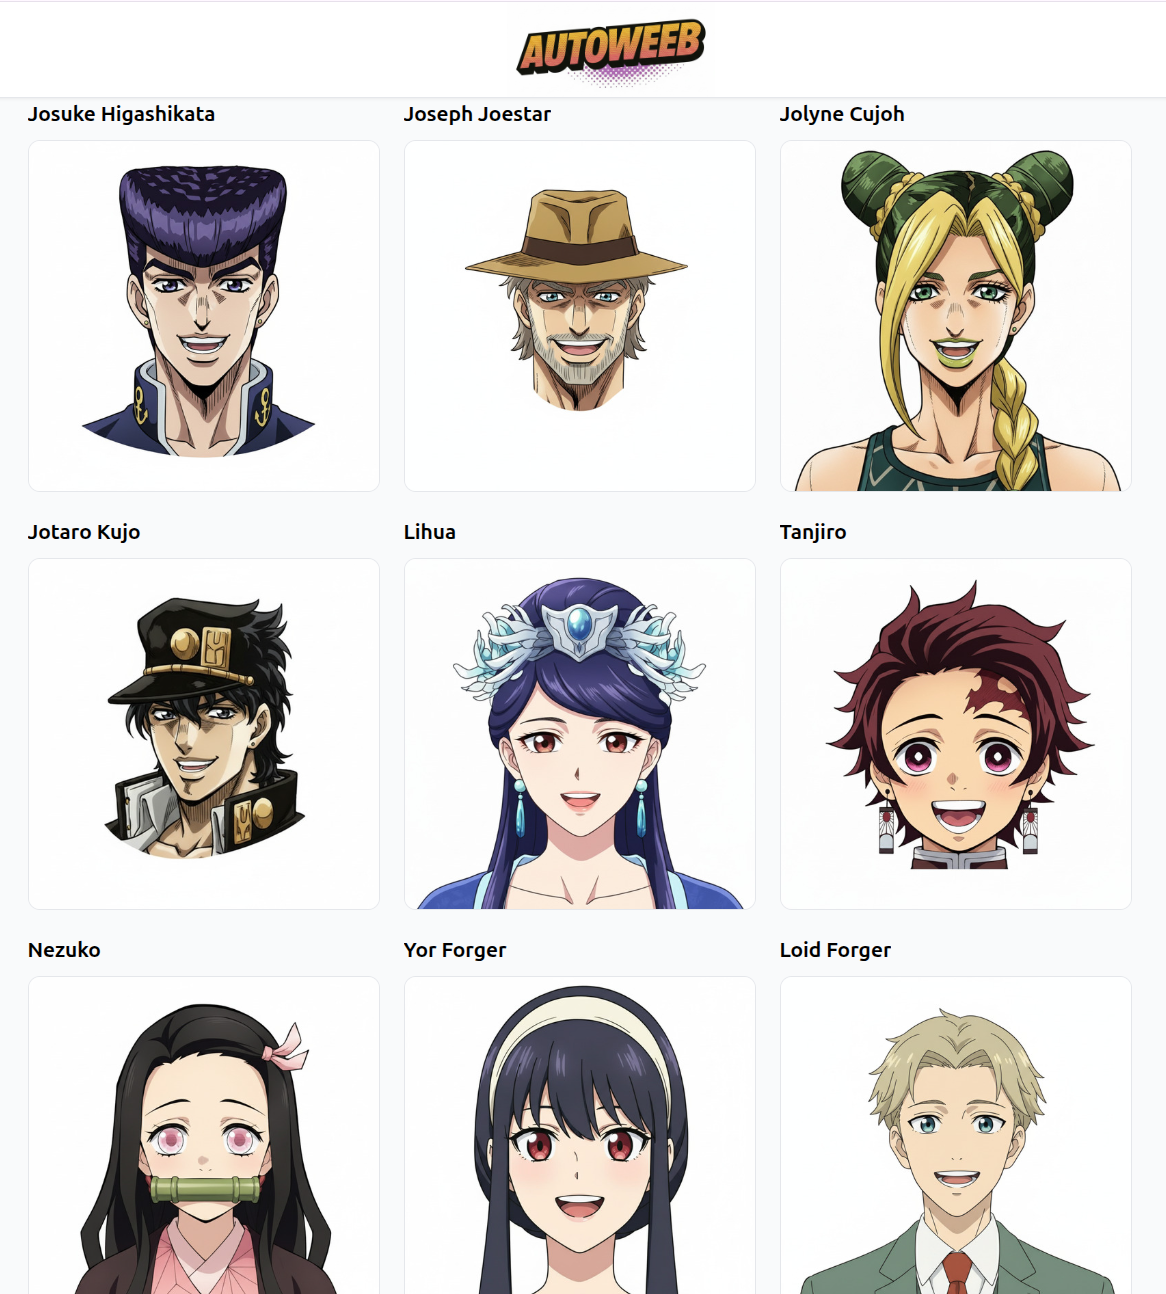
For action sequences, Shared Characters have an advantage: they come with established visual identities that hold up across varied scenes and lighting conditions.
Step 2: Generate Your Opening Action Image
Start with a strong establishing image, the moment the action begins. Write a prompt that describes a specific frame: who's in it, what they're doing, where it's happening, and what the lighting says about the mood.
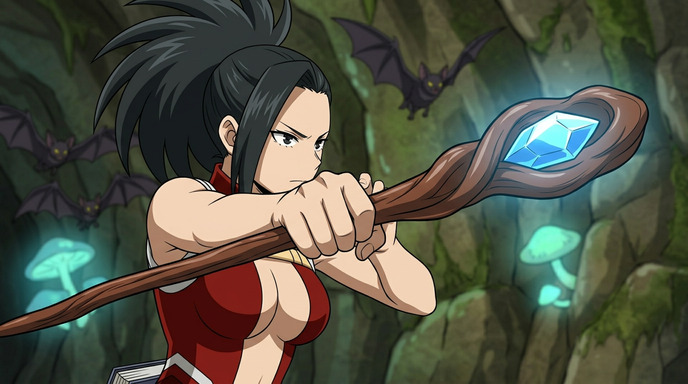
This image sets the visual contract for the whole sequence: the color palette, the lighting, the character's costume. Everything generated after it should feel like it belongs to the same scene. A good opening prompt might look like:
"anime mage, dark crystal cave, glowing blue staff raised, bats circling overhead, bioluminescent mushrooms, low camera angle, dramatic lighting from below, tense expression"
Step 3: Animate the Image into a Video Clip
Once you have a strong still, animate it. AutoWeeb's video tools can convert your image into a short clip, adding motion to hair, charging effects on weapons, and atmospheric movement in the environment. Even 2–3 seconds of animation transforms a static illustration into something that feels like a real scene.
Focus the animation on the elements with the most visual energy: a glowing staff building up power, a cape caught in wind, eyes narrowing before the strike. Subtle movement in the right places carries the whole image without needing full-body motion.
Step 4: Generate the Next Shot and Animate It Too
This is where sequences are built. After your opening clip, generate the next moment in the action. Stay in the same location and keep the lighting consistent, but advance the story: the character moves, the enemy reacts, a spell is released.
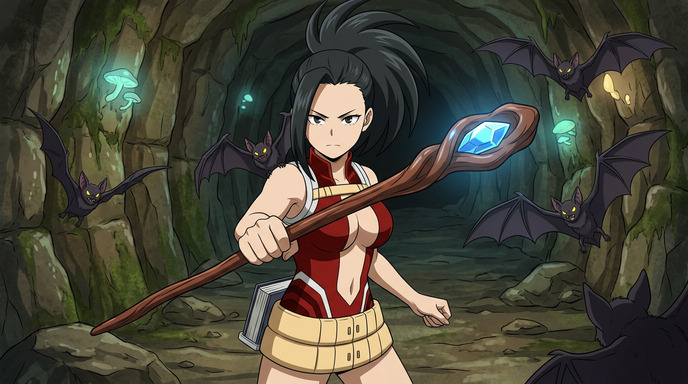
Vary the camera angles between shots to create rhythm. If your first image was a low angle close-up, try a wider mid-shot for the second. If the third shows a reaction, the fourth can pull back to reveal the scale of the impact. Each generated image becomes a video clip; each clip links to the next.
Step 5: Add Close-Ups for Impact
The shots that make action sequences memorable aren't always the wide ones. A tight close-up of an enemy hit by a spell, a magic beam connecting, debris mid-explosion: these detail shots make the violence feel real and the stakes feel high.
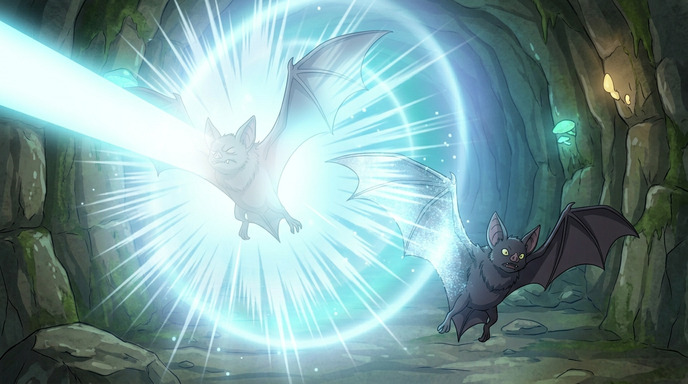
Generate these as separate images with prompts focused entirely on the impact moment:
"close-up, magic beam striking bat creature, shockwave ring expanding outward, glowing blue energy, cave background blurred, high contrast lighting"
Animate these too. An impact shot with a half-second of shockwave motion hits completely differently from a static image. These are the frames that make viewers want to rewatch.
Putting the Sequence Together
Once you have 4–6 animated clips, assemble them in a basic video editor (CapCut, DaVinci Resolve, or any mobile editor works fine). A rough structure for a 15–30 second sequence:
- Establishing shot: character in environment, tension building (2–3s)
- Action begins: character moves or attacks (2–3s)
- Impact close-up: the hit, the beam, the explosion (1–2s)
- Enemy reaction: wide or mid shot showing the result (2–3s)
- Resolution: character standing in the aftermath (2–3s)
Add a music track or sound effects layer and you have something that looks far more produced than the time it took to make it.
Tips for a Cohesive Sequence
- Lock your lighting early. Decide on a light source in your first image and describe it in every subsequent prompt. Consistent lighting is what makes multiple AI images feel like they belong to the same scene.
- Use the same location details. Reference the same environmental elements ("dark crystal cave, bioluminescent mushrooms") in each prompt so the background stays coherent across shots.
- Mix shot distances. Wide, medium, close-up, extreme close-up. Varying distance between clips is the simplest way to create natural editing rhythm.
- Animate the moments that have energy. Not every still needs to move the same amount. Charge-up and impact frames benefit most from animation; transition frames can be shorter or even static.
Start Your Sequence
One character. A handful of prompts. A few animated clips. That's all a sequence takes.
👉 Start Building Your Anime Action Sequence on AutoWeebThe best action sequences feel inevitable in hindsight. Every shot was exactly the right shot. With AI tools, you can iterate until yours feels that way too.