How to Create Your Own Anime Pictures at Anime Expo 2026
The biggest anime convention in North America, and the best raw material you'll find all year for your anime art
Anime Expo 2026 runs July 2-5 at the Los Angeles Convention Center, and it is not a small event. Over 340,000 square feet of exhibit hall floor, an artist alley that takes a full day to walk properly, anime world premieres, concerts, the annual Masquerade cosplay competition, and somewhere between 100,000 and 120,000 attendees across the four-day weekend. AX is where the industry shows up in force, and where the most ambitious cosplay in the country comes out to breathe LA summer air.
That is also, if you think about it, an extraordinary amount of source material. Every photo you take there, every costume you see, every piece of artist alley work that catches your eye, is a reference point for the anime art you can build when you get home. Here is how to turn it all into something you can actually keep.
👉 Start Creating Anime Art on AutoWeebStep 1: Know What to Photograph at AX
The exhibit hall floor and artist alley are the obvious targets, but the most interesting photos at Anime Expo often come from elsewhere: the outdoor plaza in the July heat, the lobby between panels, the line culture that is its own kind of convention theater. Cosplayers who stop to pose near the South Hall entrance with downtown LA glass towers behind them are giving you a backdrop that no other convention in the country can match.
For anime conversion, the photos that work best are those with clear subject focus, decent lighting, and a costume or outfit that has some visual specificity to it. The outdoor plaza shots in natural light convert especially well. Convention floor shots under fluorescent lighting still work, but natural light gives the AI more to work with in terms of rendering skin tones and fabric texture.
The Masquerade is worth photographing even if you do not have a great seat. Even a mid-distance shot of a well-constructed costume gives you enough to work with. The level of craftsmanship at the AX Masquerade is high enough that the source photo itself carries a lot of weight.
Step 2: Convert Your Convention Photos to Anime
Upload your photos to AutoWeeb's photo-to-anime converter and choose the art style. AX draws cosplayers from every genre, so the style choice matters here. A Demon Slayer cosplayer gets a different treatment than a Ghibli-inspired original design. You can match the AI style to the source material, which is a distinct advantage when you have a wide variety of reference.
Try these prompts as starting points once you have uploaded the photo:
- shonen battle anime, dramatic lighting, detailed costume armor, summer heat shimmer in background
- shojo anime style, soft cel shading, pastel palette, warm afternoon light from large windows
- cyberpunk anime aesthetic, neon reflections, sharp line art, urban LA backdrop with glass towers
The LA setting gives you a specific visual texture to work with. Downtown glass architecture, the warm July sky, the concrete plaza, these are all prompt elements you can layer in to anchor the converted image in place.
Step 3: Build Your Original Anime Character
Artist alley at Anime Expo is one of the best places in the country to study what original character design looks like at a high level. You will see hundreds of OC portfolios, each one a workshop in how designers make visual decisions about personality, color palette, and archetype.
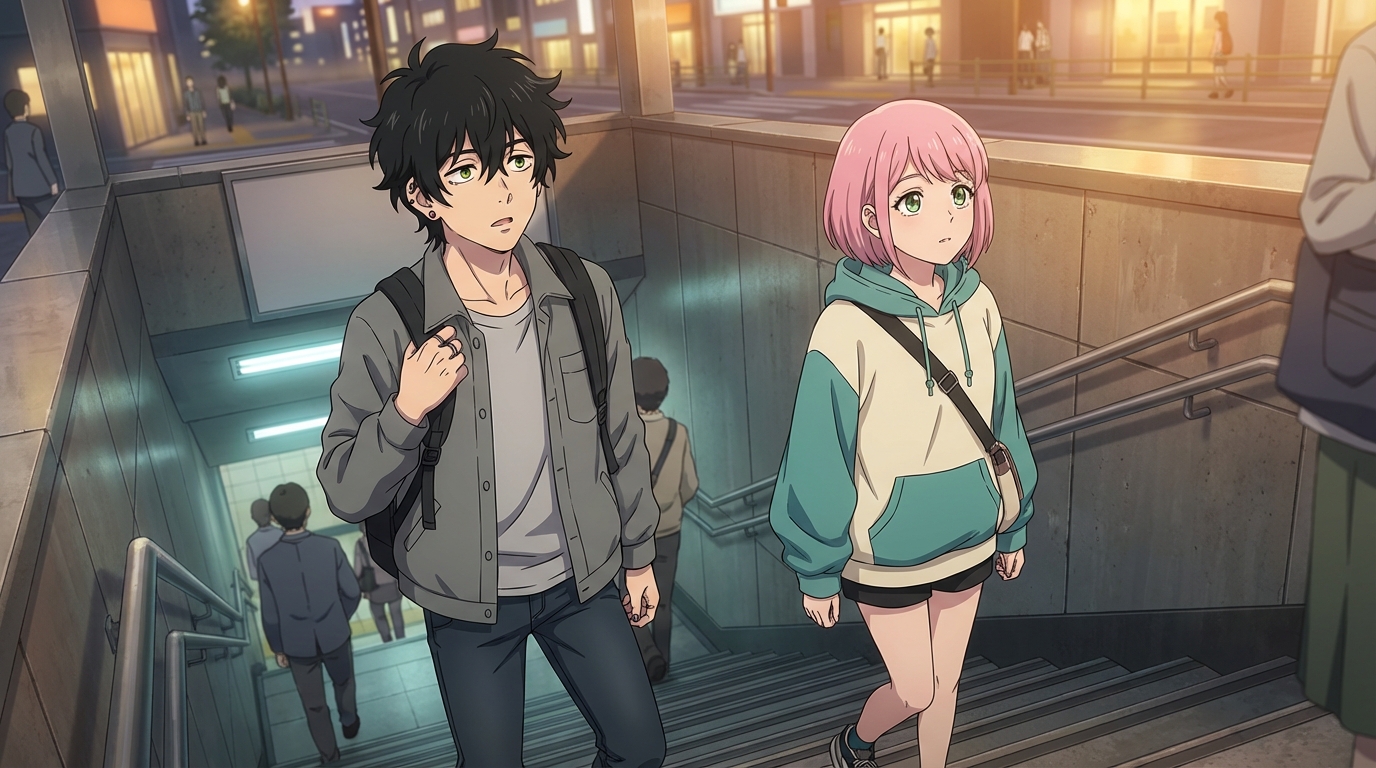
Take a selfie at AX, or use the best photo you have from the weekend, and upload it to AutoWeeb's Character Creator. The AI generates a full Character Sheet: your character from multiple angles, with expression variations, designed to stay visually consistent across every scene you generate afterward. The character you build from your AX selfie becomes the protagonist you can drop into any setting.
If you want to incorporate something from artist alley, photograph an OC design that inspired you (ask the artist first) and use it as a style reference in your prompt rather than as a direct input. Describe the specific design elements you want to carry forward: the color combination, the silhouette, the archetype it communicates.
Step 4: Place Your Character in LA-Inspired Scenes
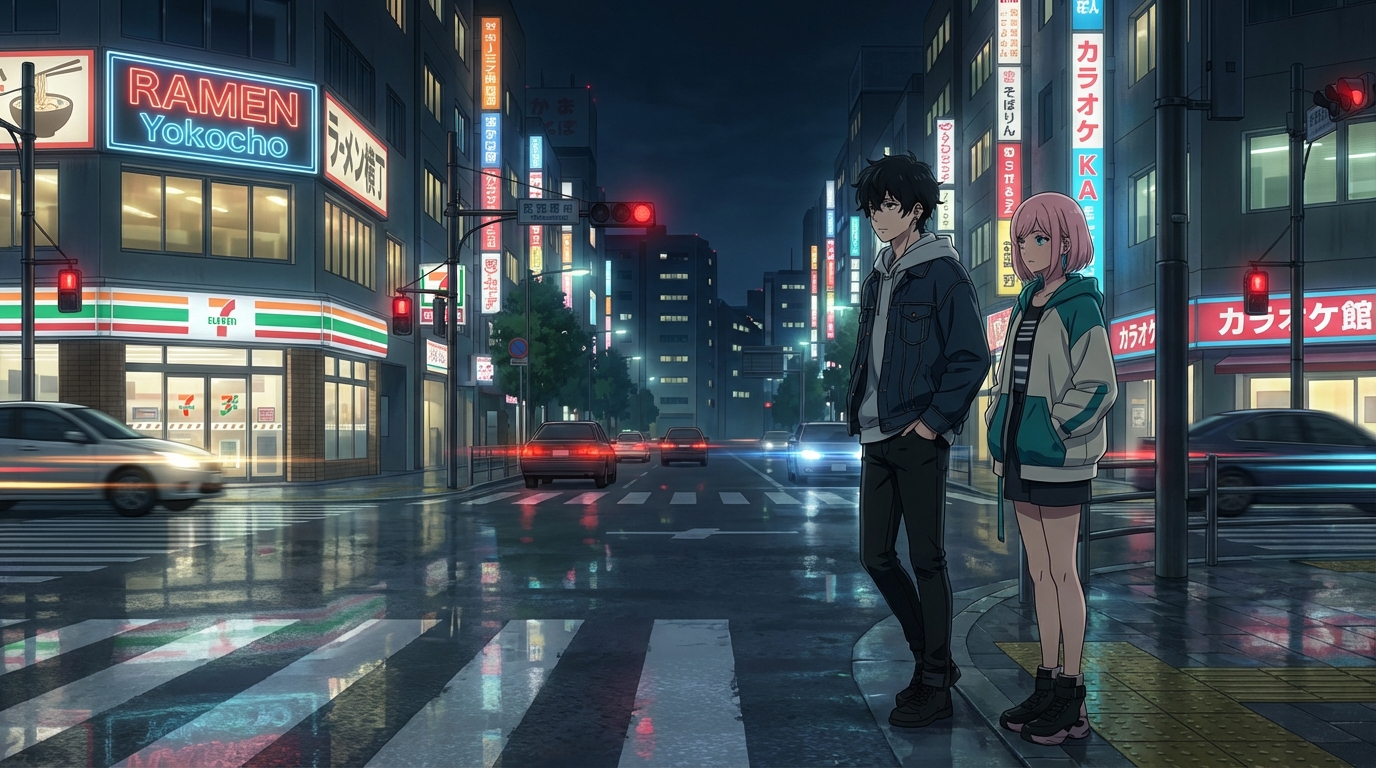
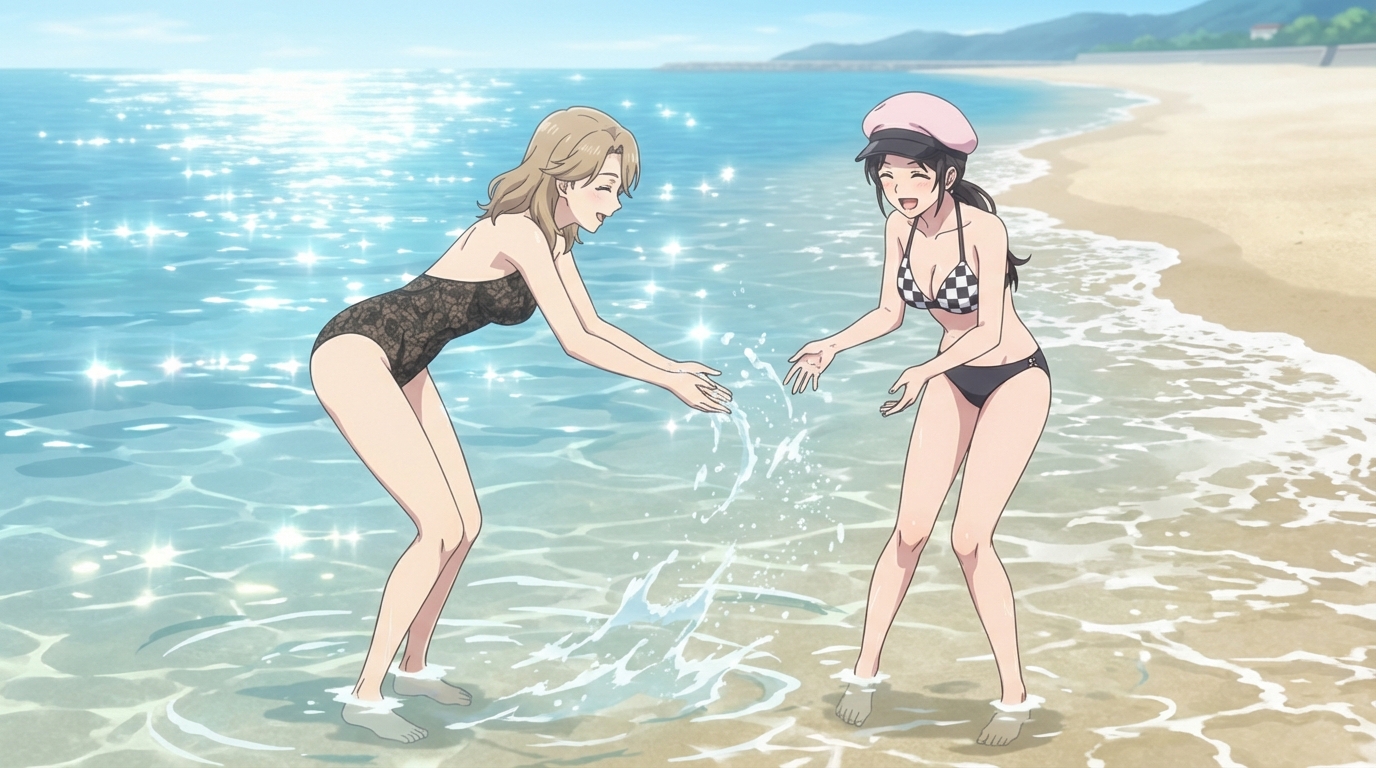
Once you have a character, the AutoWeeb photo packs give you the scene environments to put them in. The Japan City Life pack captures the kind of urban, glass-and-concrete energy that downtown LA shares with any major anime city. The Beach OVA pack matches the July coastal mood of Southern California. A character built from your Anime Expo weekend belongs in both.
For scenes that feel specifically like AX: prompt your character in a crowded convention hall, at a panel presentation, in an artist alley full of framed prints, or standing outside a glass convention center in summer heat. These scenes exist firmly within anime visual language, especially the convention-episode or culture-festival episode that shows up in slice-of-life and idol anime.
Generate a short animated clip with AutoWeeb's video tools and you have something that captures the energy of the weekend in a form you can actually post.
👉 Create Your Anime Expo Artwork on AutoWeebAnime Expo is the largest concentration of anime fandom in North America. What you photograph there is worth building into something permanent. If you want to go deeper on the technical side, the guide on how to turn a photo into anime covers every setting in detail, and the character creation guide walks through the full Character Sheet process.