How to Storyboard AI Anime for YouTube and Short-Form Video
Plan shots, lock character continuity, and publish clips that feel directed instead of randomly generated.
YouTube and TikTok reward consistency more than perfection. Three shorts a week with the same protagonist, the same visual style, and shots that cut together cleanly will outperform one flawless clip that took a month. The creators who are building anime channels in 2026 figured out that the bottleneck is not generation speed. It is planning. They storyboard before they prompt, and the difference shows up immediately in retention graphs and comment sections.
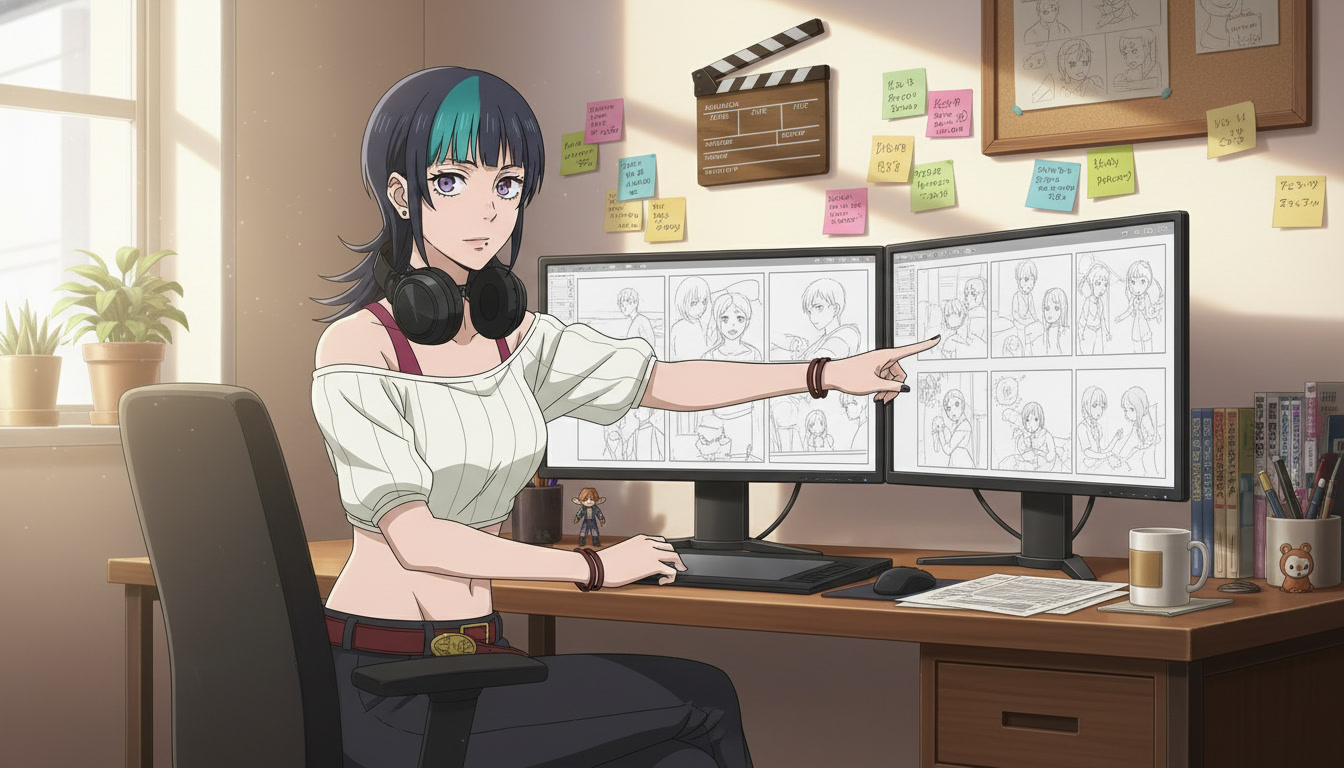
Storyboarding AI anime is not the same as drawing panels by hand. You are building a shot list: what the camera sees, what the character does, how long the beat lasts, and which prompt language you will feed into the video agent. This guide is for video creators who want their AI anime output to feel like episodic content, not a slideshow of unrelated generations.
Why storyboarding matters more for AI video than for still images.
A single anime image can succeed on its own. A video cannot. Motion introduces continuity problems: hair color shifts between cuts, the background layout changes when you switch angles, emotional tone drifts because each clip was prompted in isolation. Storyboarding forces you to decide the sequence upfront so every generation serves the same scene.
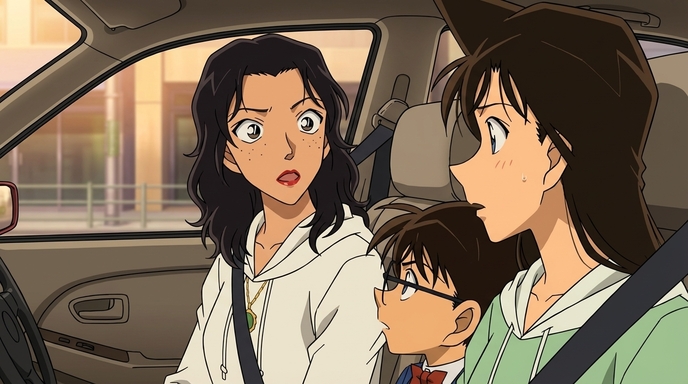
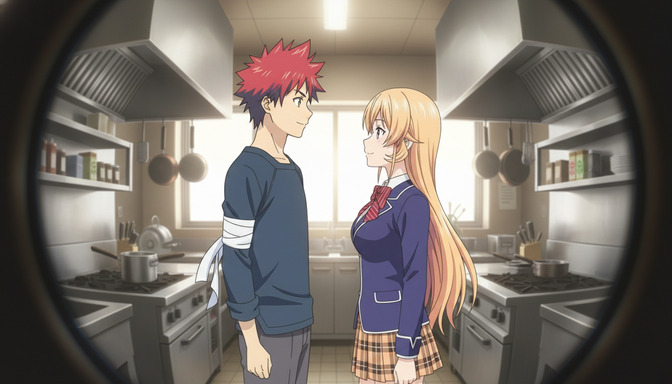
For short-form platforms, the first two seconds are the hook. Your storyboard's opening panel should answer one question instantly: who is this, and what is about to happen? A wide establishing shot of a rooftop at dusk, then a medium shot of your character's hands tightening on a railing, then a close-up of their eyes narrowing: that is a three-beat hook you can plan in five minutes before opening any tool.
Longer YouTube uploads need the same discipline at larger scale. A three-minute anime segment might be twelve panels across four emotional movements. Map them first, and you spend less time regenerating clips that do not belong next to each other in the edit.

The six-panel structure that works for Shorts, TikTok, and episode openers.
You do not need a full season bible to storyboard your next upload. A six-panel grid covers most short-form anime content:
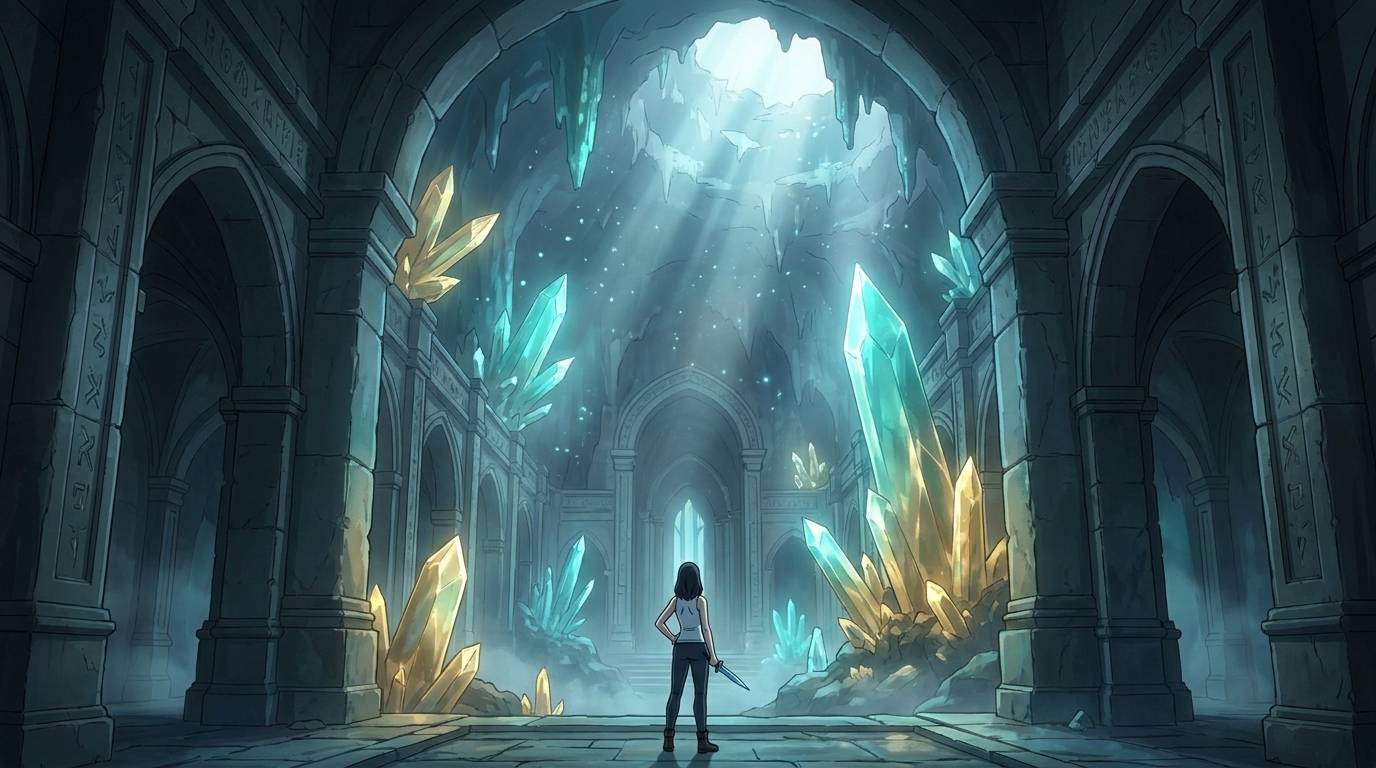
- Establishing wide: Where are we, and what is the mood? Rain on neon streets, empty classroom at golden hour, festival crowd at dusk.
- Character medium: Who is on screen, and what is their body language before the action?
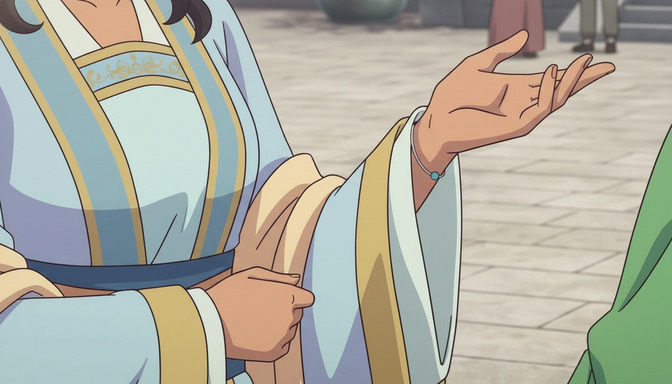
- Detail insert: A close-up on eyes, hands, an object, or a symbol that carries meaning.
- Action beat: The movement or decision that changes the scene: a turn, a step forward, a reach for something.
- Reaction: How the world or another character responds; often the emotional payoff.
- Closing wide or hold: The image you want viewers to remember when the clip ends.
Write one sentence per panel. That sentence becomes your prompt seed when you move into generation. If you already compressed your idea into a premise, as described in how to turn an idea into an AI anime video, each panel should prove that premise in visual form.
Pacing notes belong on the storyboard, not in your head.
Mark approximate duration beside each panel: two seconds for the establishing shot, one second on the insert, three seconds on the action beat. Short-form algorithms punish clips that stall in the middle. When you know the timing before you generate, you prompt for motion that fits the slot instead of trimming awkward footage later.
What to write on each panel so your prompts stay consistent.
A useful AI anime storyboard panel has four lines, not a sketch:
- Shot type: wide, medium, close-up, over-the-shoulder, low angle, tracking
- Character state: appearance anchors pulled from your character sheet
- Action: one verb-led motion, not a paragraph of lore
- Atmosphere: lighting, weather, and color mood in concrete terms
Example panel note for a TikTok hook:
Close-up, silver-haired girl, violet eyes, rain on window reflection across her face, stillness then a slow blink, cool blue key light, melancholy
That single line already contains most of the layers from the seven-part video prompt formula. When you hand it to AutoWeeb's video agent, you are not starting from zero. You are executing a decision you already made.
From storyboard panels to generated clips without losing continuity.
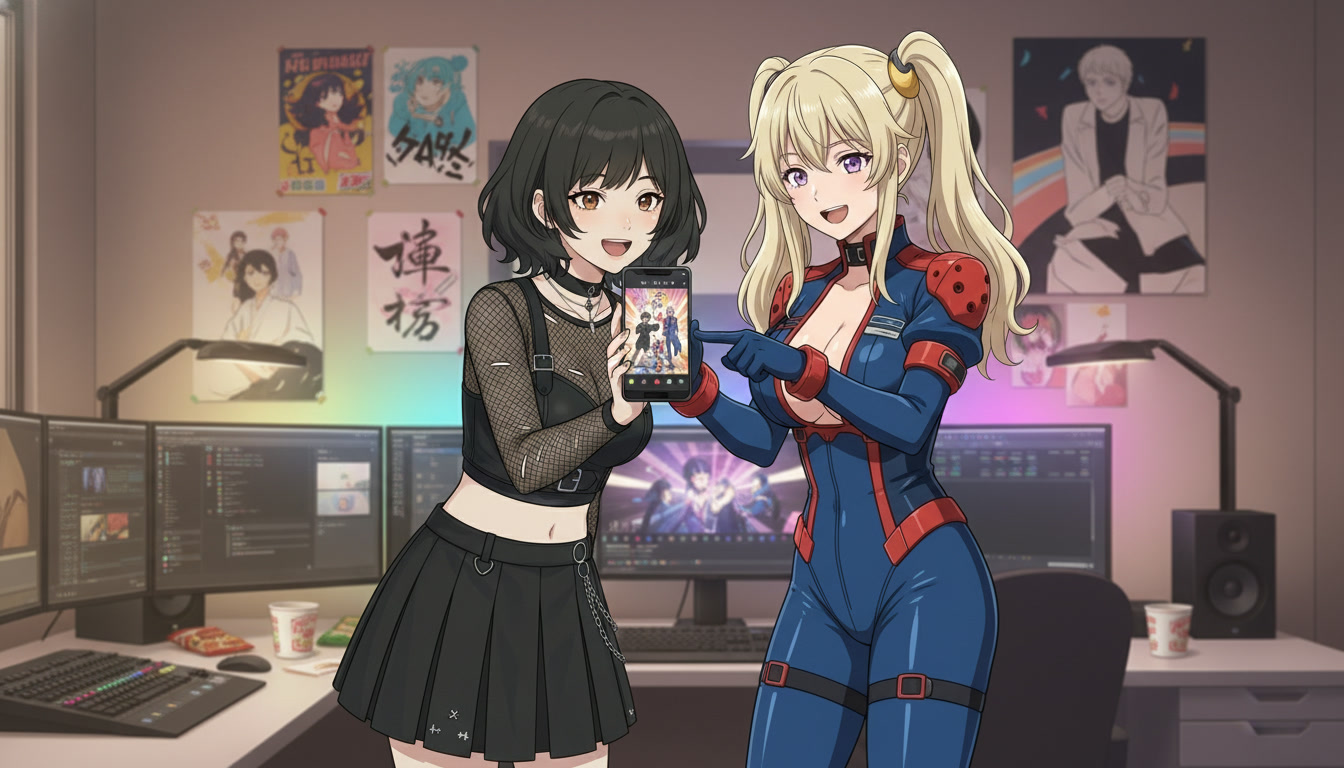
The storyboard is the contract between your creative intent and the model. Generate in panel order when possible. Use the same saved character for every shot in the sequence. Lock your art style for the full scene before you vary camera angles. If one panel needs a different environment, describe only what changes; keep character descriptors identical word for word.
AutoWeeb's storyboard tool lets you arrange panels in sequence and attach prompt notes to each beat. That matters for serialized YouTube content: episode two should reference the same character sheet and the same style choice as episode one. Viewers subscribe to characters, not to one-off aesthetics.
For still frames that establish a location before you animate, place your character into a photo pack background or a scene builder environment first. Generate the video from an image that already has the correct setting, and you reduce background drift between cuts.
When a panel fails, fix the board before you fix the model.
Most failed generations trace back to the storyboard, not to Seedance. The action was vague, the camera direction was missing, or two panels tried to do the same beat twice. Compare your output to the panel note. If the note was thin, rewrite the note and regenerate. If the note was specific and the output still drifted, check whether character descriptors changed between panels. The common prompt mistakes guide maps directly to storyboard gaps.
Publishing workflow: from storyboard to upload-ready Short.
After your panels are generated as clips, assemble them in your editor using the durations you wrote on the board. Add one ambient sound layer and one music cue that match the atmosphere column from your notes. Export at 9:16 for Shorts and TikTok, 16:9 if the same sequence is going to YouTube proper.
Title and thumbnail should reflect panel six, the closing image viewers remember. If you are building a recurring series, keep the establishing panel's location consistent across episodes so subscribers recognize the world immediately.
Creators comparing tools for channel growth should read the best AI anime generator for YouTube creators for workflow speed, but the storyboard habit is what separates channels that feel like shows from channels that feel like experiments.
A weekly storyboard routine you can repeat.
Monday: write a six-panel board for one Short. Tuesday: generate stills or key frames for panels one, two, and six. Wednesday: run video generation on the action and reaction panels. Thursday: edit and schedule. Friday: review retention on the prior upload and adjust the next board's opening hook.
That rhythm is sustainable without a studio. The board is the reusable skill. The model is the execution layer. Once you can storyboard one scene in twenty minutes, batching three Shorts from a single premise (same character, three different locations) becomes straightforward.
If you are new to video prompting entirely, read how to write the best AI anime video prompts next. If you already have clips but they will not cut together, rebuild the sequence on paper first. The board is cheaper than the regenerate button.
Related Blog Posts
Storytelling and Worldbuilding in AI Anime: How to Build Worlds That Feel Real
From establishing the visual logic of a world to building characters with history — how to use AI anime to create stories that live beyond a single image.
Learn how to use AI anime generation for storytelling and worldbuilding — covering environment design, character consistency, narrative sequencing, and the visual grammar that makes worlds feel lived-in.
Best AI Anime Facial Expression and Pose Prompts for Emotional Scenes
How to prompt joy, rage, sadness, determination, embarrassment, and every major pose type to make AI anime characters feel emotionally alive.
Learn the best AI anime facial expression and pose prompts for joy, rage, sadness, determination, embarrassment, romance, and cinematic body language. With prompt examples.
Best Lens Effects for AI Anime Prompts: Depth of Field, Bokeh, Motion Blur & More
How to use bokeh, shallow depth of field, fish-eye, bloom, motion blur, anamorphic flare, and zoom blur to make AI anime feel like it was shot through a real lens.
Learn how to add bokeh, depth of field, fish-eye, motion blur, zoom blur, bloom, and anamorphic flare to AI anime prompts. Practical examples for every lens effect.
Extreme Close-Up Shots Explained: How to Create Powerful Emotional Scenes in AI Anime
How and when to use extreme close-up framing to isolate the details that carry the most emotional weight in AI anime.
Learn how and when to use extreme close-up shots in AI anime emotional scenes. Includes prompt examples for eyes, hands, lips, and detail inserts that make scenes land.
Explore AutoWeeb
Jump into the tool that fits your creative step.
AI Anime Video Generator
Animate storyboard shots into cinematic clips with Seedance 2 and consistent characters.
Anime Character Creator
Design original characters with consistent sheets across every scene.
AI Anime Image Generator
Generate cinematic anime stills anchored to your character library.
Turn Photo Into Anime
Upload any photo and watch AI turn it into stunning anime art in seconds.
AI Anime Location Generator
Create a location set once, then generate reference images from every angle.
AI Anime Storyboarding
Describe your idea, pick your characters, and let AI draft the script and scenes.
AI Anime Prompt Agent
Turn a rough idea into a cinematic Seedance 2 prompt with the AI Director.