Cinematic Angles 101: How to Frame Your AI Anime Art Like a Professional Director
Wide shots, close-ups, and low angles are not decoration. They are how YouTube viewers feel stakes before a single line of dialogue lands.
Cinematic angles are the fastest lever most AI anime video creators ignore. You can lock a protagonist in the character creator, polish prompts for hours, and still lose retention when beat one is a tight close-up, beat two jumps to a bird's-eye wide with no story reason, and beat three reframes from the floor while the still was shot at eye level. Viewers on YouTube and Shorts do not analyze shot grammar consciously. They feel when geography and scale shift without purpose.
This guide is angle literacy for creators who already publish three-beat clips: what each shot size communicates, when to change height on purpose, and how to phrase framing so an AI anime video generator and the AI anime prompt agent interpret the same lens beat to beat. If you run serialized channels, pair this with the AI anime camera bible once you are ready to name shot codes in a spreadsheet. Start here with the why before you document the codes.
Why framing matters more than another style preset.
Art style tells viewers what universe they entered. Framing tells them whose story they are inside and how much danger or intimacy is in the room. A slice-of-life palette with a low-angle medium shot on a school rooftop reads as confrontation. The same palette with a high-angle wide on an empty classroom reads as loneliness. The model will happily swap both if your prompt only says cinematic anime scene.
For fifteen-second Shorts, framing is also thumbnail insurance. Eyes that sit in the upper third of a medium close-up survive compression on mobile feeds. A full-body wide with the face at five percent of the frame does not. Directors choose shot size for story first and for discoverability second. AI workflows should do the same: generate the readable hook frame before you chase a dramatic wide you cannot crop back into a face.
Motion inherits the still. Seedance and similar video models read the attached frame's perspective. If the still is already a low-angle medium close-up, you ask for one action: rain intensifies, hand lifts, eyes narrow. If the still is vague, the model invents a dolly move and a reframing at once, which is where jump cuts appear in otherwise consistent series.
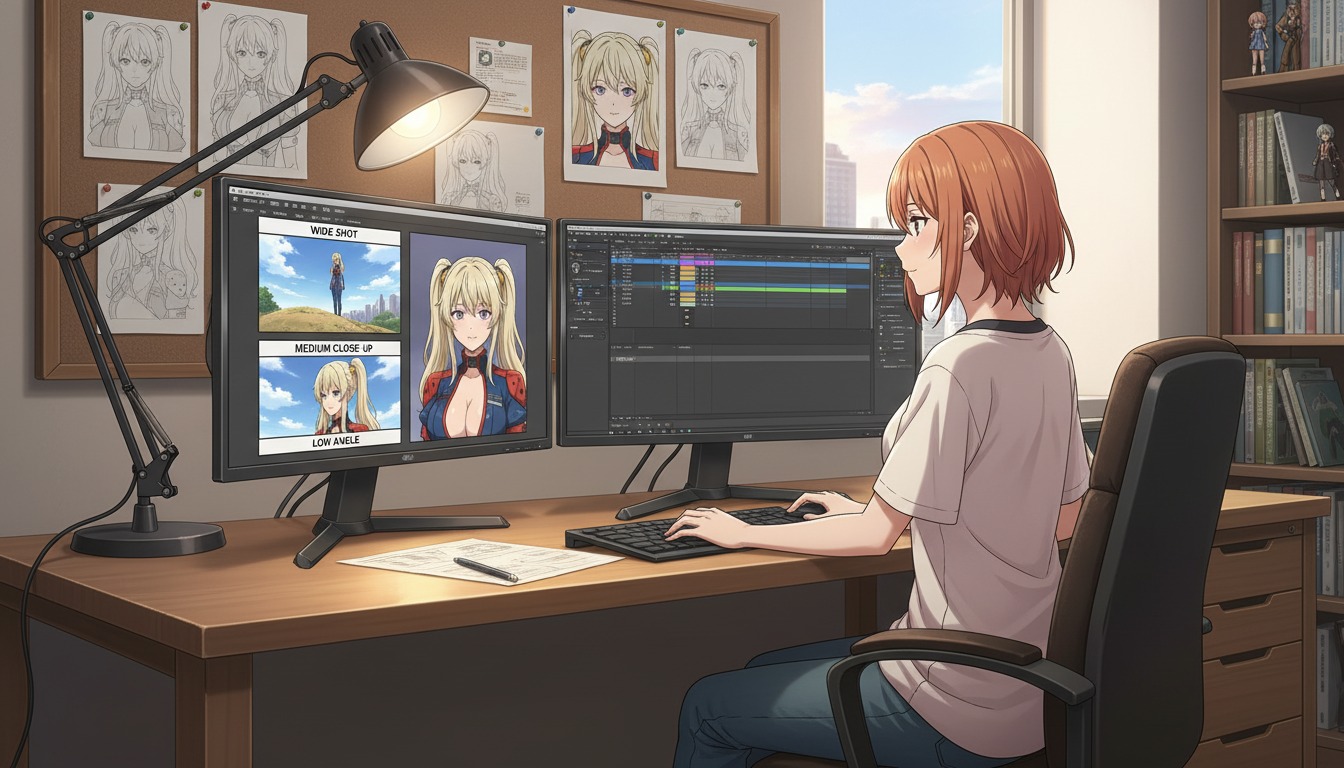
The five shot sizes every anime director uses.
You do not need a film school glossary to ship weekly. Five sizes cover most hooks, turns, and lands for YouTube anime creators:
- Extreme wide (EWS): Environment dominates. Use for arc openers, "new city" beats, or when isolation is the emotion. Keep the protagonist small but recognizable.
- Wide (WS): Full body plus set geography. Establishes where feet stand relative to doors, alleys, and crowds.
- Medium (MS): Waist up. Dialogue-friendly default for two-character scenes and turn beats that need hands visible.
- Medium close-up (MCU): Chest to top of head. The workhorse for serialized Shorts: eyes readable, outfit cues visible, background still present.
- Close-up (CU): Face fills the frame. Reserve for landings, revelations, or charm inserts. Overuse in hooks makes beat two feel claustrophobic with nowhere to go.
A practical rule for discovery Shorts: open on MCU or MS, not CU. Save the close-up for the land when the viewer already knows whose face they are watching. That rhythm matches hook discipline in AI anime video hooks for YouTube Shorts and keeps your protagonist recognizable before you ask for emotion at full scale.
Camera height: eye level, low angle, and high angle.
Shot size answers how much body is in frame. Camera height answers who holds power in the moment.
Eye level (neutral).
Camera at the character's eye line. Use for baseline dialogue, slice-of-life beats, and any scene where you want viewers to stand beside the protagonist rather than look up or down at them. Most serialized defaults should live here. When in doubt, specify eye level, straight-on horizon in the prompt.
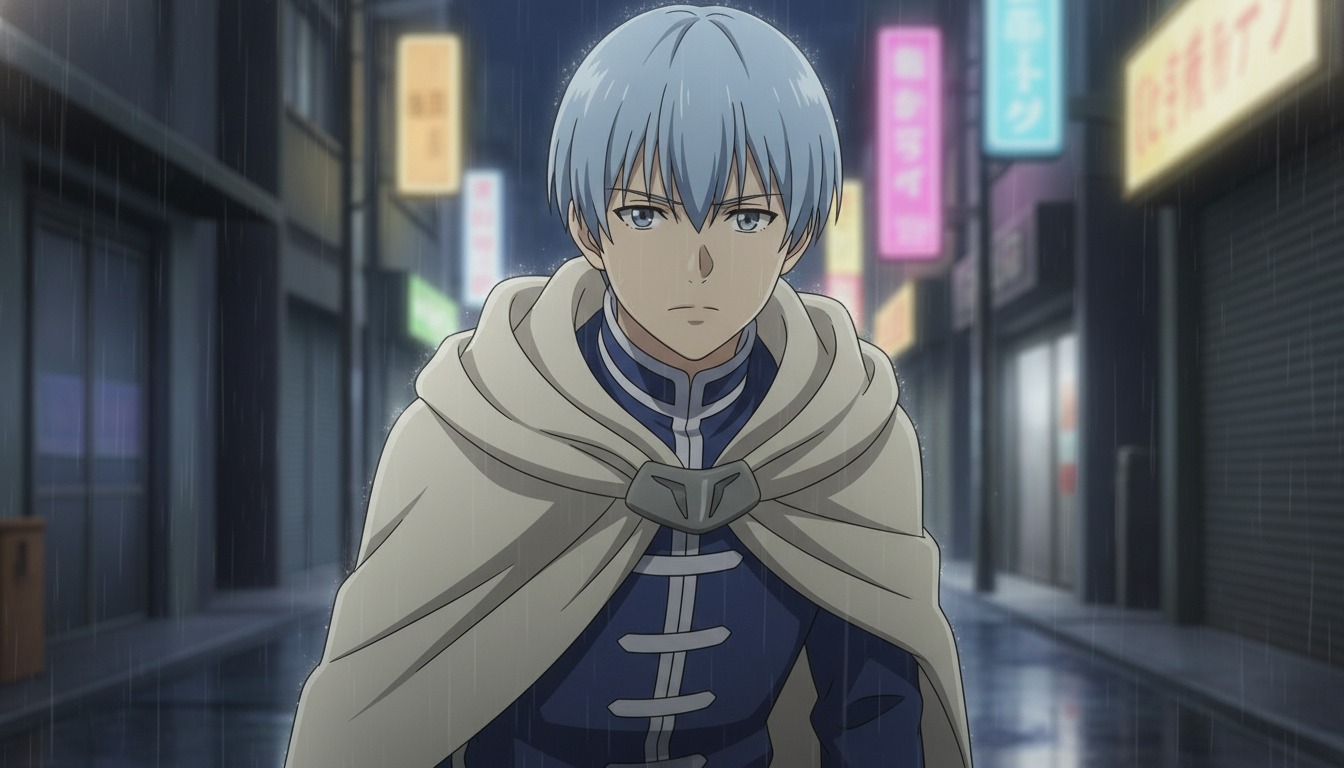
Low angle (heroic or threatening).
Camera below the chin, looking up. The character feels taller, more decisive, or more dangerous depending on expression. Low angles suit confrontation lands, mech pilots, and "I am not backing down" beats. They fail when every panel in a quiet romance uses them: nothing feels special if everything looks like a poster.
High angle (vulnerable or observed).
Camera above the head, looking down. The character feels smaller, exposed, or watched. High angles work for confession scenes, defeat before a comeback, and comedy beats where embarrassment is the joke. Pair with wider shot sizes so the body language reads; a high-angle CU can look like a technical mistake instead of a choice.
Map angles to hook, turn, and land.
Three-beat Shorts are miniature episodes. Framing should escalate on purpose, not drift because each prompt forgot the last panel.
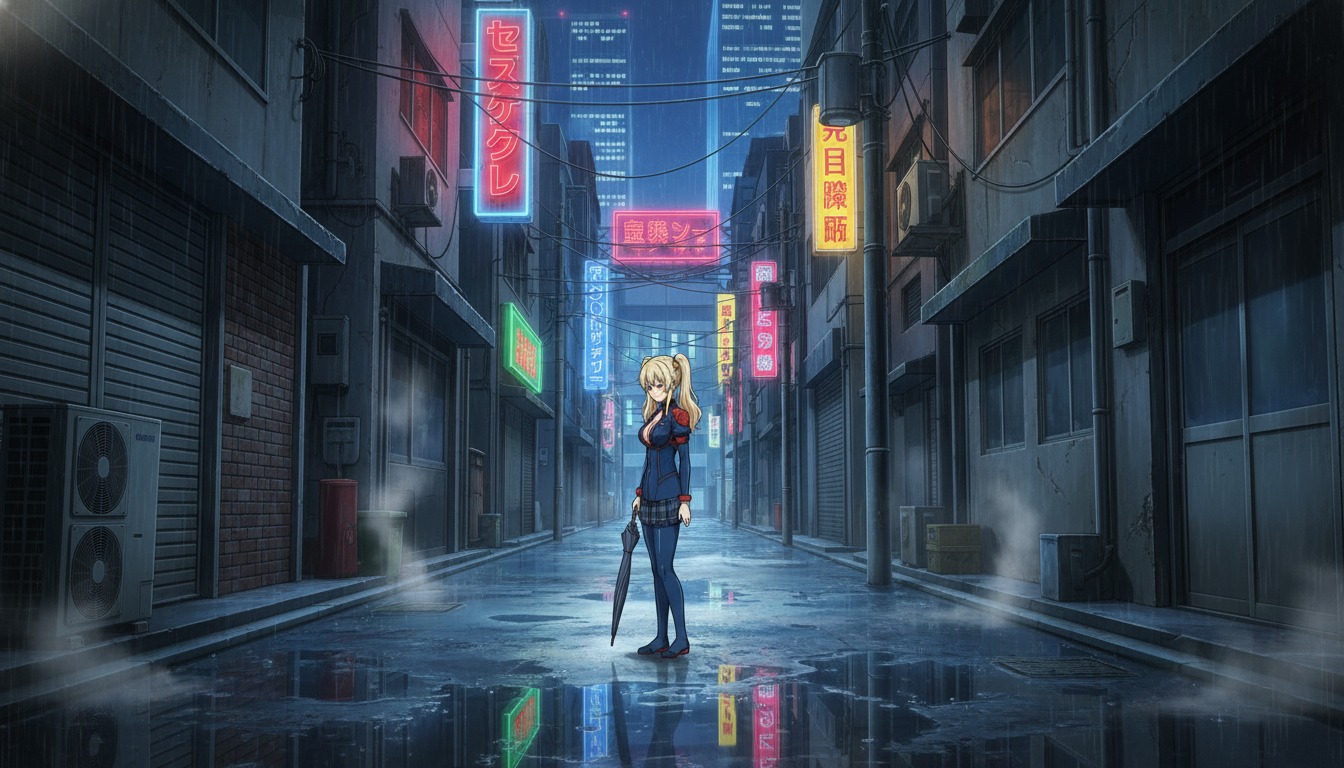
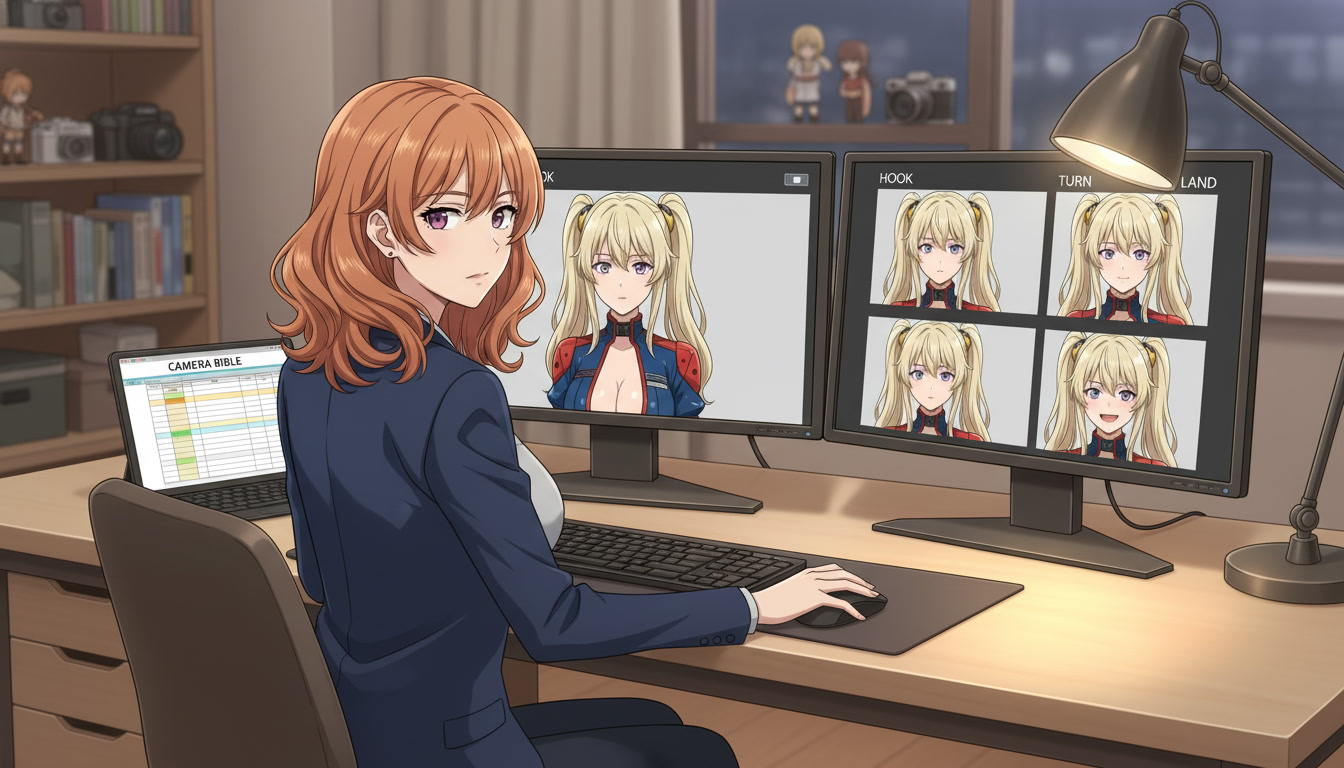
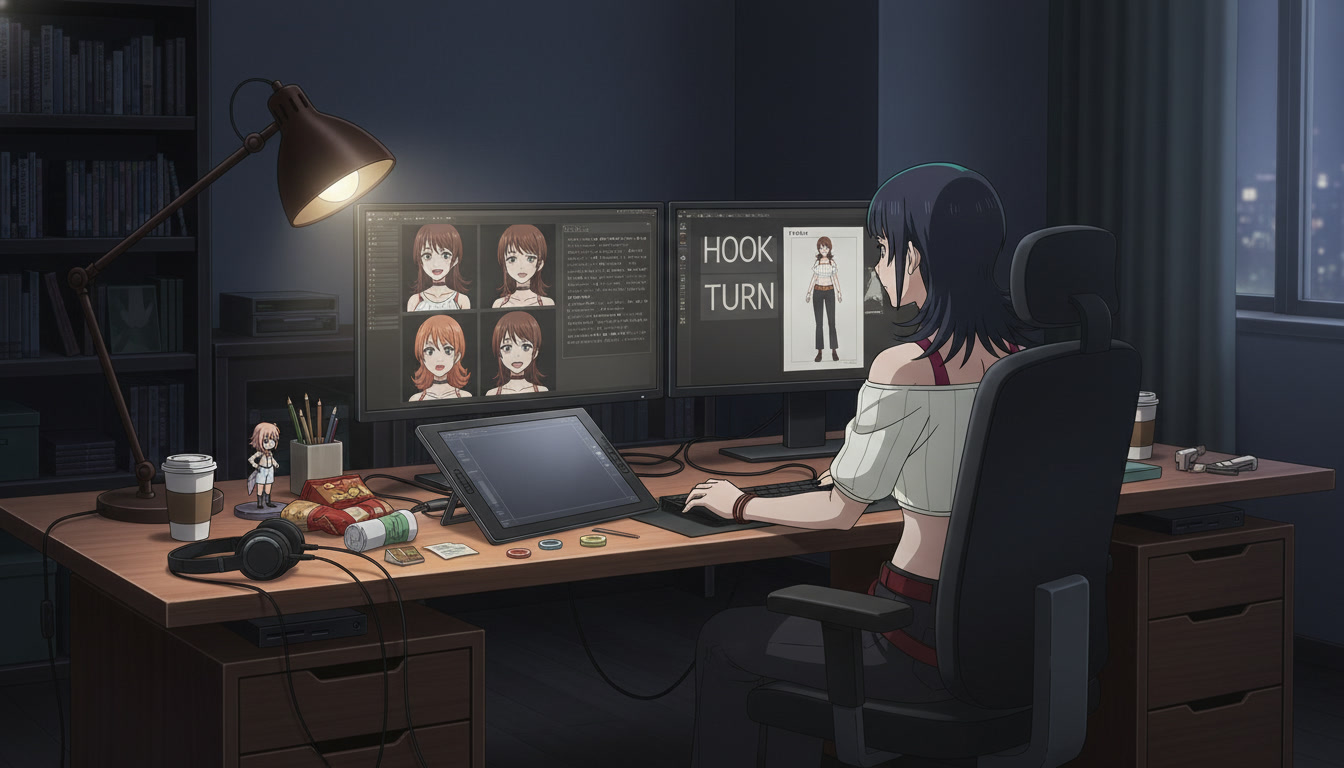
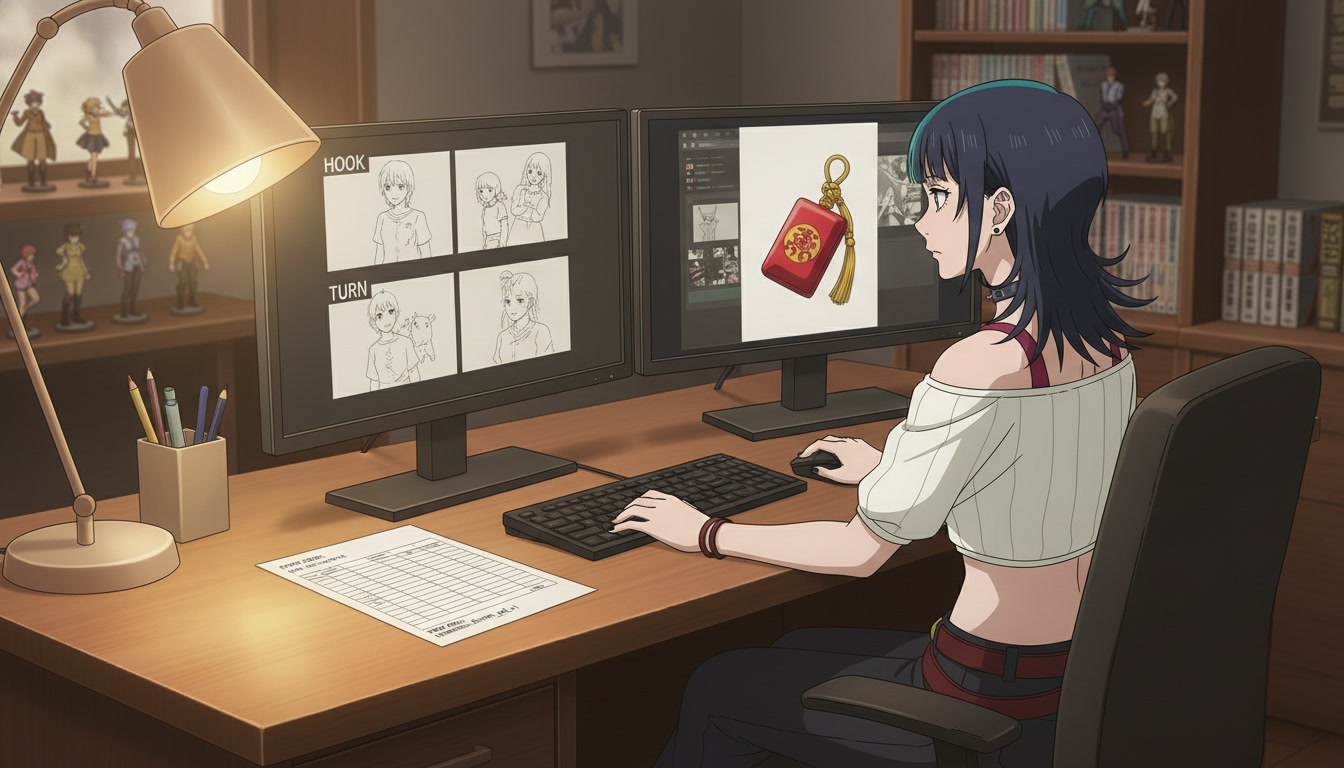
Hook (beat 1): Medium close-up or medium, eye level, protagonist centered. Name the environment in one clause so the alley, classroom, or rooftop matches episode two. Example prompt fragment: medium close-up, eye level, copper-haired heroine in navy blazer, festival alley with red lanterns, shallow depth of field, slice of life anime line art.
Turn (beat 2): Shift size or axis, not both at once unless the script earns it. A common turn is over-shoulder medium at the same eye level as the hook, preserving eyeline while revealing a second figure or a clue in frame. Example: over-shoulder medium shot from behind rival's shoulder toward heroine, same alley geometry, eye level maintained.
Land (beat 3): Close-up or wider medium with intentional angle change. If beat one and two stayed eye level, a low-angle MCU on the land sells resolution without breaking geography. Example: low-angle medium close-up, heroine's jaw set, rain on shoulders, same alley lanterns, land beat framing.
Paste the same style anchor and saved character into every line. The prompt agent is most reliable when camera words are concrete and character references are assigned before you batch stills. For motion, attach the approved still and ask for one action only, as covered in from still image to animation.
Prompt language that models actually obey.
Vague camera words are where angle drift starts. Replace mood adjectives with measurable framing:
- Instead of cinematic angle, write medium close-up, eye level, subject centered in frame.
- Instead of dramatic perspective, write low-angle medium shot, camera at knee height looking up at protagonist.
- Instead of dynamic framing, write over-shoulder medium, camera behind left shoulder of second figure, same horizon line as previous panel.
- Add no dutch tilt when your series should feel grounded. Dutch angles are valid for horror or comedy beats; they are accidents in slice-of-life unless you name them.
Reject panels that flip to bird's-eye when you asked for eye-level MCU. That is a new scene grammar borrowing your palette. Regenerate with the height repeated twice in the prompt if needed. Batch hook, turn, and land in one session while latent mood is stable, the same way you would for expression rows in character expression sheets.
Common framing mistakes on YouTube anime channels.
Hook close-up with nowhere to escalate. If beat one is already a face-filling CU, beat two cannot get closer without feeling repetitive. Open wider, land tighter.
Accidental axis breaks. Hook shows the protagonist facing screen-right; turn shows them facing screen-left with no cutaway or movement beat between. Viewers feel a jump cut even when the background matches.
Mixing bird's-eye and low-angle without story reason. The model treats "cinematic" as permission to rotate the world. Name height every time.
Thumbnail frame chosen after the edit. Pick which panel must read at 120 pixels tall before you generate. Usually that is the MCU hook, not the prettiest wide.
Deeper troubleshooting lives in seven AI anime video prompt mistakes and in the beginner-to-pro prompt guide.
Frequently asked questions about cinematic angles and AI anime video.
Do I need film school training to frame AI anime for YouTube?
No. The five shot sizes and three camera heights in this guide are enough for most serialized Shorts. AutoWeeb's workflow rewards naming the shot in plain language before you generate stills or send frames to video. Treat framing as a checklist, not a credential.
Which shot size works best for YouTube Shorts hooks?
Medium close-up or medium at eye level is the most reliable hook for mobile feeds. Eyes stay large enough for thumbnails, and you retain room to cut to a close-up on the land. Extreme wides work for arc openers, not for every discovery upload.
How do I keep the same angle across multiple clips in one short?
Save your protagonist to AutoWeeb's character library, write explicit camera height and shot size in every prompt, and attach the approved still when you move to video. Do not rephrase the camera with mood words between beats. If beat two drifts, regenerate beat two only while keeping beats one and three locked.
Should I use the AI anime prompt agent or write camera lines myself?
Both work. The AI anime prompt agent helps when you know the story beat but not the lens words. You still review output for shot size and height. Directors on traditional shows approve frames; you should approve stills before motion.
When is a low angle the wrong choice?
Low angles on every beat make quiet dialogue feel like a trailer. Use them for lands, confrontations, and power shifts. Stay at eye level for exposition, comedy embarrassment (pair with high angle instead), and most slice-of-life hooks.
How does framing relate to the camera bible posts?
This guide teaches the vocabulary. The camera bible is where you document codes like alley_mcu_v1 for production at scale. Learn the angles here, then name them in a spreadsheet when you publish weekly.
Can AutoWeeb generate different angles from one saved character?
Yes. Assign the same saved character to each prompt and change only shot size and camera height between panels. AutoWeeb carries face and outfit consistency; your job is to keep environment and horizon language stable so the angles feel directed rather than random.
Once framing is deliberate, motion prompts get shorter and series start to feel like one show. For the next layer, storyboard three beats in how to storyboard AI anime for YouTube creators, then document shot codes in the camera bible when you are publishing on a schedule.
Related Blog Posts
AI Anime B-Roll and Cutaways for YouTube Video Creators
Insert shots are not filler. They are the rhythm that makes your protagonist clips feel like a directed episode.
Plan AI anime B-roll and cutaways for YouTube Shorts: environment inserts, detail stills, and motion clips that bridge storyboard beats without breaking character or location continuity.
AI Anime Camera Bible for YouTube Video Creators
Hooks feel like a trailer and lands feel like a recap when framing is a mood, not a code. A camera bible is how serialized Shorts keep the same shot grammar beat to beat.
Build an AI anime camera bible for YouTube Shorts: name hook, turn, and land shot codes, tag panels before stills and Seedance motion, and stop accidental jump cuts between mismatched angles.
AI Anime Character Expression Sheets for YouTube Video Creators
Hooks fail when the face drifts. A small expression library is how serialized Shorts keep the same protagonist readable beat to beat.
Build AI anime character expression sheets for YouTube Shorts: neutral, shock, anger, and soft beats you reference in storyboard panels, stills, and Seedance motion so hooks match the land.
AI Anime Prop Bible for YouTube Video Creators
The charm on the hook is porcelain in the turn and brass in the land when props are moods, not codes. A prop bible is how serialized Shorts keep plot objects readable beat to beat.
Build an AI anime prop bible for YouTube Shorts: name recurring charms, letters, and keys, tag prop codes on storyboard panels, and batch detail stills before stills and Seedance motion.
Explore AutoWeeb
Jump into the tool that fits your creative step.
AI Anime Video Generator
Animate storyboard shots into cinematic clips with Seedance 2 and consistent characters.
Anime Character Creator
Design original characters with consistent sheets across every scene.
AI Anime Image Generator
Generate cinematic anime stills anchored to your character library.
Turn Photo Into Anime
Upload any photo and watch AI turn it into stunning anime art in seconds.
AI Anime Location Generator
Create a location set once, then generate reference images from every angle.
AI Anime Storyboarding
Describe your idea, pick your characters, and let AI draft the script and scenes.
AI Anime Prompt Agent
Turn a rough idea into a cinematic Seedance 2 prompt with the AI Director.