AI Anime Camera Bible for YouTube Video Creators
Hooks feel like a trailer and lands feel like a recap when framing is a mood, not a code. A camera bible is how serialized Shorts keep the same shot grammar beat to beat.
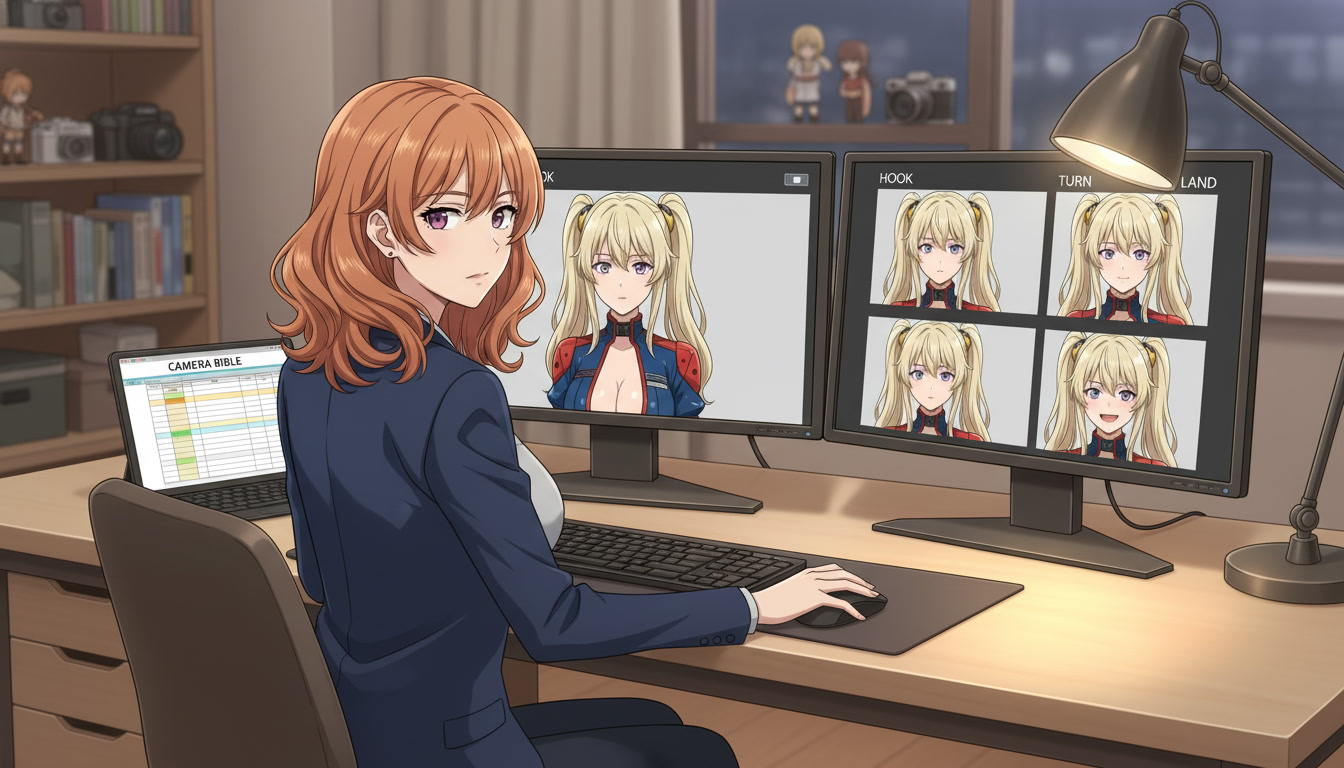
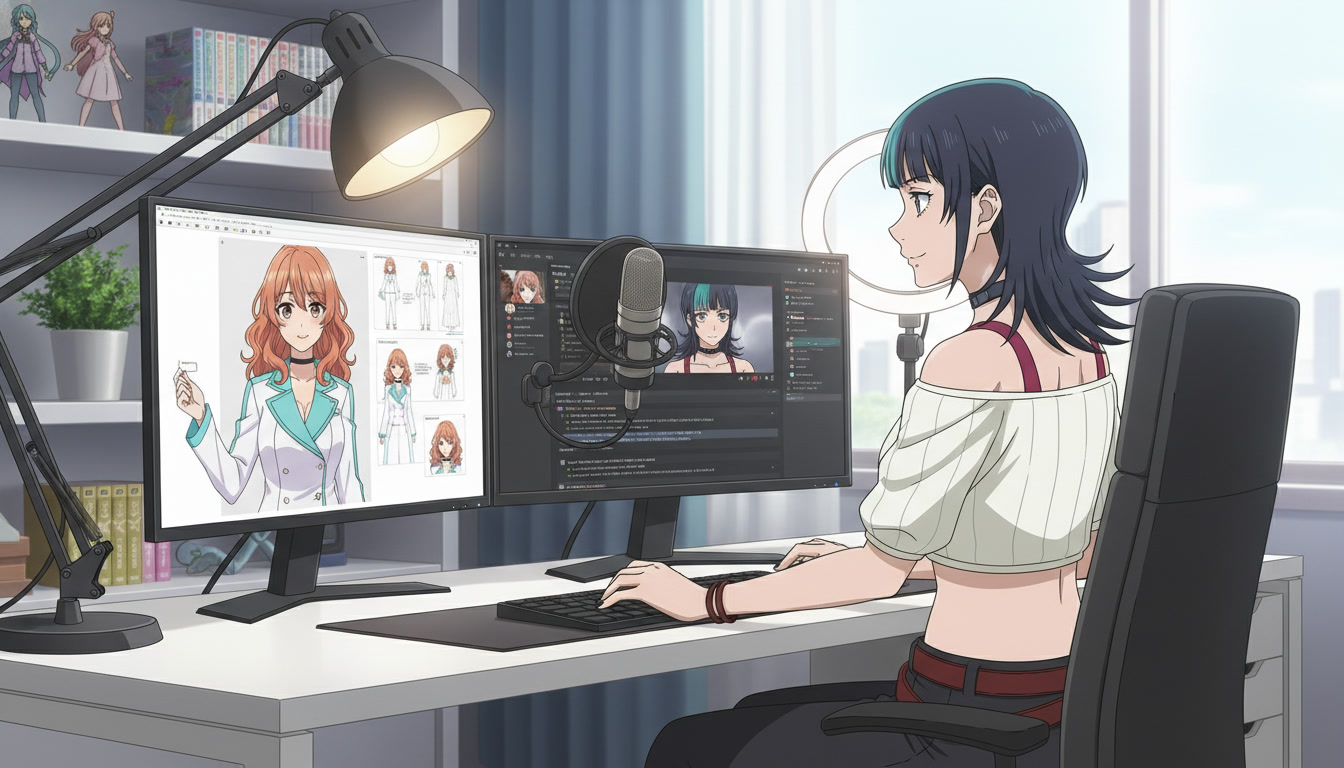
An AI anime camera bible is the layer between locking light and publishing ai anime video clips where blocking should feel continuous. YouTube and Shorts creators often fix the protagonist's face in the character creator and still lose viewers when the hook opens on a tight close-up, the turn insert jumps to a bird's-eye wide with no story reason, and the land beat asks Seedance for a push-in while the still was shot flat-on. The anime video generator is not sabotaging your channel. It is interpreting "cinematic framing" as a new lens every time you omit shot size and angle.
This guide is for creators who already run three-beat storyboards and batch environment inserts. You will define one default hero frame per recurring set, name two intentional contrast frames for plot turns, and add a cam: field beside Purpose and Action before you generate. If geography still drifts between beats, lock sets first in the AI anime location bible. If light temperature jumps between panels, document keys in the AI anime lighting bible before you tune rim light on a charm macro.
Why a camera bible beats another "dynamic angle."
A grade pass can nudge palette. A camera bible decides how much of the body is in frame and where the horizon sits. Serialized channels fail retention when the hook close-up shows eyes at the top third, then the turn wide places the same heroine at ankle height with no emotional shift in the script. Viewers forgive a softer background faster than they forgive a perspective jump that never happened in the story.
Framing also shrinks motion prompt entropy. Seedance reads the still you attach. If the still already holds the shot size and angle you want, you ask for one action (hand lifts charm, rain streaks intensify) instead of asking the model to invent a dolly move while reframing from extreme wide to extreme close. That pairs with hook discipline in AI anime video hooks for YouTube Shorts and with the one-action rule in video and scene generation for YouTube creators.
Think of framing as production vocabulary, not decoration. Your storyboard should say cam: alley_mcu_v1, not cinematic dramatic angle. Vague camera words are where shot size and eyeline start to wander.
The minimum shot set for fifteen-second anime Shorts.
You do not need a film school glossary to start. Three tiers cover most discovery Shorts and weekly serialized episodes:
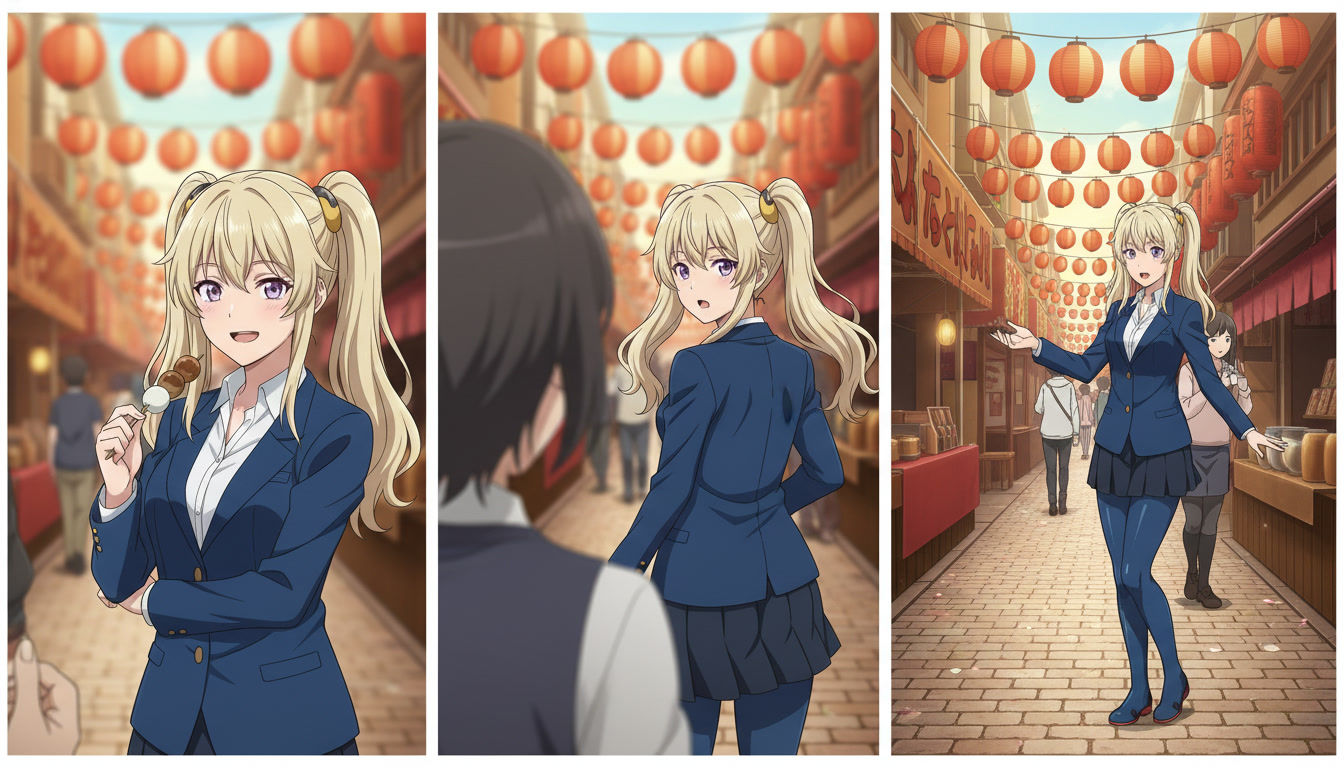
- Series default (alley_mcu_v1): medium close-up, eye level, protagonist centered with readable eyes at thumbnail scale.
- Turn contrast (alley_os_v1): over-shoulder or insert-friendly medium shot when proof arrives. Same eyeline height as alley_mcu_v1.
- Land accent (alley_ms_v1): medium shot with slightly more environment visible for the payoff frame. Same angle axis, no sudden bird's-eye unless the script earns it.
Add a fourth row only when analytics prove viewers ask for it: alley_ws_v1 for establishing beats or arc openers. Do not open week one with four tiers. Recognition beats variety before subscribers know your silhouette.
Label files with codes, not moods: alley_mcu_v1_hook_01.jpeg. The edit bin, B-roll folder, and storyboard should share the same string, as in AI anime B-roll and cutaways.
Generating stills with repeatable shot keys.
Open your saved protagonist when the face must match the series. Use the same style preset you chose from styles. For face-free inserts, generate environment macros with the shot code in the prompt body so inserts cut cleanly with hero clips.
Example series default still prompt:
Medium close-up, copper-haired heroine in navy blazer, festival alley with red paper lanterns, eye level, subject centered, shallow depth of field, camera reference panel, slice of life anime line art.
Example turn contrast still prompt:
Over-shoulder medium shot from behind a second figure's shoulder toward the heroine, same alley geometry and outfit, eye level maintained, camera reference panel, turn beat framing only.
Example land medium still prompt:
Medium shot, same heroine and alley, slightly wider framing showing lantern row, eye level, camera reference panel, land beat accent, no dutch tilt added.
Reject any panel that flips to a high angle when you only asked for a wider medium. That is a new scene grammar borrowing your palette. Batch all three tiers in one session while the model's latent mood is stable, as you would for expression rows in AI anime character expression sheets.
Drop the winning grid into your series doc beside location rows and outfit codes from the AI anime wardrobe bible. Humans can read one contact sheet; machines still need coded filenames in the folder.
Storyboard tags that connect framing to hook, turn, and land.
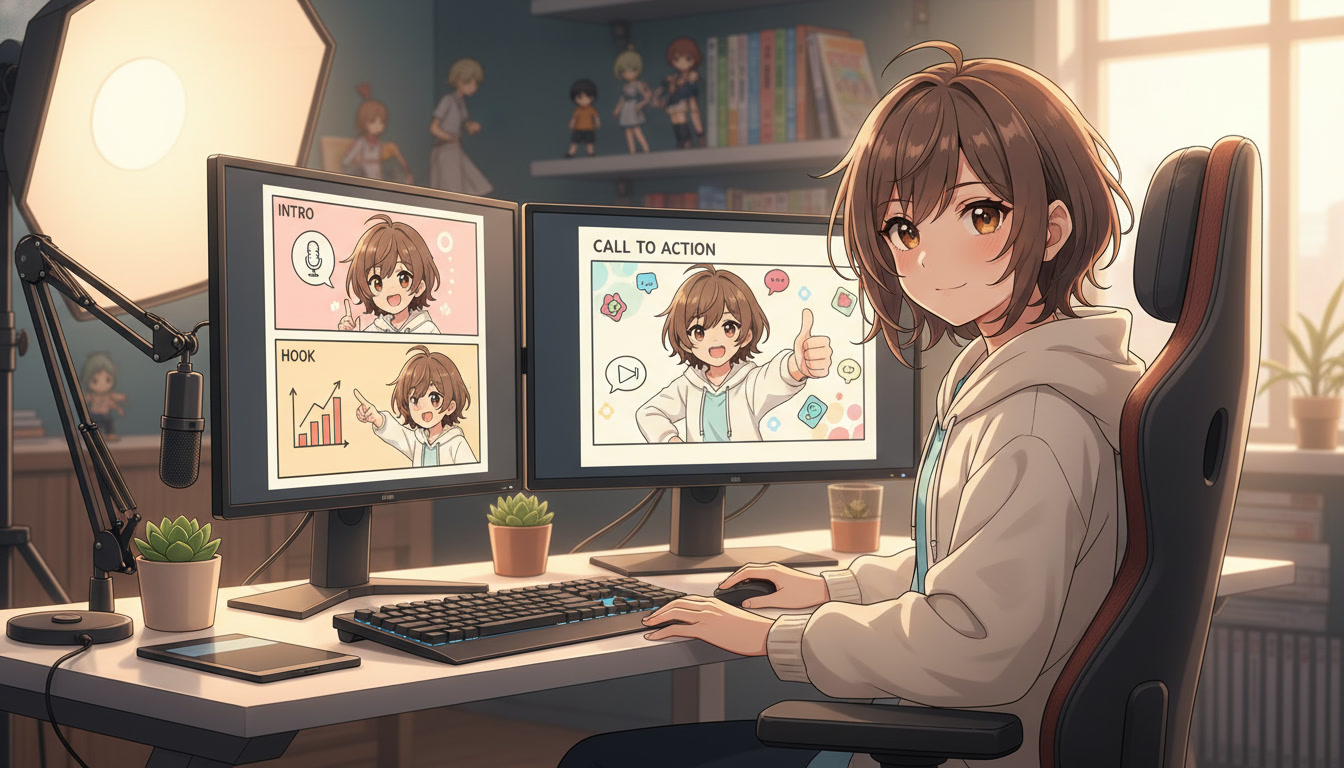
Add a cam: field beside face:, light:, outfit:, and Purpose on every panel where blocking is readable. Discovery Shorts often map like this:
- Hook (0-3s): cam: alley_mcu_v1 on a close-readable face so the thumbnail matches the opening scale.
- Turn (5-9s): cam: alley_os_v1 on a face-free insert or a duo over-shoulder when the proof arrives. Keep the geography code unchanged.
- Land (11-15s): cam: alley_ms_v1 only if the script earns a wider payoff. Otherwise stay on alley_mcu_v1 so the land does not feel like a recap montage.
When you run a festival arc across four uploads, switch the whole episode's camera pack together: same default row on every hero panel, same contrast row on every turn insert. Mixed codes inside one Short read like a continuity error even when faces match.
Motion prompts inherit the still. Paste one camera descriptor from the bible, not three: static camera, rain intensifies, no push-in. Deeper prompt layering lives in how to write prompts for Seedance 2 anime videos and in the AI anime prompt formula when you need vocabulary beyond your three codes.
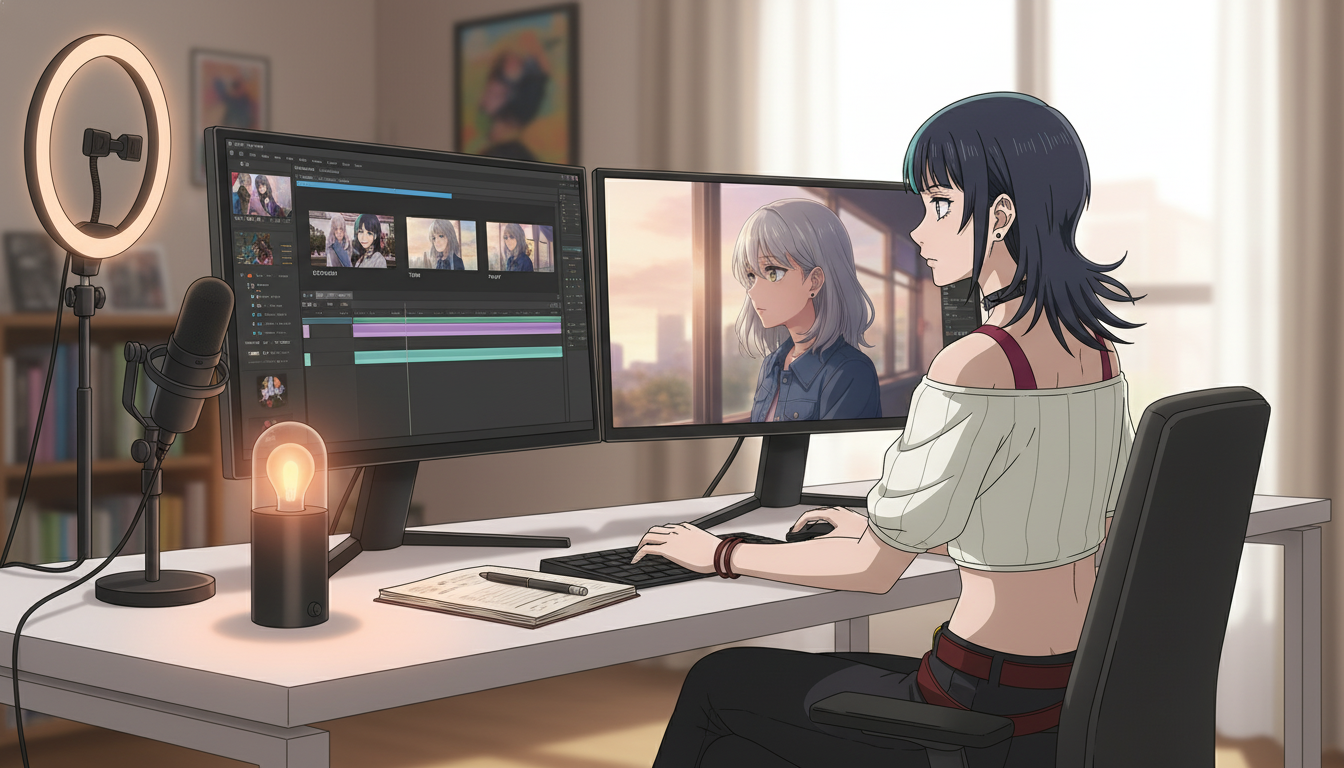
Editing rhythm without fighting the still pass.
A camera bible is not a license to fix everything in post. If hook and turn were generated under different shot keys on purpose, copy one cut note into the timeline so the edit feels authored, not accidental. If they were not intentional, regenerate the turn still instead of punching in a digital zoom on a frame that was shot wide.
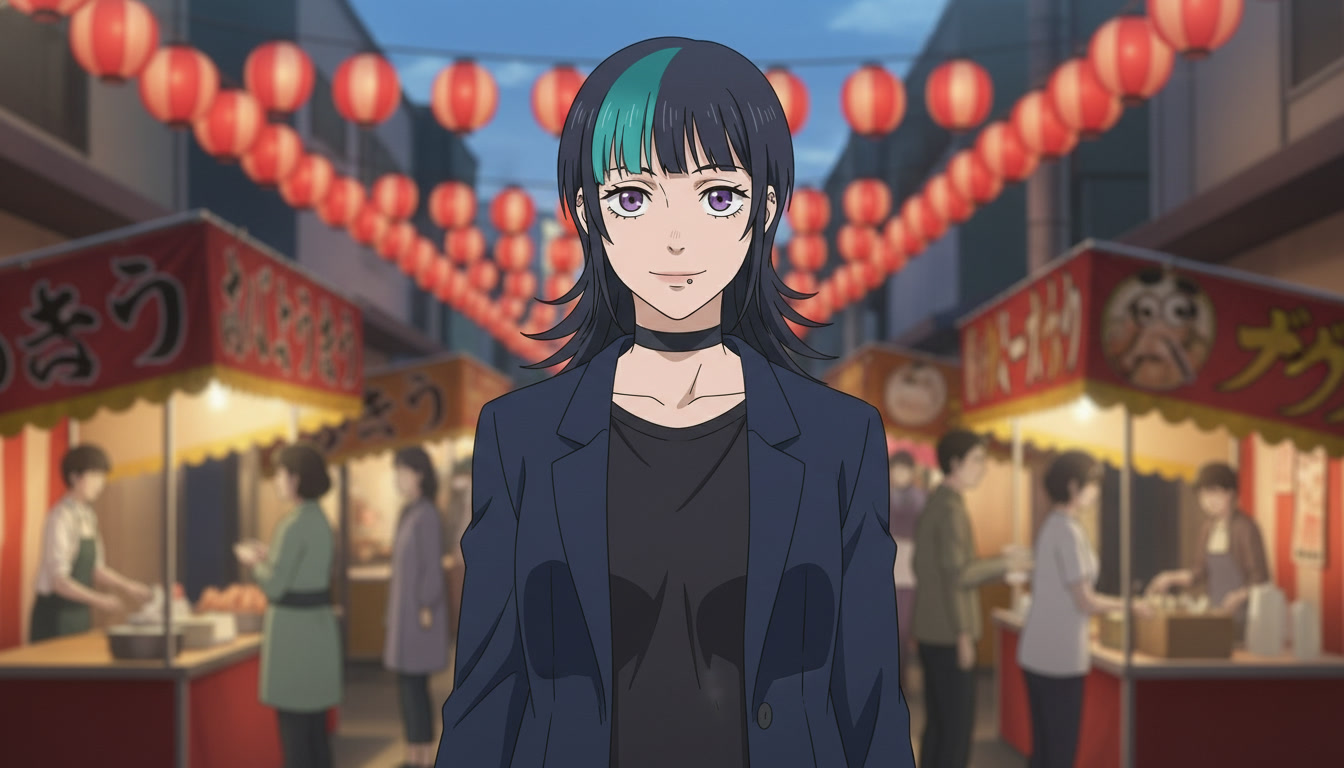
Duo episodes from AI anime two-character scenes need matched eyeline height in a two-shot. When one character keeps shrinking because the model defaults to a high angle, split into shot-reverse-shot with identical cam: codes rather than asking one crowded generation to invent two horizons.
Thumbnail discipline still applies. Do not pull a wide insert for the tile if the hook promise was a readable MCU. Thumbnail workflow stays in AI anime YouTube thumbnails for video creators. Shot codes serve retention inside the Short, not browse packaging alone.
Keep a simple camera checklist on the series doc:
- One default MCU per recurring set, written as shot size plus angle
- At most one contrast framing per arc, used only on turn beats
- Motion prompts capped at one camera phrase copied from the still
- Cut note field that matches the winning still, not a new lens per upload
When a camera code wins retention in analytics, duplicate its storyboard line into the template for the next three uploads. That is how how to make anime video with ai stops depending on lucky framing stills and starts behaving like a show with a director who remembers where the camera stood.
Camera grammar sits between light locks and the final timeline: named shot keys, batched stills, one phrase into motion. Pair this workflow with editing AI anime video for rhythm, and with storyboarding AI anime pre-production so panels carry cam: before you open any generator. For cast and set locks upstream, continue with original character creations for video creators and creating an AI anime YouTube channel.
Related Blog Posts
Video and Scene Generation for AI Anime YouTube Creators
Still frames are your sets. Motion prompts are your cuts. The pipeline between them is what separates a clip dump from a channel.
Learn video and scene generation for AI anime YouTube Shorts: lock scenes with photo packs and scene builders, export motion-ready stills, and animate with Seedance 2 on AutoWeeb.
Original Character Creations for AI Anime Video Creators
Your channel's face is not a prompt you remember — it is a saved OC with a sheet, a palette, and rules motion can obey.
Learn original character creation for AI anime YouTube Shorts: design an OC, lock a character sheet, reuse the same protagonist across scenes and Seedance 2 video clips on AutoWeeb.
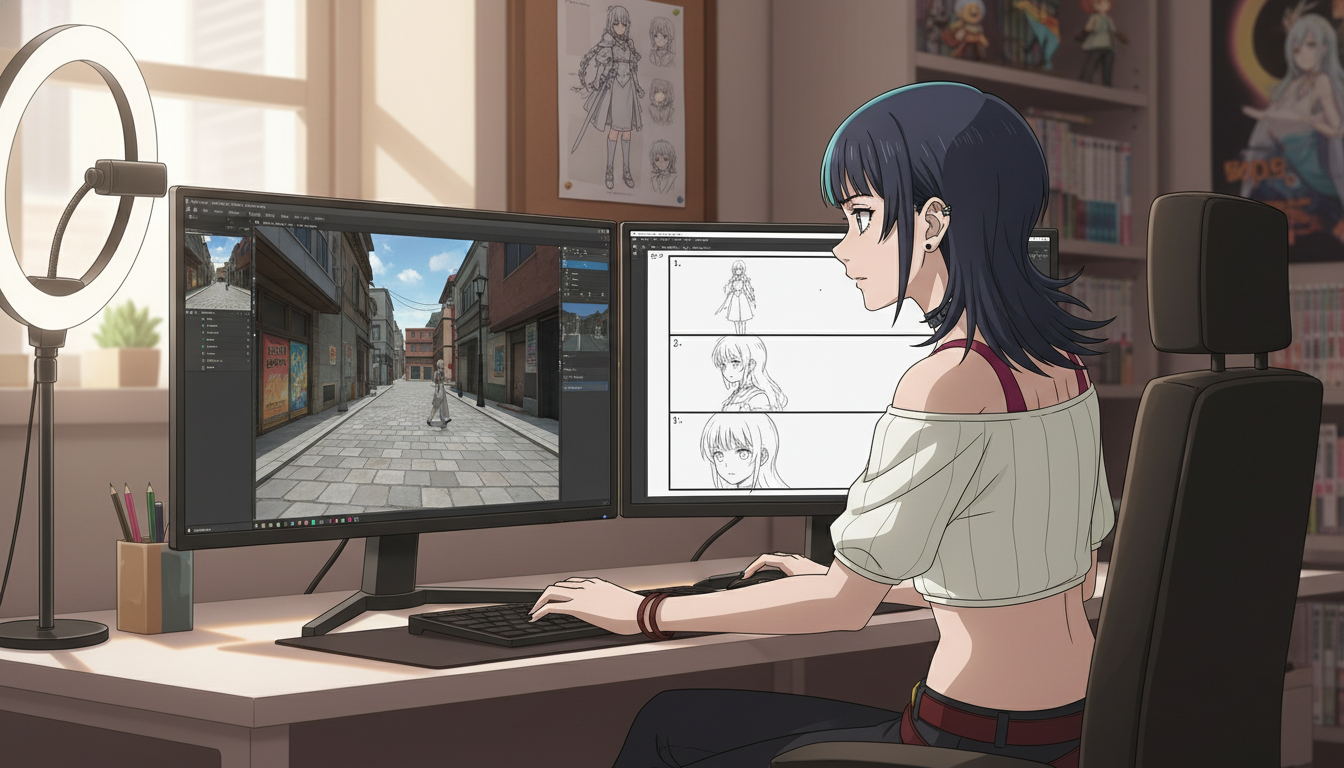
Storyboarding AI Anime: Pre-Production for Video Creators
The panel notes you write before you generate are what turn scattered clips into a directed upload.
Storyboarding AI anime for YouTube and Shorts: a pre-production checklist, five-line panel annotations, and a scene-to-motion handoff before you open the video generator.
Editing AI Anime Video for YouTube Creators
Generation gives you clips. Editing gives them a rhythm viewers feel in the first three seconds.
Edit AI anime video for YouTube Shorts: a post-production workflow for trimming clips, matching beats, sound design, and exports that keep your protagonist consistent across uploads.
Explore AutoWeeb
Jump into the tool that fits your creative step.
AI Anime Video Generator
Animate storyboard shots into cinematic clips with Seedance 2 and consistent characters.
Anime Character Creator
Design original characters with consistent sheets across every scene.
AI Anime Image Generator
Generate cinematic anime stills anchored to your character library.
Turn Photo Into Anime
Upload any photo and watch AI turn it into stunning anime art in seconds.
AI Anime Location Generator
Create a location set once, then generate reference images from every angle.
AI Anime Storyboarding
Describe your idea, pick your characters, and let AI draft the script and scenes.
AI Anime Prompt Agent
Turn a rough idea into a cinematic Seedance 2 prompt with the AI Director.