How to Turn a VRoid Model Into Anime Art
You built the character in VRoid Studio. A clean screenshot and AutoWeeb can turn it into polished 2D anime illustrations that keep every detail you designed.
You spent time in VRoid Studio adjusting every slider. Hair length, eye color, outfit layers, the exact placement of a hair clip or choker. Your VRoid avatar is not a random anime template. It is a specific design with a color palette, accessory choices, and proportions you picked on purpose. The question is not whether it would look good as 2D art. The question is how to get there without rebuilding the character from scratch or losing the details that make it yours.
AutoWeeb's photo-to-anime converter reads a clean VRoid screenshot and produces polished VRoid anime art while keeping the defining details intact: hairstyle, eye color, clothing, accessories, and the overall identity you built in VRoid Studio. Upload a screenshot, pick an art style, and you get VRoid character art you can use as a PFP, profile banner, illustration, character sheet, or social post.
👉 Upload Your VRoid Screenshot on AutoWeebWhy VRoid models convert well to anime art
VRoid Studio characters are already designed like anime illustrations. Clean silhouettes, readable hair shapes, layered outfits, and accessories that stand out at a glance. Generic photo filters struggle with 3D shading, soft gradients, and the subtle geometry of a VRoid face. AutoWeeb treats your screenshot as a character design reference, not a selfie. It preserves the silhouette, color blocks, and accessory placement while replacing 3D rendering with clean anime linework and cel tones.
That matters when your VRoid avatar has details a simple filter would flatten: split hair colors, heterochromia, animal ears, wing accessories, layered gothic outfits, or small charms on a choker. The converter reads those as design elements to keep, not noise to smooth over. You get VRoid to anime conversion that respects the character you actually built.
Example anime outputs from VRoid references
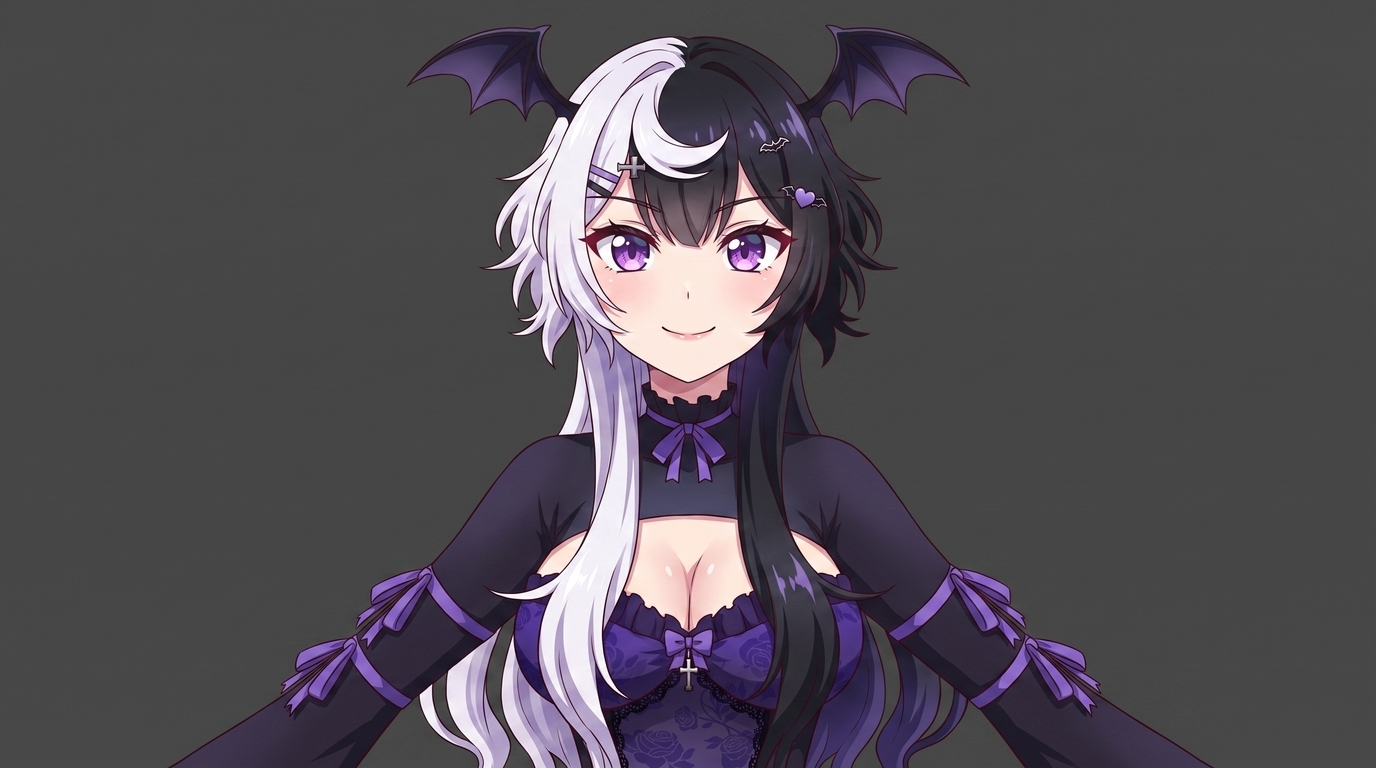
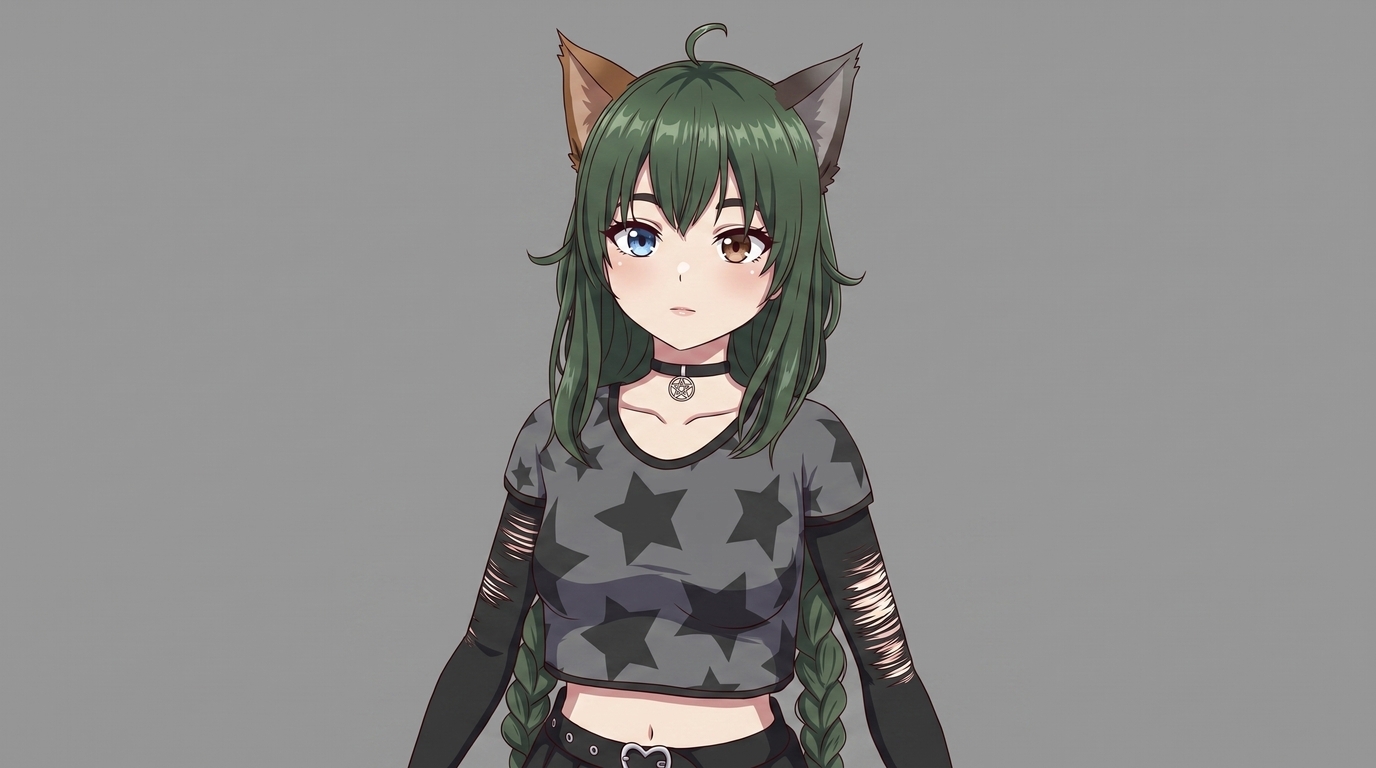
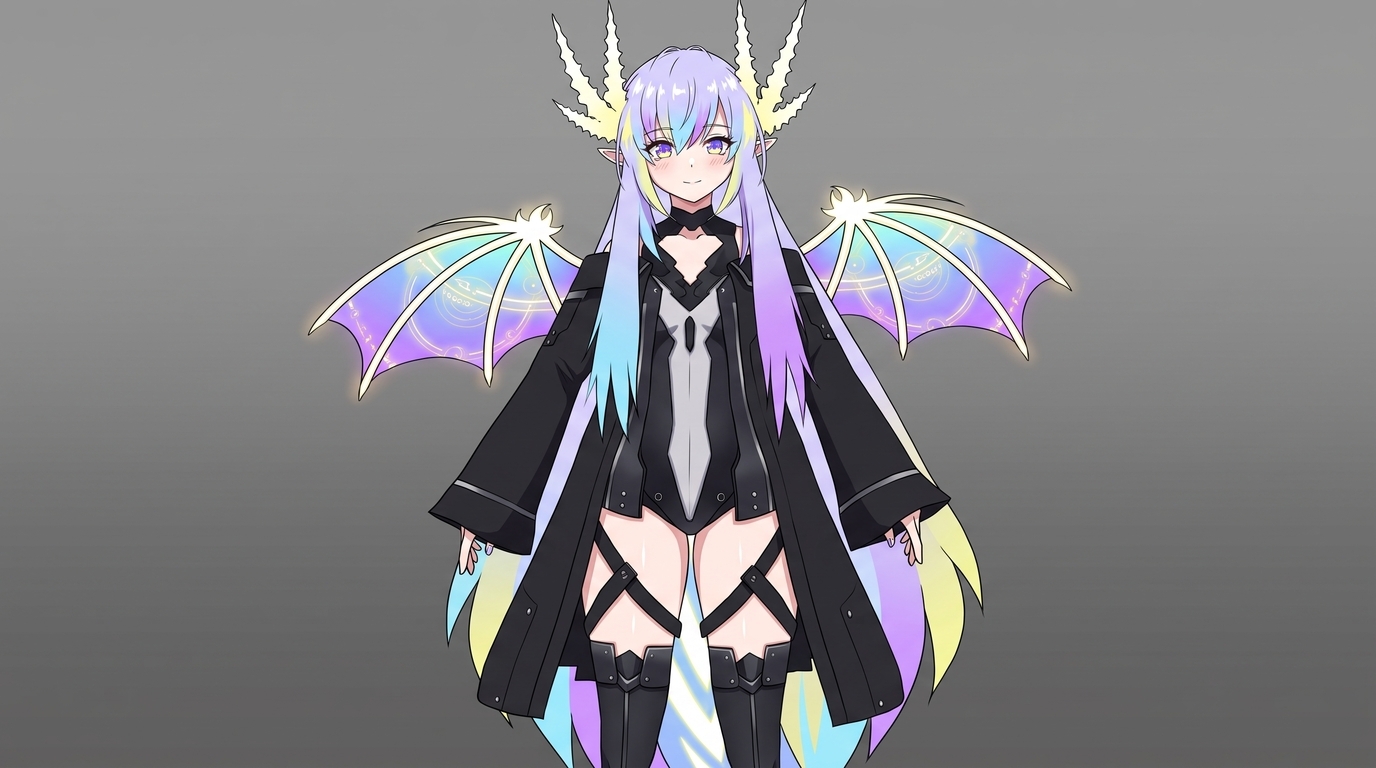
Each image below is a finished example of what AutoWeeb produces from a VRoid model screenshot. They are different characters and different output types, not stages of the same conversion. What they share is the level of detail preserved: hair color and style, eye color, outfit layers, accessories, and overall identity all carry through into polished 2D art.
Step 1: Set up your VRoid screenshot in Studio
The source screenshot is the single biggest factor in conversion quality. A few minutes adjusting camera, lighting, and expression in VRoid Studio pays off in the final anime art.
Camera angle and framing
Open your model in VRoid Studio and position the camera before you capture. A straight front view or a slight three-quarter angle works best for character sheets and PFPs. For full-body illustrations, pull back until the entire outfit, shoes, and any tail or wing accessories are visible in frame. Keep both ears, horns, and major hair accessories unobstructed. Avoid extreme low angles or heavy foreshortening that compress facial features. If you plan to crop to a portrait later, still capture at a comfortable distance so hair volume and shoulder accessories stay intact.
Lighting
VRoid Studio's default lighting is usually enough for a clean reference, but harsh directional light can blow out one side of the face or cast strong shadows across the outfit. Rotate the model or adjust the light source until illumination is even across the face and clothing. Neutral white light reads best. Colored studio lighting can tint skin and fabric in ways the converter may carry into the final anime art. If your character has glow effects or emissive accessories, a slightly darker environment helps those accents read without washing out.
Expression and pose
Pick the expression that matches your intended output. A neutral or soft smile works for character sheets and general illustrations. A more animated expression suits reaction images, chibis, or social stickers. VRoid's expression presets are a good starting point, but small manual tweaks to eyebrow angle and mouth shape often produce a more natural result. For pose, keep arms slightly away from the body so layered sleeves, ribbons, and accessories along the arms stay visible.
Background
A plain or softly graded background is ideal. VRoid Studio's default gray backdrop works well because it gives the converter a clean silhouette to read. Busy patterns, cluttered room scenes, or heavy bloom behind the character can add noise that competes with hair and outfit detail. You can always place the finished character in a new scene after conversion. For the reference screenshot, simplicity wins.
Capture at full resolution
Use VRoid Studio's screenshot function or your system's native capture at the highest resolution available. Avoid cropping a low-res image afterward. More pixels in the source means sharper hair strands, fabric textures, and small accessories in the final VRoid character art.
Step 2: Upload and convert to anime
Upload your VRoid screenshot to AutoWeeb's photo-to-anime tool. The AI reads hair, facial features, outfit layers, and accessories from the image. Open the style selector and try two or three art styles on the same screenshot before you commit. A gothic VRoid avatar might look best in a dark fantasy style, while a pastel catgirl could suit slice-of-life rendering.
Prompts that help steer the conversion toward your intent:
- anime portrait, split white and black hair, bat wing headband, purple gothic outfit, silver cross accessories, clean linework, dark fantasy style
- full body anime illustration, pastel rainbow hair, crystal horns, iridescent holographic wings, techwear coat, cinematic lighting
- chibi anime PFP, green braided hair, cat ears, heterochromia, star-pattern streetwear, cute proportions, bold outlines
Step 3: Build a character sheet from your VRoid design
When you have a conversion you like, take it into AutoWeeb's Character Creator and generate a character sheet with front view, side view, and expression variations. The sheet locks your VRoid avatar's design so every future image stays on-model.
In the character description, call out the details that define your model: exact hair colors and placement, eye color (including heterochromia if applicable), ear type and accessories, outfit layers, choker or necklace details, and any wing, horn, or tail features. The more specific the description, the more consistent your VRoid anime art looks across outputs. Think of it as a VRoid character generator that already knows your design and applies it to new scenes and formats.
Step 4: Create PFPs, illustrations, chibis, wallpapers, and social content
Once the design is locked, you have a full range of VRoid character art to work with:
- Anime PFPs: Tight portrait crops for Discord, Twitter, VRChat, or VTuber profile pictures. The close-up conversion keeps hair highlights, eye color, and ear accessories sharp at thumbnail scale.
- Character sheets: Front, side, and expression views that document your VRoid design for commissions, reference sharing, or future art projects.
- Full illustrations: Three-quarter or full-body renders in new environments. Your VRoid avatar in a rooftop scene, festival street, or fantasy landscape that never existed in Studio.
- Chibis: Smaller, cuter proportions for stickers, emotes, or casual profile art. Same color palette and accessories, different scale.
- Wallpapers: Wide-format compositions with your character against a scenic backdrop for desktop backgrounds or phone lock screens.
- Social content: Seasonal posts, outfit variations, reaction images, and channel banners built from one locked VRoid identity instead of commissioning each piece separately.
- New scenes: Drop your locked character into photo packs for festivals, city streets, fantasy towns, or slice-of-life interiors.
Tips for the strongest VRoid to anime results
- Use the highest resolution screenshot you can. Native resolution captures more detail in hair strands, fabric textures, and small accessories.
- Run the same screenshot through multiple styles. Your VRoid model might look better in dark fantasy than shonen, or vice versa. Compare style options before you lock a design.
- Describe defining features in the character sheet. Split hair colors, heterochromia, horn placement, wing type, and accessory details should be written out explicitly.
- Capture multiple angles if you plan a full character sheet. A front screenshot and a three-quarter view give the AI more reference material for side views and expression variations.
- Keep conversions for personal use. Your VRoid model is your creation, but respect creator rights on hair, clothing, and accessory assets you downloaded from the VRoid Hub or other marketplaces. Do not sell unlicensed derivatives of paid assets.
If you use the same model in VRChat, the VRChat avatar to anime guide covers a similar workflow for in-world screenshots. For VTuber channel art from model references, see how to make anime art of your VTuber character. The photo-to-anime guide goes deeper on style selection and conversion settings.
Related Blog Posts
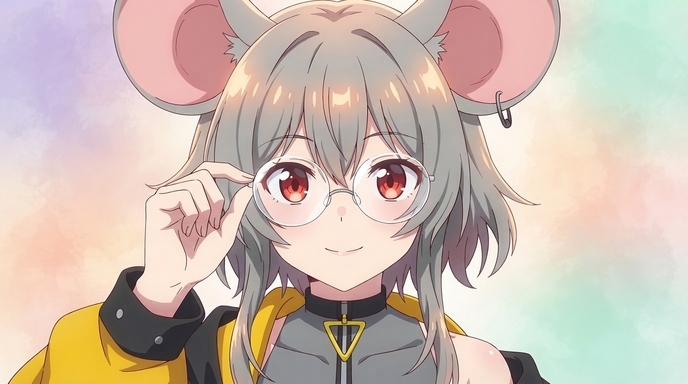
10 Types of Art Every VTuber Can Create From One Character
Profile images, banners, thumbnails, chibis, and more. One locked VTuber reference can fuel an entire channel art library without a new commission every week.
Discover 10 types of VTuber art you can create from one character reference: PFP, banner, thumbnail, chibi, reaction image, illustration, seasonal art, outfit variation, dramatic scene, and wallpaper.
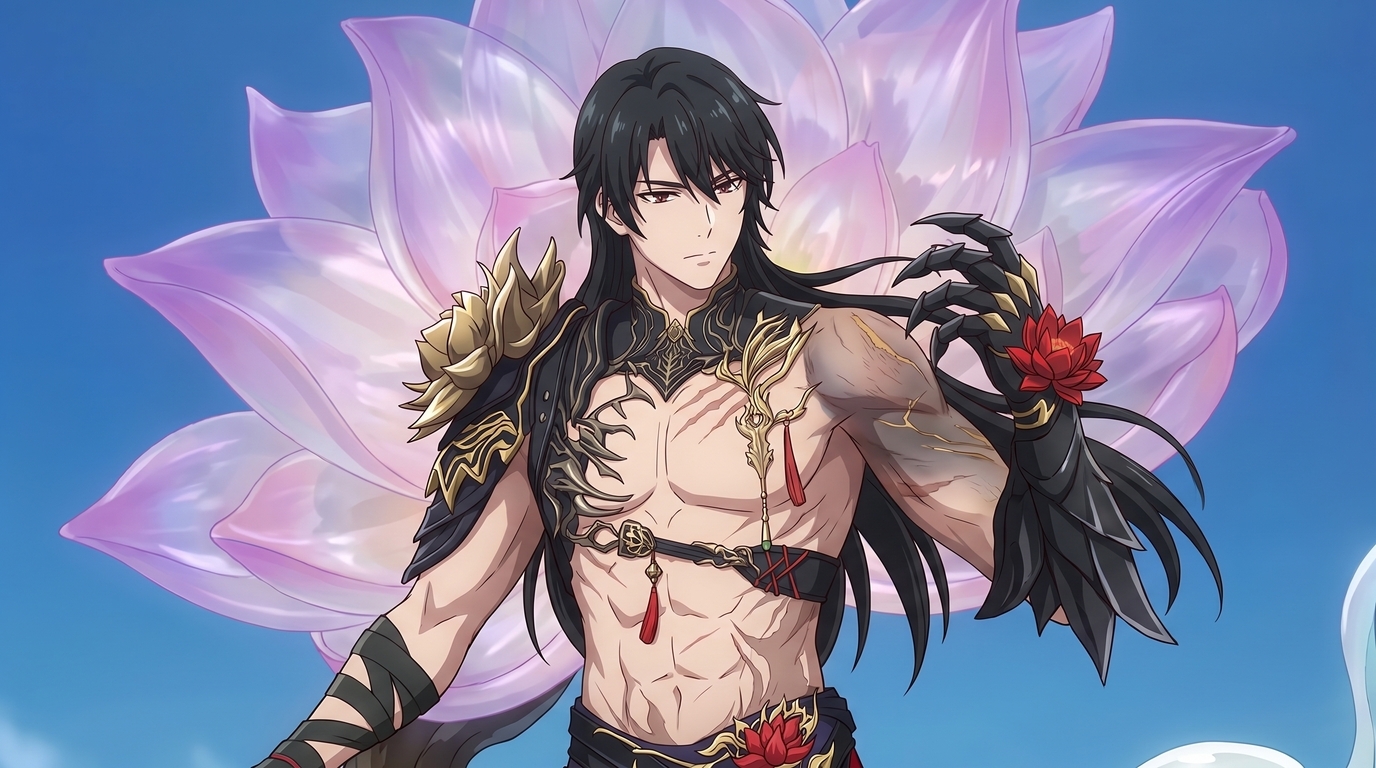
Create Your Own Romance Fantasy Character With AI
Crown princes, villainesses, knights, and academy students. Build a romance fantasy character from a photo or transform your OC into polished manhwa-style art.
Create a romance fantasy character with AI using AutoWeeb. Generate otome isekai protagonists, villainess designs, manhwa-style love interests, and fantasy archetypes from a photo or existing OC.
How to Make Anime Art of Your VTuber Character
You already have the design. Upload a model screenshot or reference image and generate PFPs, thumbnails, social posts, and illustrations without rebuilding your character from scratch.
Learn how to make anime art of your VTuber character. Upload screenshots or reference images to create on-model PFPs, thumbnails, chibis, wallpapers, and seasonal art with AutoWeeb.
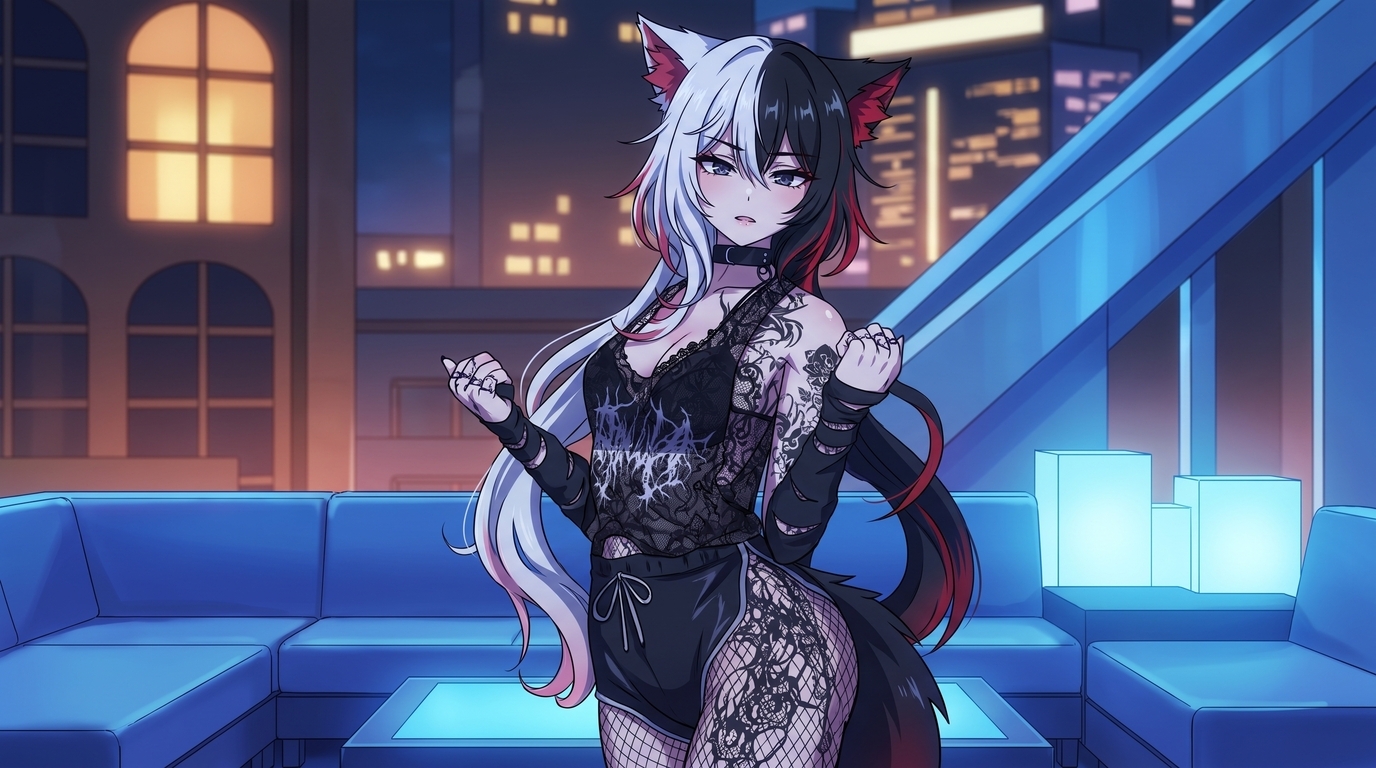
How to Turn Your VRChat Avatar Into an Anime Character
You spent hours on that look. A clean screenshot and AutoWeeb can turn it into polished 2D anime art that keeps every detail you care about.
Learn how to turn your VRChat avatar into anime art. Screenshot tips, example outputs, and a step-by-step workflow for PFPs, illustrations, and character sheets with AutoWeeb.
Explore AutoWeeb
Jump into the tool that fits your creative step.
AI Anime Video Generator
Animate storyboard shots into cinematic clips with Seedance 2 and consistent characters.
Anime Character Creator
Design original characters with consistent sheets across every scene.
AI Anime Image Generator
Generate cinematic anime stills anchored to your character library.
Anime Filters
Upload any photo and apply AI anime filters to turn it into stunning anime art in seconds.
AI Anime Location Generator
Create a location set once, then generate reference images from every angle.
AI Anime Storyboarding
Describe your idea, pick your characters, and let AI draft the script and scenes.
AI Anime Prompt Agent
Turn a rough idea into a cinematic Seedance 2 prompt with the AI Director.