How to Turn Your VRChat Avatar Into an Anime Character
You spent hours on that look. A clean screenshot and AutoWeeb can turn it into polished 2D anime art that keeps every detail you care about.
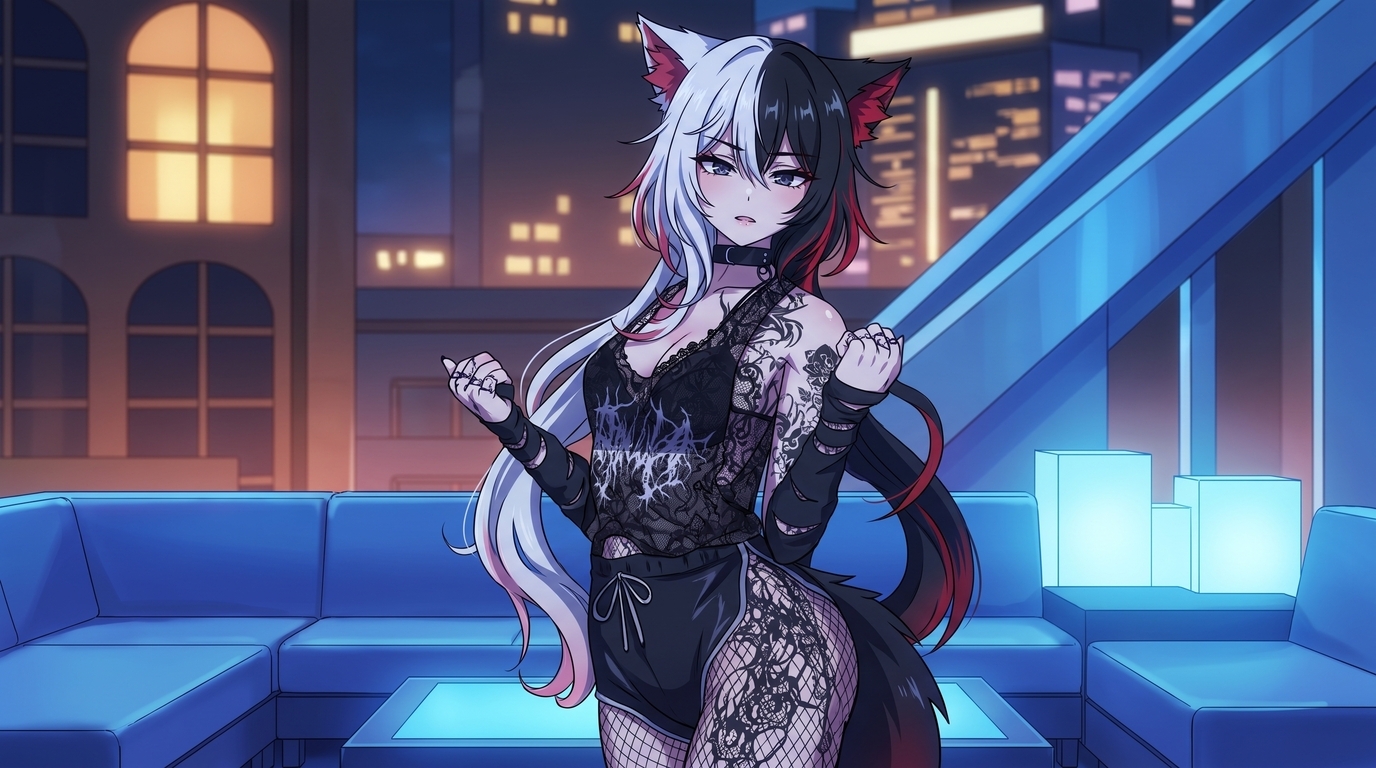
You already built the character. Hours in Unity, tweaking hair shaders, layering accessories, picking the exact horn placement. Your VRChat avatar is not a generic anime girl template. It is a specific design with split-dye hair, custom ears, layered streetwear, and tattoos you chose on purpose. The question is not whether it would look good as 2D art. The question is how to get there without losing everything that makes it yours.
AutoWeeb's photo-to-anime converter reads a clean VRChat screenshot and produces polished 2D anime artwork while keeping the defining details intact: hair color and style, animal ears, horns, clothing layers, accessories, tattoos, and the overall color palette. Upload a screenshot, pick an art style, and you get anime character art you can use as a PFP, profile banner, illustration, or the starting point for a full character sheet.
👉 Upload Your VRChat Screenshot on AutoWeebWhy VRChat avatars convert well
VRChat avatars are already designed like anime characters. Exaggerated proportions, layered outfits, glowing accents, and accessories that read clearly from a distance. Generic photo filters struggle with 3D lighting and complex geometry. AutoWeeb treats your screenshot as a character design reference, not a selfie. It preserves the silhouette, color blocks, and accessory placement while replacing 3D shading with clean anime linework and cel tones.
That matters when your avatar has details a simple filter would flatten: split hair colors, fishnet textures, horn accessories, tail placement, or tattoo patterns across the shoulders and thighs. The converter reads those as design elements to keep, not noise to smooth over.
Example anime outputs
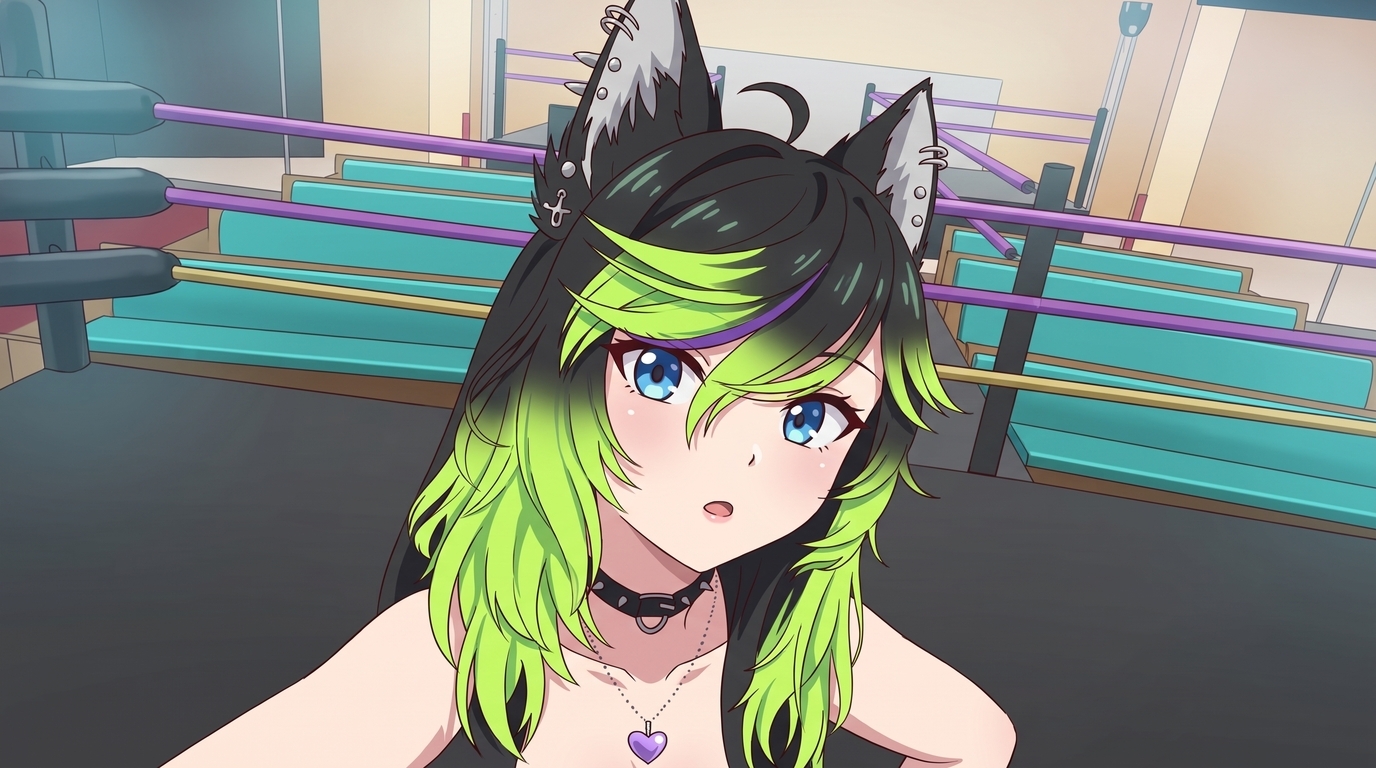
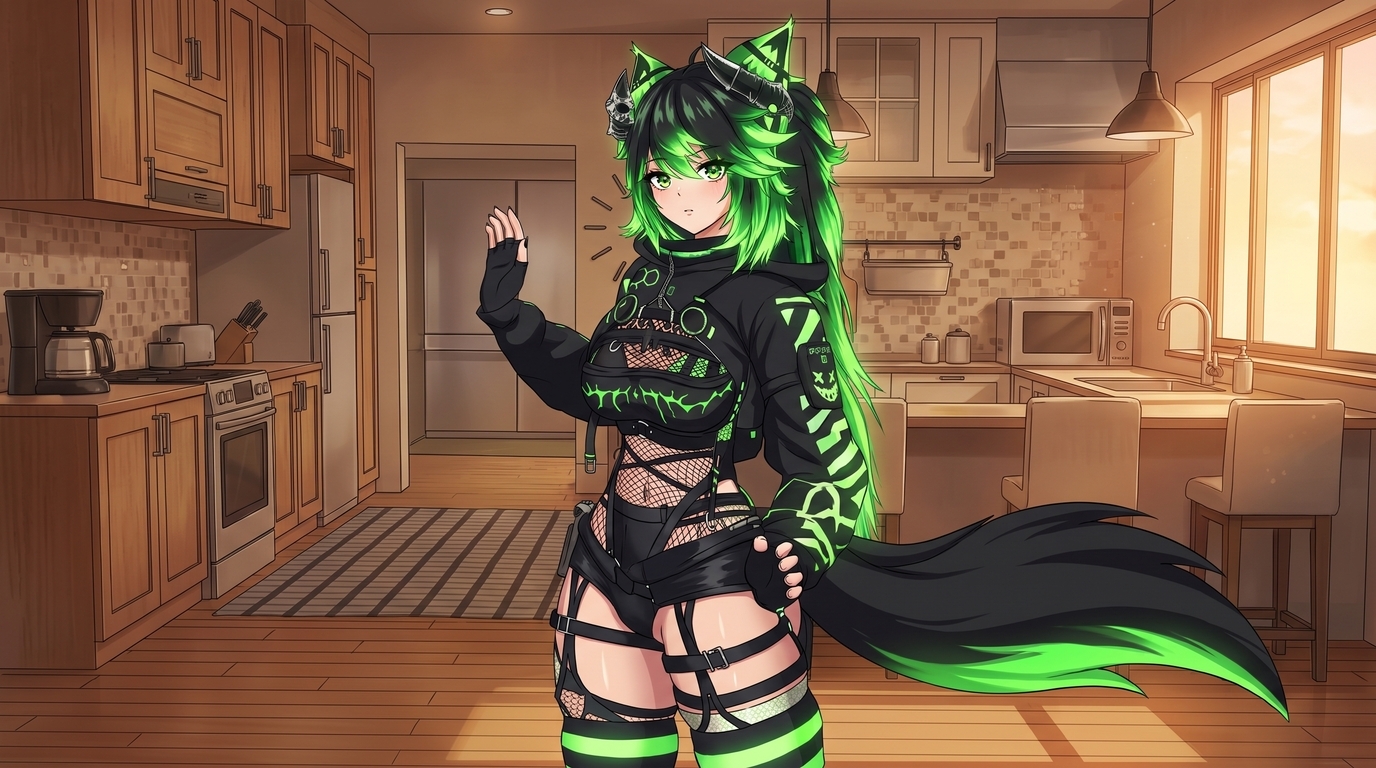
Each image below is a finished example of what AutoWeeb produces from a customized VRChat avatar. They are different characters and different output types, not stages of the same conversion. What they share is the level of detail preserved: hair color and style, ears, horns, layered outfits, accessories, and tattoos all carry through into polished 2D art.
Step 1: Take the best VRChat screenshot
The source screenshot is the single biggest factor in conversion quality. A few minutes in a mirror world or photo booth pays off in the final anime art.
Lighting and environment
Find a world with even, neutral lighting. Avoid harsh spotlights that blow out one side of the face or cast colored light across the outfit. Photo booth worlds and mirror rooms work well because they give you a controlled backdrop and consistent illumination. If you want a clean conversion, pick a simple background. You can always place the character in a new scene after conversion.
Pose and framing
Face the camera directly or at a slight three-quarter angle. Keep both ears, horns, and major accessories visible. Frame from mid-thigh up or full body depending on what you want in the final art. Hide the VRChat UI before capturing. Use F12 or your system's screenshot tool at native resolution rather than cropping a low-res capture.
Show off the details that matter
If your avatar has tattoos, layered clothing, or a distinctive tail, make sure they are not clipped by the frame or hidden behind the body. Spread the hair so color splits and highlights are visible. For avatars with glow effects or emissive materials, a slightly darker environment helps the accents read without washing out.
Step 2: Upload and convert to anime
Upload your screenshot to AutoWeeb's photo-to-anime tool. The AI reads hair, facial features, outfit layers, and accessories from the image. Open the style selector and try two or three art styles on the same screenshot before you commit. A cyber-goth avatar might look best in a dark fantasy style, while a pastel catgirl could suit slice-of-life rendering.
Prompts that help steer the conversion toward your intent:
- anime portrait, split green and black hair, wolf ears with piercings, gothic streetwear, clean linework, dark fantasy style
- full body anime illustration, fox ears, split white and black hair with red tips, tattoo sleeves, rooftop at night, cinematic lighting
- chibi anime PFP, neon green accents, harness outfit, cute proportions, bold outlines
Step 3: Build a character sheet
When you have a conversion you like, take it into AutoWeeb's Character Creator and generate a character sheet with front view, side view, and expression variations. The sheet locks your avatar's design so every future image stays on-model.
In the character description, call out the details that define your avatar: exact hair colors and placement, ear type and accessories, outfit layers, tattoo locations, and any glow or emissive accents. The more specific the description, the more consistent your VRChat anime avatar looks across outputs.
Step 4: Create PFPs, illustrations, banners, and scenes
Once the design is locked, you have a full range of VRChat character art to work with:
- Anime PFPs: Tight portrait crops for Discord, Twitter, or VRChat profile pictures. The close-up conversion keeps ear accessories, chokers, and hair highlights sharp.
- Character illustrations: Full-body or three-quarter renders in new environments, like the rooftop example at the top of this post. Your avatar in a setting that never existed in VRChat.
- Chibis: Smaller, cuter proportions for stickers, emotes, or casual profile art. Same color palette and accessories, different scale.
- Profile banners: Wide-format compositions with your character against a scenic backdrop for Discord server banners or social headers.
- New scenes: Drop your locked character into photo packs for festivals, city streets, fantasy towns, or slice-of-life interiors.
Tips for the strongest results
- Use the highest resolution screenshot you can. Native resolution captures more detail in hair strands, fabric textures, and small accessories.
- Run the same screenshot through multiple styles. Your avatar might look better in dark fantasy than shonen, or vice versa. Compare style options before you lock a design.
- Describe defining features in the character sheet. Split hair colors, horn placement, tattoo patterns, and tail type should be written out explicitly.
- Keep conversions for personal use. Your VRChat avatar is your creation, but respect creator rights on base models and assets you purchased. Do not sell unlicensed derivatives of paid avatar bases.
For a tool-focused overview of VRChat avatar conversion, see the VRChat Avatar to Anime page. The game character to anime guide covers a similar workflow for 3D game screenshots, and the photo-to-anime guide goes deeper on style selection and conversion settings.
Related Blog Posts
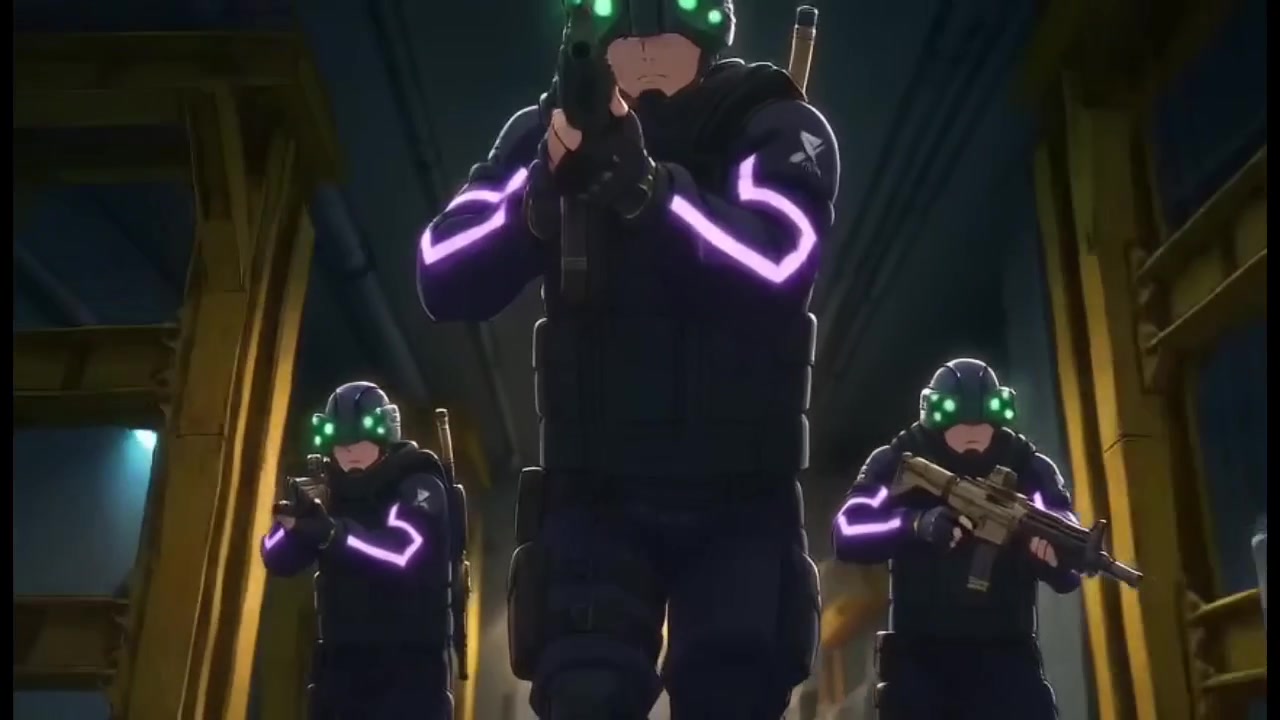
How to Fight Style Drift in AI Anime Videos
What I learned about character consistency, mask drift, and recycled prompts while building a 23-second action clip in under half an hour
Learn how to fight style drift and keep characters consistent in AI anime video. Real workflow lessons on character sheets, mask failures, Nano Banana drift, and when to tag vs. reference.
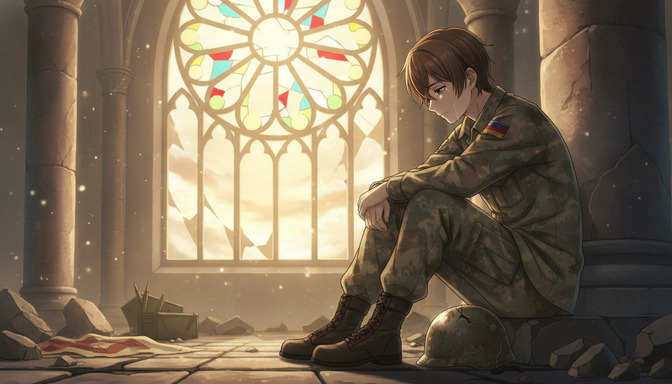
How to Create War and Military Aesthetic Anime with AI
A detailed guide to the war and military aesthetic in anime: muted palettes, smoky lighting, worn equipment, abandoned cities, industrial environments, tactical vehicles, and emotional cinematography, with AI prompts from concept to finished video.
Learn how to create war and military aesthetic anime with AI. Guide to muted palettes, smoky lighting, worn uniforms, abandoned cities, tactical vehicles, emotional cinematography, and prompt examples for every environment.
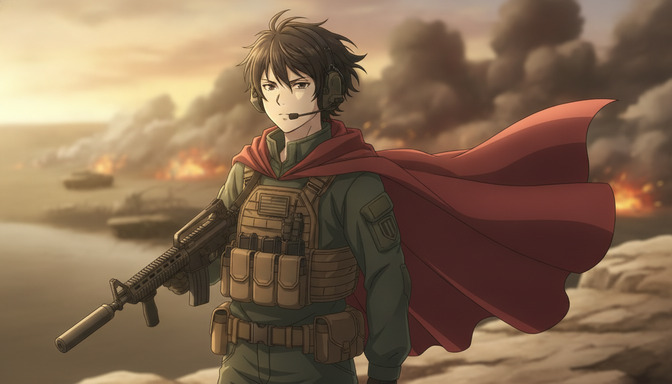
How to Make an Epic War Anime with AI
A beginner's step-by-step guide to producing an original war anime: character arcs, military factions, worldbuilding, battle choreography, cinematic camera angles, environmental storytelling, and AI-assisted animation with prompt templates for every scene type.
Learn how to make an epic war anime with AI. Step-by-step guide covering character arcs, military factions, worldbuilding, battle choreography, camera angles, and prompt templates for infantry, tanks, aircraft, and emotional moments.
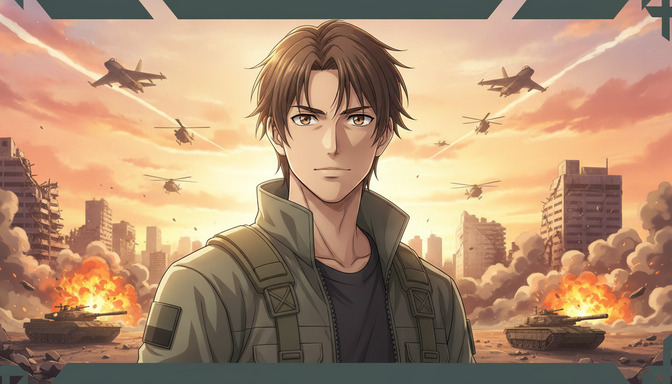
Recreate Anduril's Military Anime Style: Complete AI Tutorial
A full pre-production workflow for military-inspired anime videos: concept art, character design, worldbuilding, cinematic storyboarding, camera composition, lighting, and AI video generation with prompts for soldiers, command centers, vehicles, aircraft, and battlefields.
Learn how to recreate Anduril's military anime style with AI. Full tutorial on concept art, character design, worldbuilding, storyboarding, lighting, and video generation with practical prompts for soldiers, tanks, aircraft, and battlefields.
Explore AutoWeeb
Jump into the tool that fits your creative step.
AI Anime Video Generator
Animate storyboard shots into cinematic clips with Seedance 2 and consistent characters.
Anime Character Creator
Design original characters with consistent sheets across every scene.
AI Anime Image Generator
Generate cinematic anime stills anchored to your character library.
Anime Filters
Upload any photo and apply AI anime filters to turn it into stunning anime art in seconds.
AI Anime Location Generator
Create a location set once, then generate reference images from every angle.
AI Anime Storyboarding
Describe your idea, pick your characters, and let AI draft the script and scenes.
AI Anime Prompt Agent
Turn a rough idea into a cinematic Seedance 2 prompt with the AI Director.