How to Fight Style Drift in AI Anime Videos
What I learned about character consistency, mask drift, and recycled prompts while building a 23-second action clip in under half an hour
I wanted to make a short action scene in the vein of Cyberpunk: Edgerunners: a tactical police unit raiding a gang hideout, doors kicked in, gunfire in a warehouse, the whole sequence. The setting was specific, but the real challenge was not the genre. It was the same problem every AI anime video creator runs into eventually: keeping characters recognizable from shot to shot, and stopping the art style from slowly drifting away from the look you locked in at the start.
The result is a 23-second video that took about 23 minutes to produce. That ratio is deliberate. I was not chasing perfection on every frame. I was finding the balance between quality and throughput: enough consistency to sell the action, enough speed to actually finish something worth posting. This post walks through what worked, what broke, and the techniques I would use again.
👉 Create Your Own AI Anime Action Video on AutoWeebThe Brief
The scene has three beats. MaxTac officers breach a metal door and advance with weapons drawn. Gang members take cover behind crates and return fire. One officer gets hit, keeps shooting, and the clip ends on that exchange. Simple structure, but every beat introduces a different consistency problem: characters who were not in the original frame, recycled images that pick up style drift, and expression sheets that quietly remove permanent cybernetic gear.
If you are building something similar, start with a shot list before you spend credits. Know which characters appear in which beat, and decide upfront whether you will rely on character tagging, reference images, or both. That decision matters more than the prompt wording on any single generation.
Step 1: Build Characters from Game Screenshots
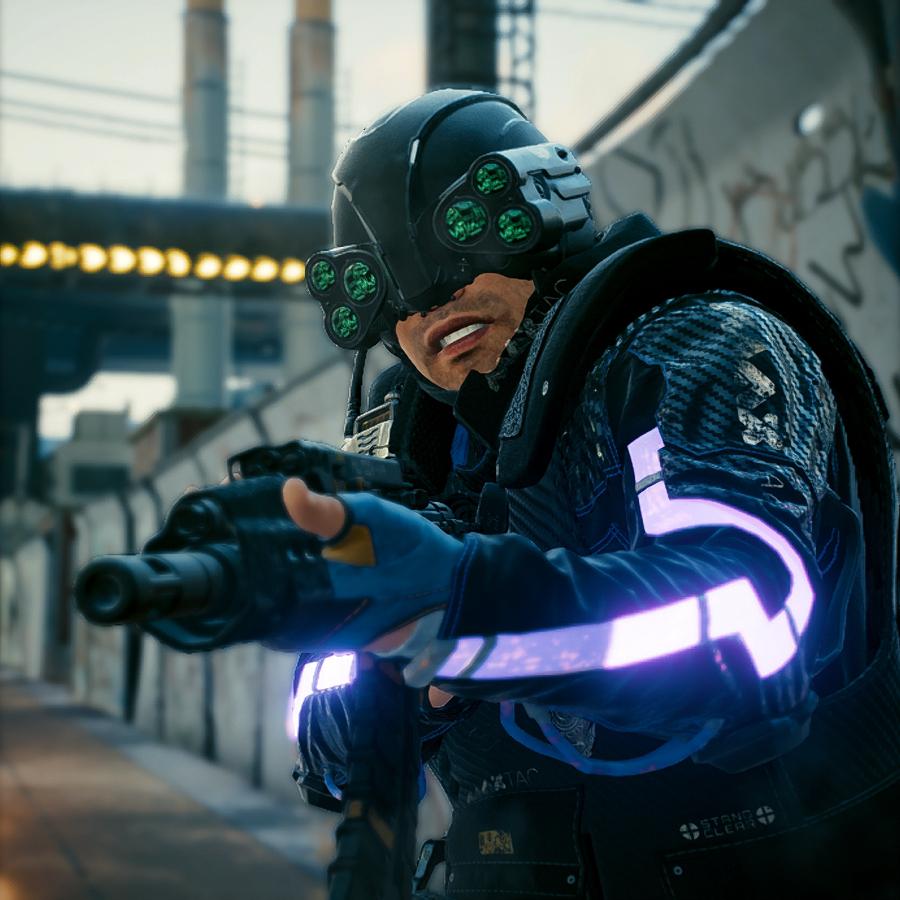
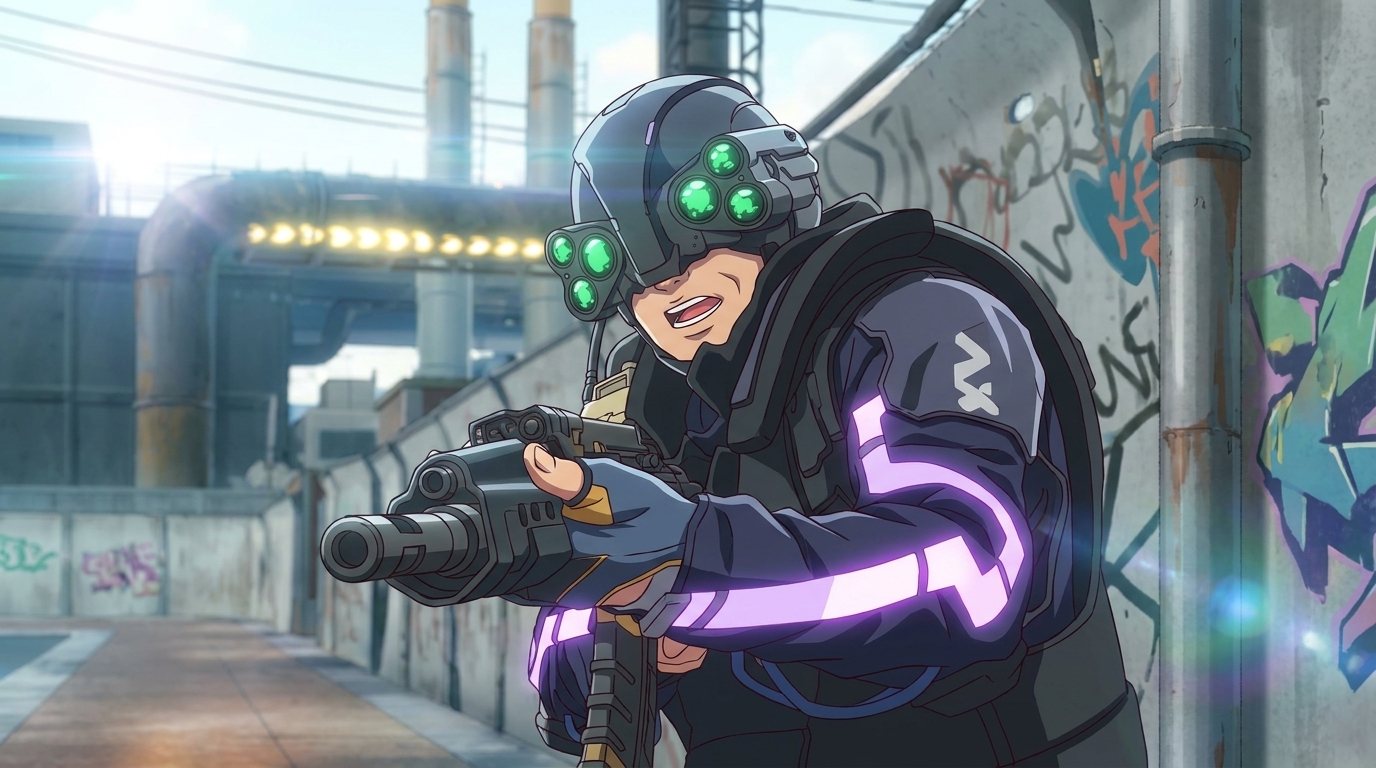
Photo to anime works exceptionally well on video game screenshots. Game art already has clean silhouettes, exaggerated gear, and dramatic lighting. The converter preserves those shapes instead of fighting them the way it sometimes fights real-world photos.
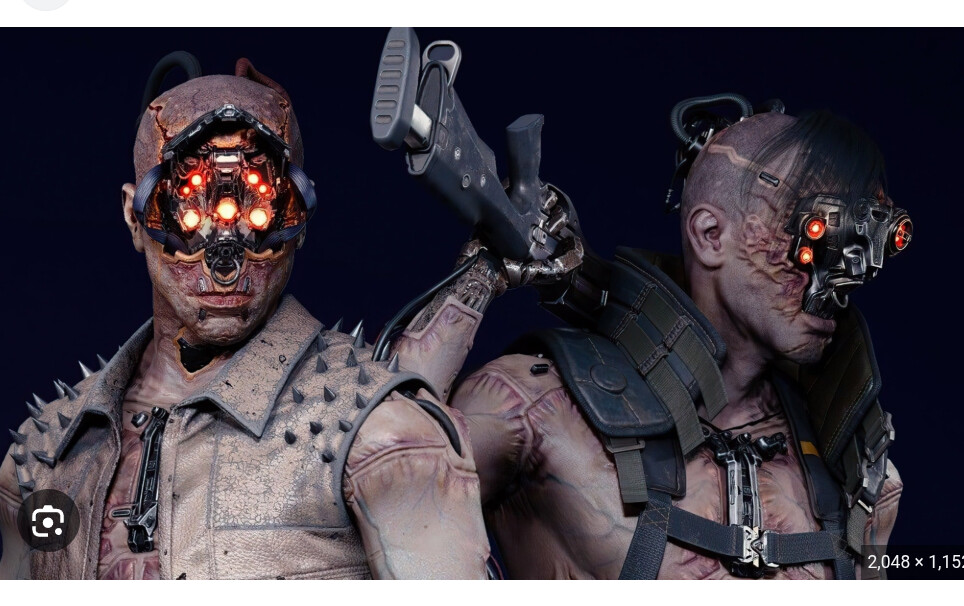
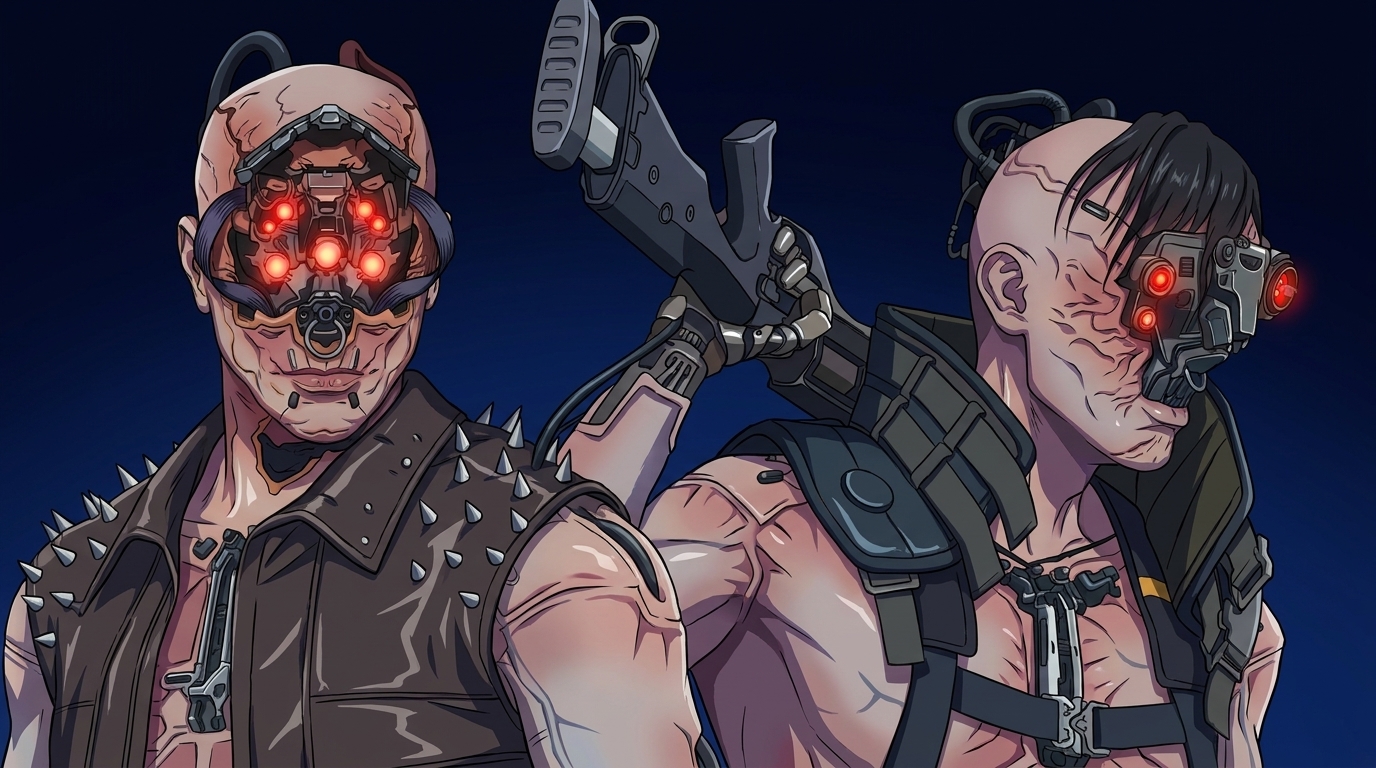
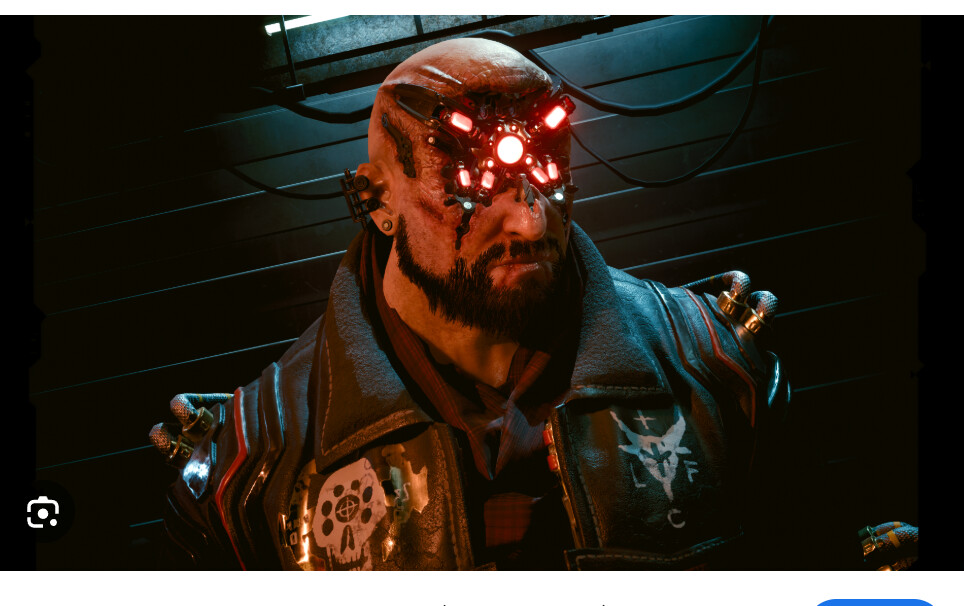
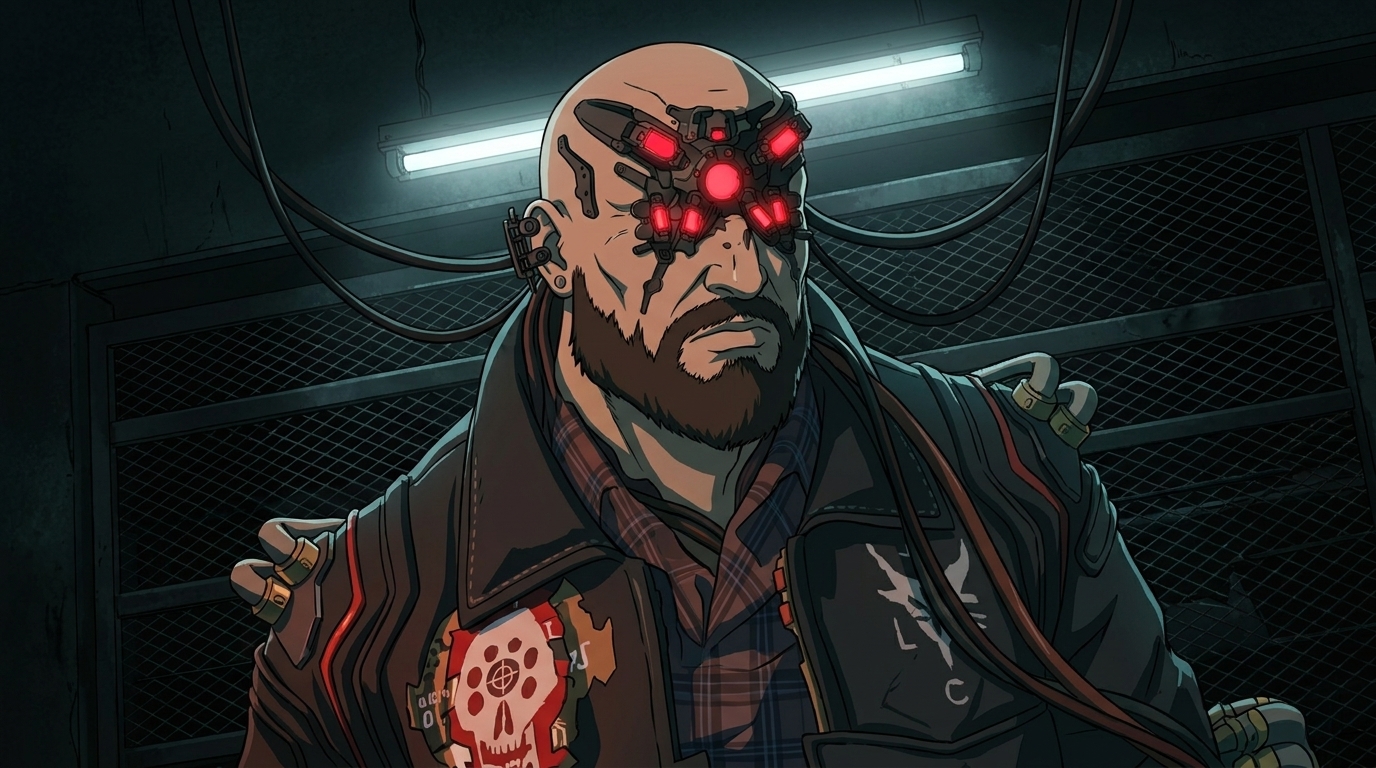
I built three characters: a MaxTac officer, a Maelstrom gang member, and a second cyberpunk character for variety in the warehouse. Each one started as an in-game still uploaded to the photo-to-anime tool.
Style choice: default over themed
Because the game stills were already cyberpunk, I skipped the dedicated cyberpunk photo-to-anime style and used the default slice of life photo-to-anime style instead. The scene did not need more neon pushed into the conversion. It needed clean linework and readable faces. When your source material already carries the aesthetic, a neutral style often produces a more stable base for video work later.
Step 2: Character Sheets and Where They Break
Once I had strong photo-to-anime results, I generated character sheets for each design. Character sheets are the backbone of character consistency in AI art: turnaround views, expression variants, and a saved reference the video generator can pull from. Most of the time they work. These three had instructive failures.
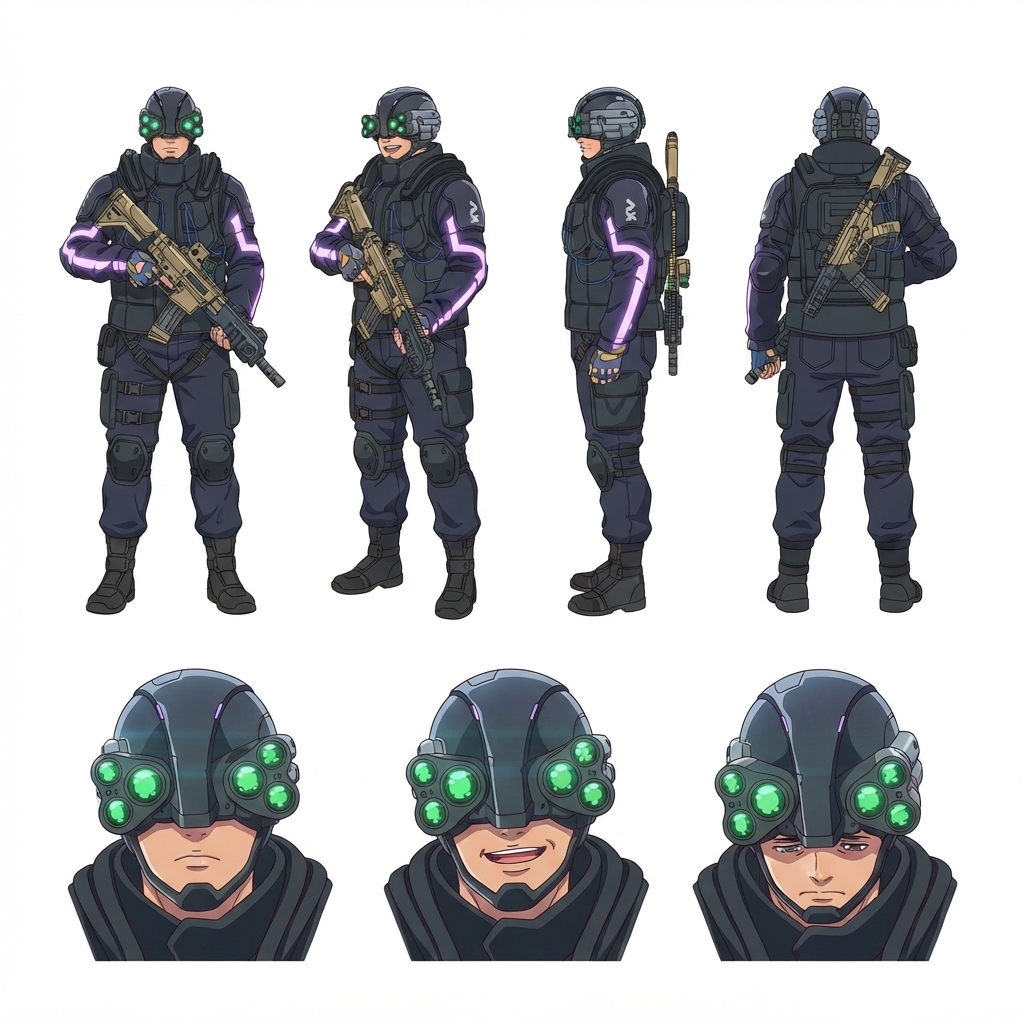
The MaxTac officer wears a tactical helmet with a permanent multi-lens optic rig. In the Edgerunners visual language, that gear does not come off. The character creator disagrees. On the bottom-right expression panel, the mask has slid up onto the forehead, revealing human eyes underneath. In a slower workflow I would regenerate that panel. For this project the sheet was good enough, and I kept going.
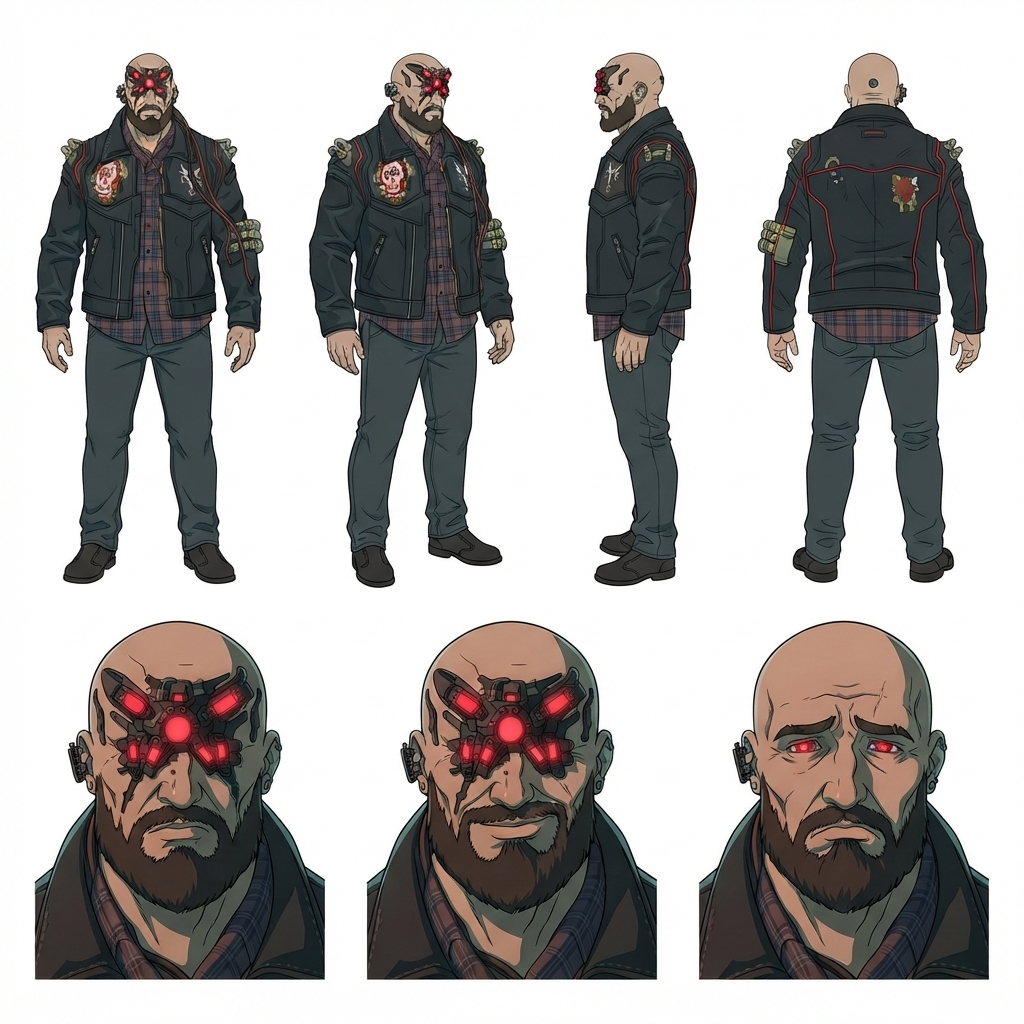
The gang leader sheet has the same pattern. The first two expression panels keep the spider-like red optic array. The third removes it and substitutes standard eyes with scarring where the implant used to sit. AI character creators often treat masks and prosthetics as removable costume pieces rather than permanent anatomy. For cyberpunk characters that gear is usually fixed, so you may see a little drift in some video shots. It did not slow me down here, and the clip still held together.
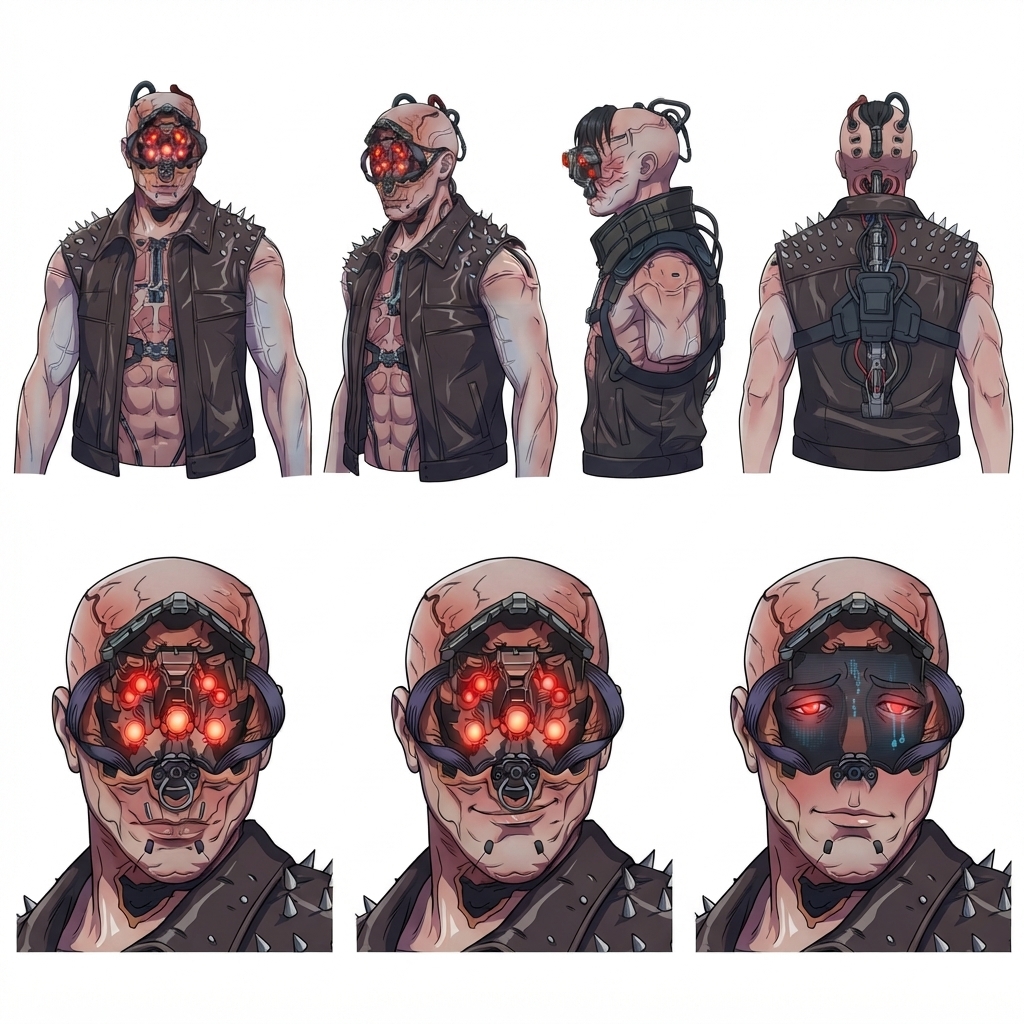
The Maelstrom sheet failure was different and entirely my fault. The original game screenshot contained two distinct gang members side by side. The character sheet treated them as one design. Sometimes the character is bald. Sometimes he has a long black fringe. Sometimes the visor layout changes. I should have cropped the input to a single face before generating the sheet. One character per source image is not optional when you plan to reuse that sheet across a video sequence.
What I would do differently
- Crop multi-character screenshots to one face before photo-to-anime or character sheet generation
- Review every expression panel on a sheet before saving it, and regenerate any panel that removes permanent gear
- Note in your character reference that cybernetic optics are permanent and should stay on
Step 3: The Raid Begins with Character Tagging
The opening beat is a closed metal door in a dark industrial hallway. MaxTac are not in the start frame at all. I generated the door as a still, then moved to the video generator with a simple prompt: Door is broken down by [MaxTac] who storms in, guns drawn. Tagging MaxTac in the prompt pulled the saved character into a scene where he never appeared in the source image.
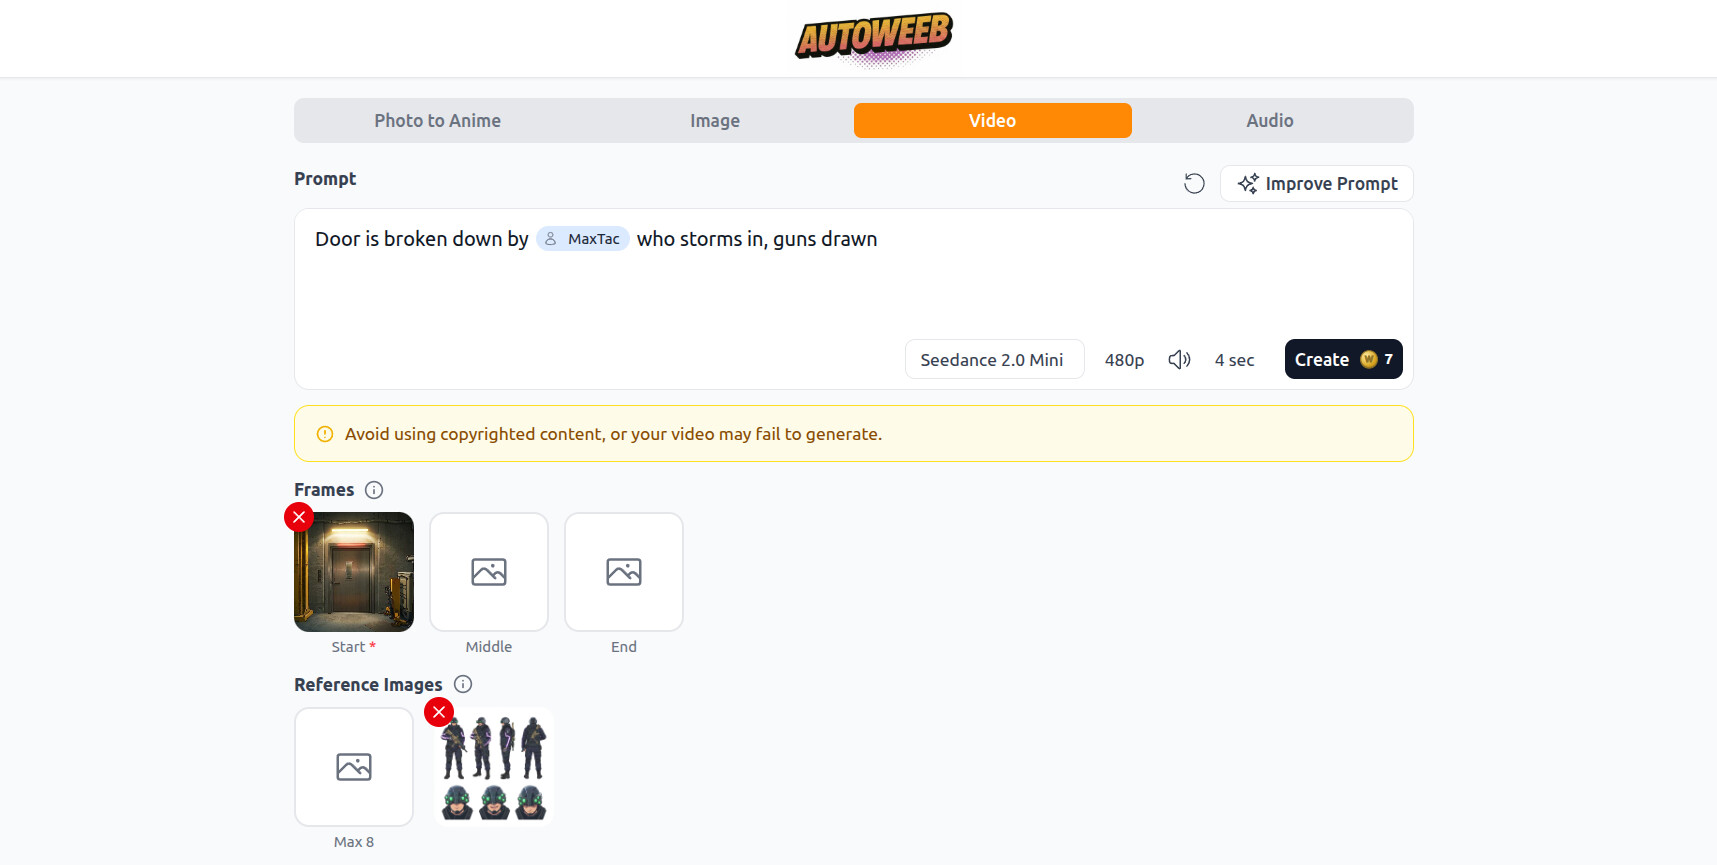
This is where @-tagging characters earns its place. The officers look like the character sheet. The tactical gear reads clearly. The motion sells the breach. When you need a saved character to enter an environment they were not photographed in, tagging is the default move.
Step 4: Extend the Clip, Do Not Regenerate It
I liked the walking beat after the breach: officers advancing with weapons up, clearing the hallway. Rather than prompting a new clip from scratch, I extended the door scene into a taking-cover moment. Video extension keeps motion continuity, camera angle, and lighting from the clip you already approved. Starting over would have meant re-solving all of that.
Extension is underrated for action pacing. A 4-second breach and a 4-second advance feel like one continuous camera move when they share the same generation chain. Reserve fresh generations for beats that need a new location or a new cast arrangement.
Step 5: The Counterattack and Nano Banana Style Drift
The warehouse beat switches sides. Gang members crouch behind metal crates and shoot back. I generated the still with Nano Banana 2 Lite, using a MaxTac photo-to-anime result as a reference image and the prompt taking cover behind metal crates.
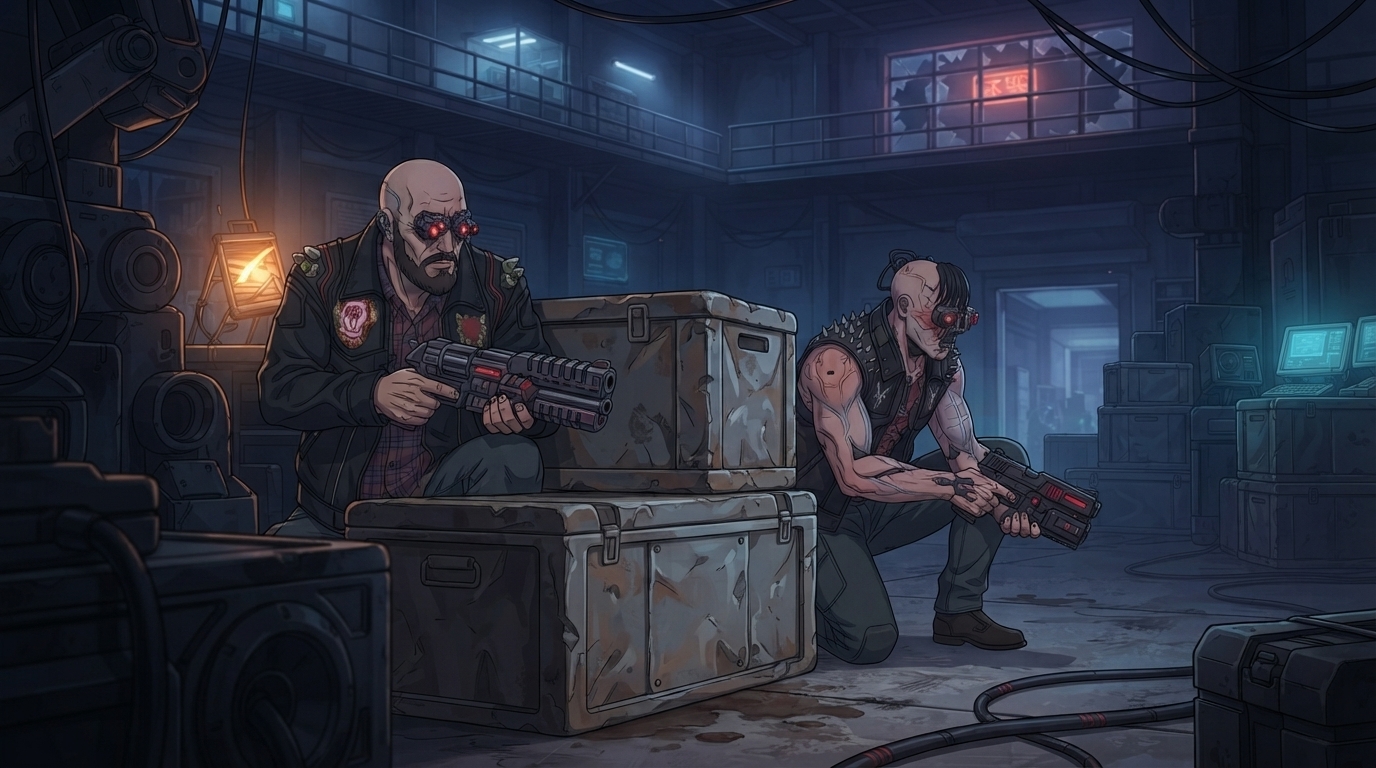
Two things are worth noticing in this still. The Maelstrom sheet shows through a little: hair and visor details shift between the two figures. That is the trade-off from using a two-character source image, and it did not stop me from moving on. There is also a style shift I call the "Nano Banana effect." When you feed AI-generated anime images back into Nano Banana several times across a workflow, the look can drift: lines a bit thicker, contrast a touch higher, slightly more western comic than the clean cel-shaded inputs you started with.
Style drift is cumulative, but usually gradual. One recycle is barely noticeable. After several passes across different tools (photo-to-anime, then image generation, then video), a scene may look a step removed from your first conversions. When that happens, it is often faster to generate from your original photo-to-anime output than to keep recycling the same image.
The video result was better than the still I fed it. Seedance interpreted the close-up of the gang leader with cleaner anime linework than the warehouse image provided. That is worth remembering: video models sometimes correct style drift on hero shots even when the reference still has drifted. I used AutoWeeb's AI anime prompt agent to translate and refine the motion prompt into Japanese, which often produces sharper action choreography on Seedance.
The Best Clip: Reference Image Over Character Tag
The strongest moment in the finished video is the officer exchange: he fires, takes a hit, and keeps shooting. For this beat I did not tag the character. I used the original photo-to-anime output as a direct reference image and prompted a new pose: taking cover, weapon raised, under fire.
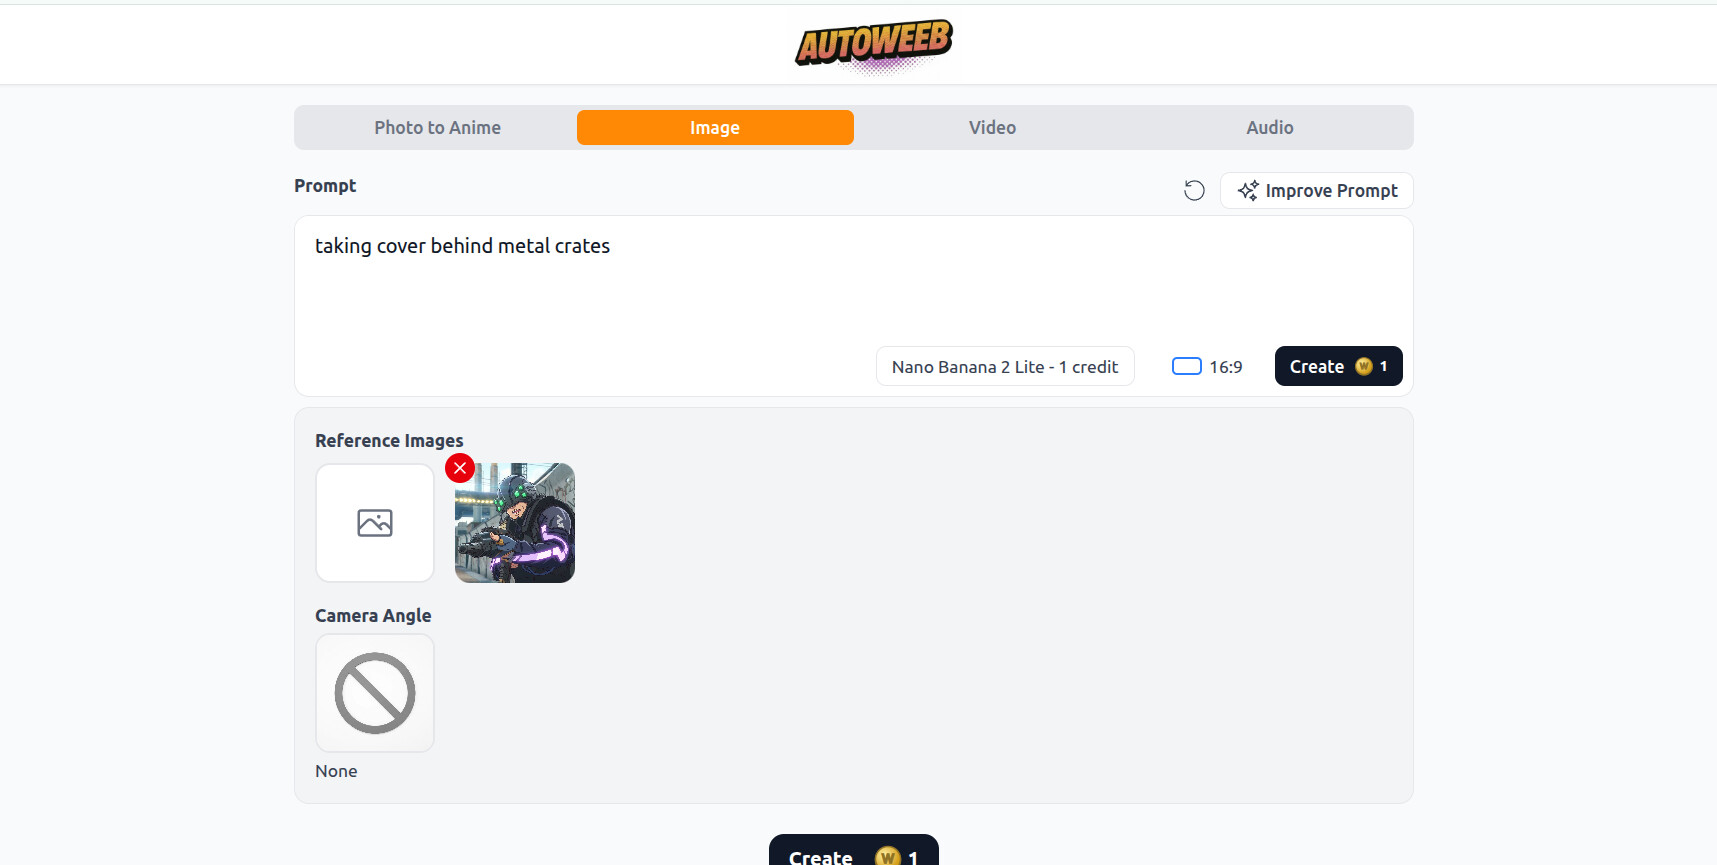
This is the advanced technique, and it is less reliable than character tagging. You are betting that the quality of a single still will pull the video model toward the right motion and expression. It worked here because the photo-to-anime output was already excellent: clean lines, strong pose language, anime-native facial expression. The video inherited that implied frame rate, the slight exaggeration in the grimace, the weight of the weapon.
When to use reference images over tags is a judgment call. Tagging is faster and more consistent for inserting a character into a new environment. Reference images win when you need a specific pose, a specific expression, or when the character sheet has a bad panel you do not trust. If the input still looks like a frame from a real anime, the output video often does too.
The rule of thumb
Spend time on the input image. A great photo-to-anime result is worth more than three rounds of video regeneration from a mediocre still. For action beats where expression and timing matter, the still is the director's storyboard frame. Treat it that way.
The Final Edit
The final video stitches the breach, the extension, the warehouse exchange, and the officer shootout into 23 seconds. Total production time was about 23 minutes: roughly one minute per second of finished footage at this quality bar. That is not a boast. It is a realistic pace when you accept some style drift in background characters and spend your precision budget on the hero beat.
You can go much deeper on consistency. Crop every source image, audit every character sheet panel, never recycle a Nano Banana output without comparing it to your original photo-to-anime baseline. That path produces cleaner results and takes longer. I always try to find the balance: satisfying output rate, good enough consistency, and one or two shots per project that I am genuinely proud of.
Takeaways
- One face per source image. Multi-character screenshots produce multi-character character sheets, and that inconsistency follows you into every scene.
- Audit expression panels for mask drift. Permanent cybernetics should stay permanent across every panel on the sheet.
- Tag characters to insert them into new environments. The door breach is the clearest example: start frame, character tag, done.
- Extend clips to preserve continuity. Do not regenerate what you can continue.
- Watch for Nano Banana style drift. Recycling AI images compounds thicker lines and higher contrast. Generate from your earliest, cleanest still when drift shows up.
- Use reference images for hero beats. When expression and timing matter more than environment insertion, a strong photo-to-anime still outperforms a tag.
- Invest time in the input, not just the video prompt. The best clip in this project came from the best still, not the most refined motion prompt.
For more on the underlying workflow, see the guides on maintaining character consistency, storyboarding fight scenes, and converting game characters to anime.
👉 Start Building Your Own AI Anime Action VideoNathaniel Chen, CTO at AutoWeeb
Related Blog Posts
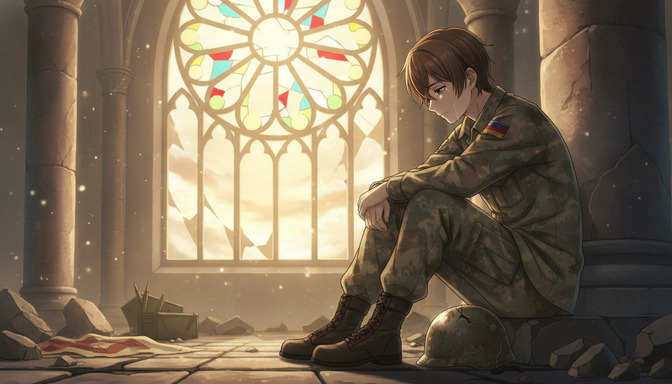
How to Create War and Military Aesthetic Anime with AI
A detailed guide to the war and military aesthetic in anime: muted palettes, smoky lighting, worn equipment, abandoned cities, industrial environments, tactical vehicles, and emotional cinematography, with AI prompts from concept to finished video.
Learn how to create war and military aesthetic anime with AI. Guide to muted palettes, smoky lighting, worn uniforms, abandoned cities, tactical vehicles, emotional cinematography, and prompt examples for every environment.
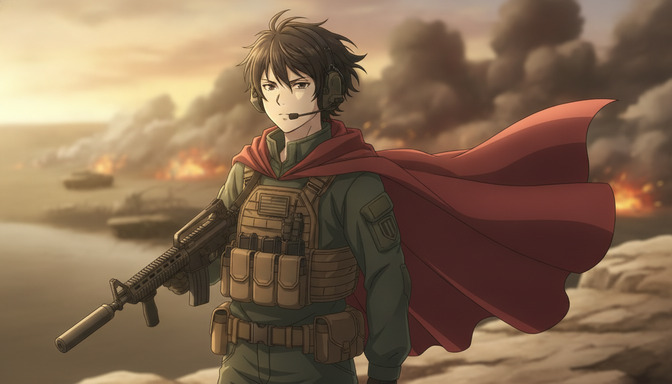
How to Make an Epic War Anime with AI
A beginner's step-by-step guide to producing an original war anime: character arcs, military factions, worldbuilding, battle choreography, cinematic camera angles, environmental storytelling, and AI-assisted animation with prompt templates for every scene type.
Learn how to make an epic war anime with AI. Step-by-step guide covering character arcs, military factions, worldbuilding, battle choreography, camera angles, and prompt templates for infantry, tanks, aircraft, and emotional moments.
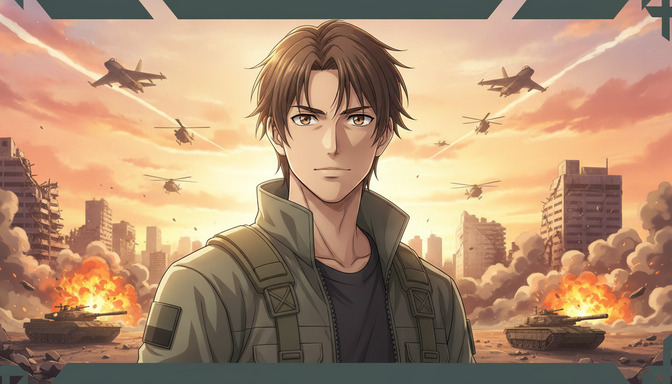
Recreate Anduril's Military Anime Style: Complete AI Tutorial
A full pre-production workflow for military-inspired anime videos: concept art, character design, worldbuilding, cinematic storyboarding, camera composition, lighting, and AI video generation with prompts for soldiers, command centers, vehicles, aircraft, and battlefields.
Learn how to recreate Anduril's military anime style with AI. Full tutorial on concept art, character design, worldbuilding, storyboarding, lighting, and video generation with practical prompts for soldiers, tanks, aircraft, and battlefields.
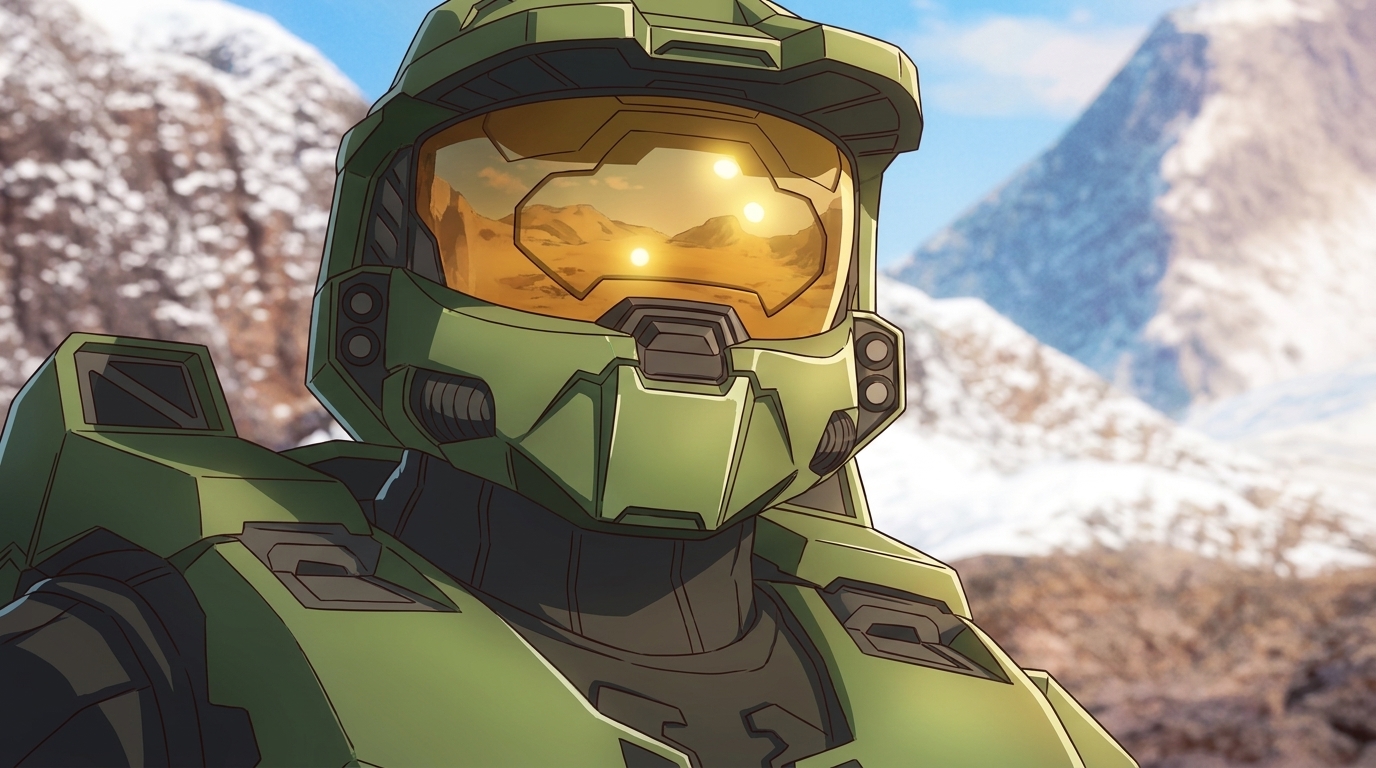
Turn Video Game Characters into Anime Photos and Characters
Reimagine your favorite games. AutoWeeb's photo-to-anime converter brings iconic characters to life in 2D
Turn video game characters into anime photos with AutoWeeb. Upload game screenshots or art, convert to anime style, then build a character sheet and place them in new scenes.
Explore AutoWeeb
Jump into the tool that fits your creative step.
AI Anime Video Generator
Animate storyboard shots into cinematic clips with Seedance 2 and consistent characters.
Anime Character Creator
Design original characters with consistent sheets across every scene.
AI Anime Image Generator
Generate cinematic anime stills anchored to your character library.
Turn Photo Into Anime
Upload any photo and watch AI turn it into stunning anime art in seconds.
AI Anime Location Generator
Create a location set once, then generate reference images from every angle.
AI Anime Storyboarding
Describe your idea, pick your characters, and let AI draft the script and scenes.
AI Anime Prompt Agent
Turn a rough idea into a cinematic Seedance 2 prompt with the AI Director.