How to Turn Your Webtoon Into an Anime Without an Animation Studio
A complete guide for webtoon creators, comic artists, and indie storytellers who want to adapt their panels into anime episodes, from scene extraction and character sheets through storyboards, AI image generation, and video release.
Webtoons are built for anime adaptation. The vertical scroll format trains readers to experience story in motion, panel by panel, beat by beat. The color, the pacing, the character expressiveness that webtoon artists spend years refining, those are exactly the qualities that anime translates well. The gap between your webtoon and a watchable anime episode used to be a full production pipeline. AI has compressed that gap into a workflow any solo creator can run.
This guide is for webtoon creators, comic artists, and indie storytellers who want to adapt their existing work into anime without hiring a studio, learning animation software, or starting over from scratch. The full pipeline runs here: analyzing your webtoon for adaptation strengths, extracting episode-worthy scenes, building consistent character references, transforming panels into storyboards, generating anime backgrounds and assets, creating animated video, and releasing the finished work to an audience that already follows your series.
Why Webtoons Are Perfect for Anime Adaptation
The webtoon format has already done most of the structural work that anime requires. Your pages have visual character consistency, panel-level compositions, and an established sense of pacing. Successful adaptations like Tower of God, The God of High School, and Noblesse moved from Webtoon to televised anime precisely because the source material was already thinking cinematically. The character designs were distinct, the action sequences had clear impact frames, and the emotional beats were composed for maximum visual effect.
You have that same material. The question is not whether your webtoon can be adapted. It is which parts to adapt first, and how to build a production pipeline that maintains the visual identity readers already associate with your work.
Step 1: Analyze Your Existing Webtoon
Before generating a single image, spend time reading your own work as a director rather than a creator. You are not looking at what you drew. You are looking at what is already cinematic.
Story Arcs That Hold Up as Episodes
Map your chapters against the arc structure. A good anime episode resolves one central tension while opening a new one. Identify the chapters in your webtoon where something changes: a relationship shifts, a secret surfaces, a confrontation lands. Each of those change points is a potential episode boundary. If your webtoon has a three-chapter sequence where a character makes a decision that costs them something, that sequence is already an episode.
Character Development Moments
The scenes your readers comment on most are your adaptation priorities. Check your comment sections. The panels that generated the longest discussion, the moments people screenshotted and shared, the chapters that made readers come back the same day for a second read: those are the scenes that carry the most emotional weight in the anime version. Build your adaptation around making those moments land as well animated as they do in panels.
Visual Strengths to Carry Forward
Your webtoon already has a visual identity. Note the elements that make it distinctive: the color palette you return to in emotional scenes, the way you frame your protagonist before a major decision, the environmental details that mark a location as significant. These are not just aesthetic choices. They are the visual vocabulary the anime version needs to maintain to feel like the same story.
Step 2: Extract Key Anime Scenes
Not every panel becomes an anime scene. The adaptation question is: what cannot be cut without losing the story?
Selecting Important Panels
Go through your chapters and mark every panel where: a character's expression is doing the primary work, two characters are in direct conflict or connection, or a location is established with enough visual information to function as a setting. These panels form the skeleton of your storyboard. Everything between them is either transition, texture, or cut.
Identifying Episode-Worthy Moments
An episode-worthy moment has a before and an after. The protagonist at the beginning of the episode is not the same person at the end, even subtly. Go through your arc and identify five to eight panels where this shift is visible in the character's face, posture, or position in the frame. Those panels are your episode's spine. Storyboard outward from them.
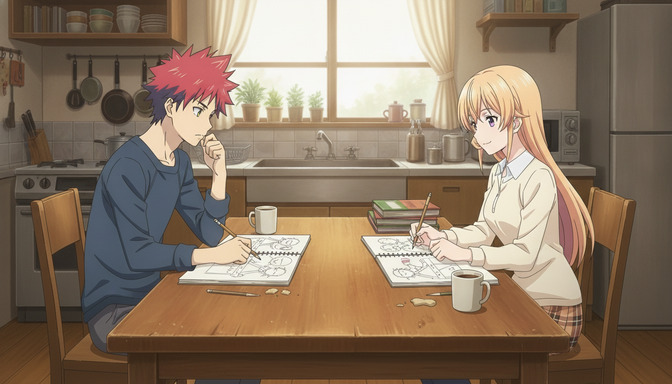
Step 3: Build Character Sheets
Your webtoon characters already have a consistent visual identity across hundreds of panels. The goal in this step is to translate that identity into a reference document that AI generation can draw from consistently, so the protagonist in episode one looks like the same person in episode six.
A character sheet fixes: hair color and cut, eye color and shape, build and height relative to other characters, default outfit and any variation outfits, and an expression range covering at least neutral, determined, and vulnerable states. Build this for every character who appears in more than two scenes.
Example character sheet prompt for a webtoon protagonist: "Female, early twenties, sharp deep brown eyes with a directness that reads as guarded rather than cold. Short dark hair, undercut, with slightly longer pieces at the front that fall toward her jaw. Athletic but lean build. Default outfit: oversized black hoodie with a graphic print on the back worn over pale gray joggers, white low-top sneakers. Expression in this sheet: neutral and watchful, chin slightly lifted, mouth set but not tense, as if deciding whether something is worth her attention. Anime style, webtoon-adjacent aesthetic, clean linework with expressive shading."
Save each completed character sheet to your AutoWeeb project library before generating any story panels. Every subsequent scene that includes this character pulls from the saved reference. The consistency is structural, not something you need to manually maintain across sessions.
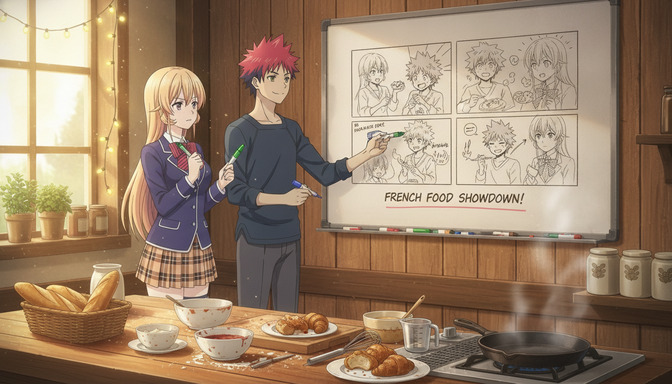
Step 4: Transform Panels Into Storyboards
Your webtoon panels are already compositions. The storyboard step translates them into shot descriptions that account for motion, camera placement, and the cinematic tools anime uses that static panels cannot.
Organizing Scenes and Improving Pacing
Take your extracted key panels and sequence them as shots. Webtoon pacing tends to hold on a beat longer than anime does, because readers control their own scroll speed. Anime has to build that rhythm through shot editing. Where your webtoon might use four panels on a single expression, an anime scene might use two shots and cut away to the other character's reaction instead. Resequence accordingly.
Adding Cinematic Shots
Webtoons read vertically, which makes them naturally good at wide establishing panels and close expression work. Anime adds the camera angles between those: over-the-shoulder shots that carry relationship dynamics, low angles that make a character feel larger than their situation, the slow pull-back that reveals context the character does not have. Add at least one of these transitional shots per major scene sequence.
Example storyboard sequence for a webtoon confrontation scene adapted to anime: "Shot 1: Wide establishing shot, two characters at opposite ends of a rooftop stairwell landing, the city below them out of focus. The character on the left takes up slightly more of the frame. Shot 2: Medium close-up, right character's face, expression shifting from composed to something it costs her to show. Shot 3: Left character's hands, both in jacket pockets, not relaxed. Shot 4: Over-the-shoulder from behind the right character, the left character partially in frame, the stairwell wall between them rendered in high contrast. Anime style, blue-hour lighting, atmospheric."
Step 5: Create Anime Backgrounds and Assets
Your webtoon already has established locations. The adaptation requires translating those locations into anime environment references that can be generated consistently across scenes.
For each location that appears in more than one episode, build a background reference before generating any character scenes set there. This reference establishes the lighting conditions, the architectural details, the color palette, and any recurring props that make the location recognizable.
Example background prompt for a webtoon's signature location: "Anime apartment rooftop, night. Concrete floor with visible drain grates, low railing along three sides, a water tower on the left edge of the frame. The city below is visible in soft focus, office tower lights creating warm amber columns against deep blue-gray sky. A single folding chair near the railing on the right. The space reads as private and slightly elevated from the world below it, used by one person who comes here to think rather than by anyone who lives here. Anime style, atmospheric night lighting, no characters in frame."
Props that carry narrative weight, the object your protagonist returns to, the item that marks a character's territory, the detail readers notice before the characters do, deserve their own reference passes built into the project library.
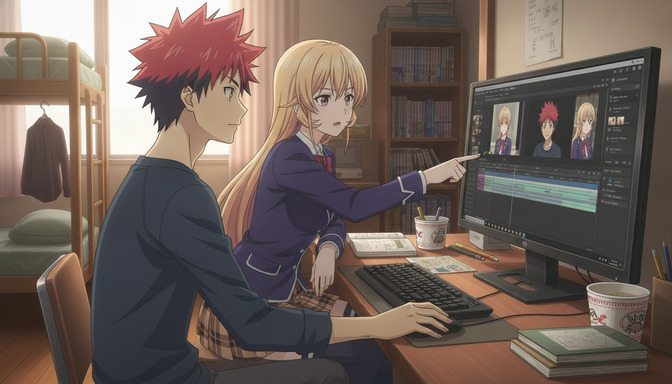
Step 6: Generate Anime Images and Video
With character sheets saved, storyboard sequences written, and background references established, image generation becomes execution. Each panel description specifies the shot, the characters involved, their expressions, and the setting. AutoWeeb draws from all saved references simultaneously to maintain visual consistency across every frame in the sequence.
For scenes that benefit from motion, convert the most impactful still frames into animated sequences. The panels that carry the most weight in your storyboard, the impact frame of an action beat, the moment a relationship shifts, the expression your webtoon readers have been waiting to see in motion, these are your animation priorities. Write a motion description for each one before generating video.
Example motion prompt for a webtoon scene adapted to anime video: "Female protagonist walking toward the camera through a rain-soaked city street, medium shot. Her pace is unhurried but deliberate. Rain falls softly around her, visible in the streetlight. The camera holds its position and lets her approach. Her expression is resolved, not angry. Her hands are in her jacket pockets. At five seconds she stops, looks up briefly at something above the camera, and looks back forward. Duration seven seconds. Anime style, rainy night urban setting, warm streetlight contrast against dark background."
Step 7: Publish Your Anime Adaptation
YouTube is the primary release platform for indie anime adaptations. It supports full episode length, allows chapter markers that map to your source material, and builds a permanent archive that your existing webtoon readers can share and return to. Title each episode clearly with the series name and episode number so a viewer who finds episode three can navigate backward without confusion.
TikTok, Instagram Reels, and YouTube Shorts serve as the discovery layer. Take the fifteen to thirty seconds of your most visually striking animated sequence, the action beat, the emotional reveal, the scene your comment section has been requesting, and release it as a standalone clip that ends on a frame that makes the full episode worth finding. Keep the call to action simple: the full episode is on YouTube.
Your webtoon audience is your warmest launch channel. Announce the adaptation in a creator note on your series page, link directly to the first episode, and include a clip of the scene your readers know best. Readers who already care about your characters do not need to be convinced to watch. They need to know where to find it and that it exists.
Community engagement compounds over time. Readers who share clips from the adaptation bring in viewers who have never read the webtoon. Those viewers become readers. The two audiences grow each other.
Why AutoWeeb Is Built for Webtoon Creators
The full pipeline described above runs inside a single AutoWeeb project. The character sheet you build for your protagonist in step three is the same reference active when you generate the climax scene in step six. Your signature location's background reference, built once, is used across every scene set there without rebuilding context between sessions.
- Character management maintains visual consistency for every character across every panel, episode, and session
- Storyboard tools let you sequence shots and plan episode structure before committing to image generation
- Scene organization keeps your production files, background references, and character sheets in one project library
- Anime-focused generation produces character scenes, action sequences, environmental backgrounds, and animated video from your saved references
A traditional animation studio handles each of these as a separate specialized department. AutoWeeb puts all of them inside one workflow, which means a webtoon creator working alone, or with a small collaborator group, can move from existing panels to a releasable anime episode without hiring a production team or starting from scratch each session.
Your Webtoon Is Already Most of the Way There
Webtoon creators spend years building what studios spend years trying to produce from scratch: a consistent visual world, a cast of characters readers are already invested in, an emotional arc with known beats, and an audience with strong opinions about how those beats should land. The adaptation is not a new project built on top of your webtoon. It is your webtoon, moving.
The pipeline exists. The tools exist. What you have that most anime series spend years building already exists in your archive. Start with one arc, one episode, the sequence your readers have been asking to see animated longest, and build outward from there.
Frequently Asked Questions
Do I need to know animation to adapt my webtoon into anime?
No. The animation side is handled by AutoWeeb's video generation tools. What you contribute is the story structure, the shot descriptions, and the creative decisions about which moments to prioritize. The most useful skill you bring to this process is the same one you already use for your webtoon: the ability to describe a scene in specific visual terms. If you can write a panel description, you can write a storyboard panel.
How many webtoon chapters should I adapt into one episode?
Chapter count is a less useful measure than emotional events. Aim for one to three major emotional beats per episode, regardless of how many chapters they span. If three chapters cover a single continuous confrontation, that is one episode. If one chapter has multiple distinct location changes and emotional shifts, it might be two. The episode should feel like a complete arc with a clear before and after, not a segment of a longer structure.
How do I keep my webtoon character designs consistent in anime form?
Build a complete character sheet for every character who appears in more than two scenes, and save those sheets in AutoWeeb's project library before generating any story panels. Every subsequent image generation pulls from those saved references rather than from a freshly written description. The consistency is structural: the protagonist in the opening scene and the protagonist in the finale are drawn from the same visual document.
Should I adapt an ongoing webtoon or wait until it's complete?
Both approaches work. An ongoing series lets you adapt and publish in parallel, which keeps webtoon readers and anime viewers engaged simultaneously and creates a natural promotional loop between the two formats. A completed series gives you the full narrative arc before you design anything, which means character references can account for how a character looks at the end, not just the beginning. For a first adaptation, a completed arc or a clearly contained story season is technically simpler because the structure is already resolved.
What if my webtoon has a very large cast?
Prioritize character sheet depth over character sheet breadth in your first episode. Build full references for the three to five characters who carry the most scenes. For supporting characters who appear briefly, a shorter description covering their most visually distinct features is enough. Expand the library as the adaptation grows. The characters who matter most to the story are the ones who need the most consistent visual treatment.
Can I use AutoWeeb for a fantasy or sci-fi webtoon with complex world-building?
Yes. World-building in anime terms means building environment references the same way you build character references. A fantasy webtoon with a specific magic system, distinct architecture, and established visual symbols needs a set of location and asset references saved to the project library before the first episode panels are generated. Once those references exist, every scene draws from the same visual vocabulary. The genre does not change the workflow. The scope of the reference library you build in the early steps does.
How do I announce the anime adaptation to my existing webtoon readers?
Post a creator note on the series page with a direct link to the first episode and a short clip of the scene your readers have referenced most in comments. Do not announce before you have at least one complete episode available to watch. A promise of an adaptation is less compelling than a viewable first episode. The announcement and the release should happen at the same time so readers can act on the news immediately rather than waiting for something that does not exist yet.
For the broader framework of building an anime series from concept through production, the guide on how to plan and produce your own AI anime series from scratch covers series structure, episode planning, and production pipelines in detail. If your webtoon has action sequences you want to translate into high-impact anime fights, how to storyboard epic AI anime fight scenes like a director covers impact frames, camera angles, and composition decisions that apply directly to your most-requested scenes.